6 Leaching Techniques to Treat Salt Buildup in Indoor Soil
Healthy indoor plants maintain a rigid structure through high turgor pressure; their leaves feel cool and firm to the touch while the soil emits a clean, earthy scent of active actinomycetes. When white crusting appears on the terracotta rim or leaf tips begin to scorch, the osmotic balance of the rhizosphere is compromised. Executing the correct steps for treating salt buildup in indoor soil requires a fundamental understanding of how dissolved solids accumulate through evaporation and synthetic fertilization. High salinity increases the osmotic pressure of the soil solution, making it harder for roots to pull moisture into the vascular system. This guide provides the technical protocols necessary to flush the substrate, restore cation exchange capacity, and stabilize the electrical conductivity of your growing medium.
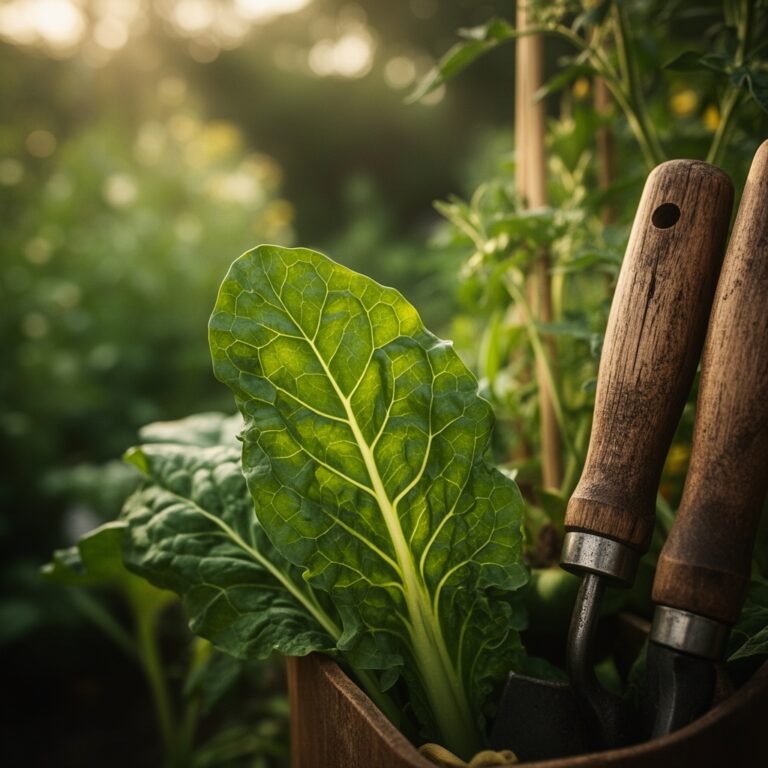
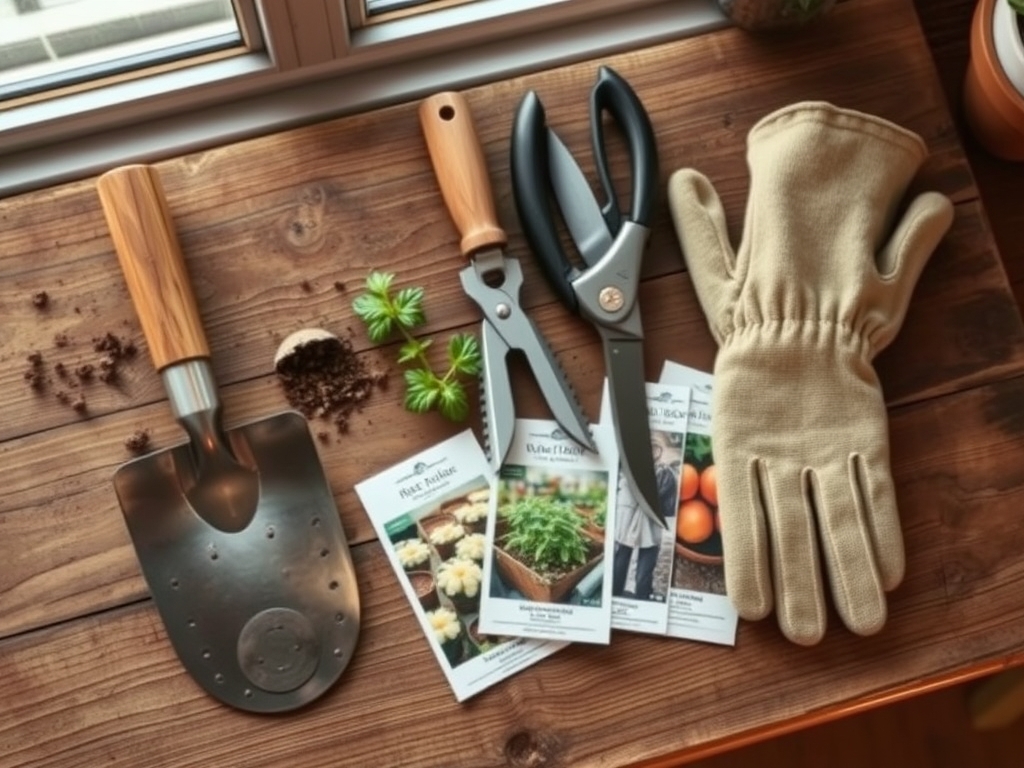
Materials:
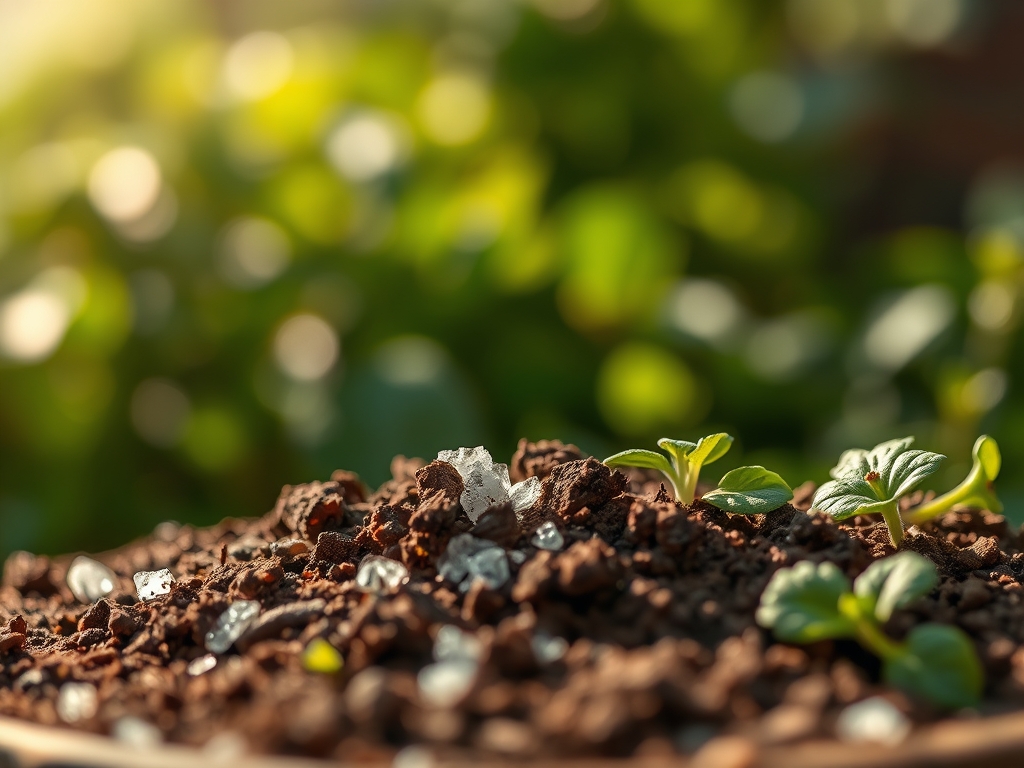
Effective leaching requires a substrate with high porosity and a stable pH between **5.8 and 6.8**. Use a friable loam consisting of **40 percent peat moss, 30 percent perlite, and 30 percent composted bark**. This physical texture ensures rapid drainage during high-volume flushing. For nutritional recovery after leaching, select a water-soluble fertilizer with a balanced NPK ratio of **10-10-10 or 20-20-20**. Avoid heavy organic meals like bone meal during the recovery phase, as these require microbial breakdown that may be sluggish in a saturated environment. Ensure you have access to distilled or reverse osmosis water with a Total Dissolved Solids (TDS) reading of less than **50 parts per million (ppm)**.
Timing:
Indoor environments are shielded from Hardiness Zone fluctuations; however, the biological clock of the plant still responds to ambient light cycles. Perform leaching during the active vegetative stage, typically between March and September in the Northern Hemisphere. Do not initiate heavy leaching during the winter dormancy period or when the plant has entered its reproductive stage (flowering), as the sudden change in soil oxygen levels can trigger bud abscission. Monitor the "Biological Clock" by observing the transition from new leaf primordia to terminal bud set. If the plant is in a state of senescence or dormancy, reduce water volume by 50 percent to avoid root rot.
Phases:
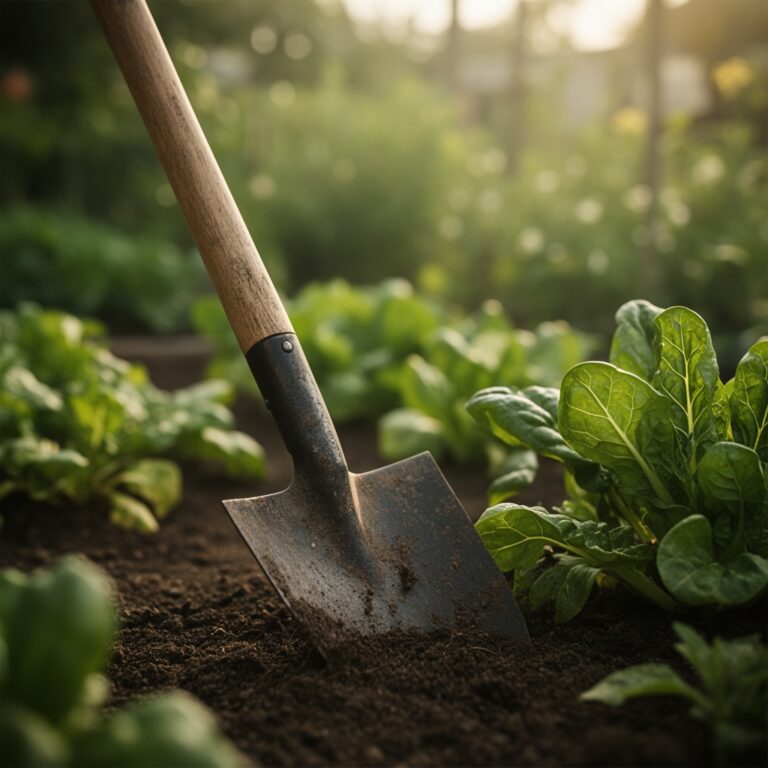
Sowing and Initial Saturation
Before the leaching process begins, the soil must be pre-moistened. Apply water until the entire root ball reaches its maximum water-holding capacity. This initial step softens the salt crystals and prepares them for mobilization. Wait 20 minutes for the water to penetrate the micropores of the clay or peat particles.
Pro-Tip: Pre-moistening utilizes capillary action to ensure the subsequent flush moves through the entire soil profile rather than just channeling down the sides of the pot. This prevents "dry pockets" where salts remain trapped.
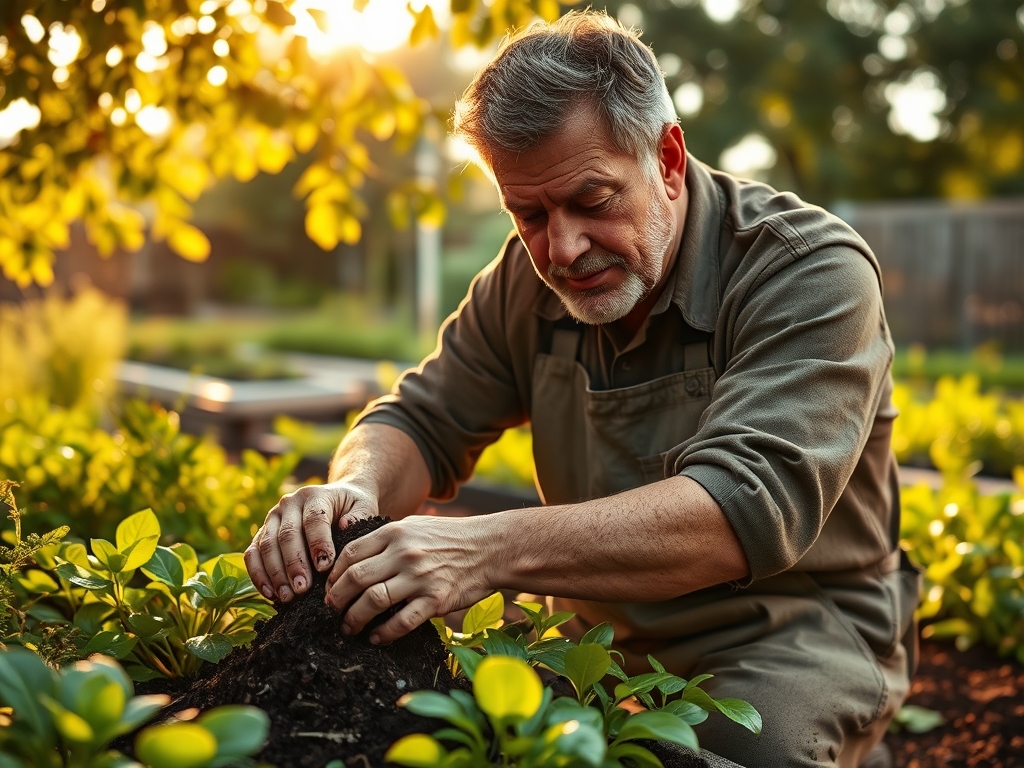
Transplanting and Root Inspection
If the salt buildup is severe, evidenced by a TDS reading above 2,000 ppm in the runoff, consider a partial transplant. Remove the plant from its container and inspect the root tips. Healthy roots are white; salt-damaged roots appear brown or translucent. Use a hori-hori knife to shave off the outer half-inch of the root ball where salts concentrate most heavily.
Pro-Tip: Pruning damaged root tips stimulates the production of lateral roots through auxin suppression. When the primary root tip is removed, the plant redirects growth hormones to dormant buds along the root system.
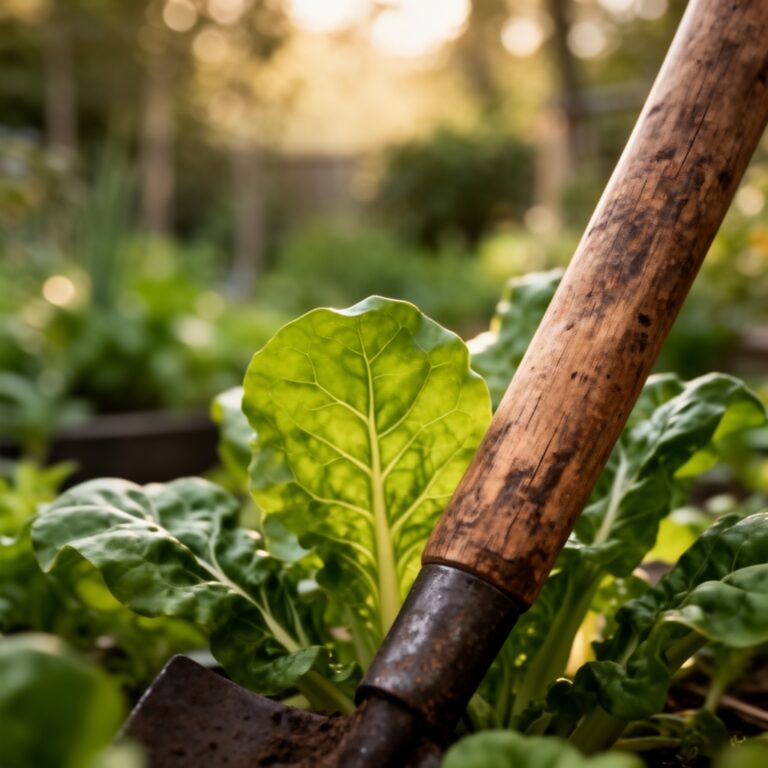
Establishing the Flush
Place the container in a sink or bathtub. Apply room-temperature water (65 to 75 degrees Fahrenheit) in a volume equal to two times the capacity of the pot. For a one-gallon pot, use two gallons of water. Pour slowly to avoid eroding the soil surface or exposing the crown.
Pro-Tip: Maintaining a specific temperature range prevents thermal shock to the mycorrhizal fungi. These symbiotic organisms are essential for nutrient uptake and can be killed by sudden exposure to cold tap water.
The Clinic:
Physiological disorders often mimic nutrient deficiencies. Use these diagnostic markers to identify salt-related issues:
- Symptom: Marginal Leaf Burn. The edges of the leaves turn brown and brittle while the center remains green.
- Solution: This is a classic sign of sodium toxicity. Flush the soil immediately with three times the pot volume of distilled water.
- Symptom: Interveinal Chlorosis. Yellowing between the leaf veins, often starting on older growth.
- Solution: High salt levels can lock out iron and magnesium. After flushing, apply a chelated micronutrient supplement at half-strength.
- Symptom: Nitrogen Chlorosis. General paling of the entire plant.
- Fix-It: Leaching removes mobile nitrogen. Once the soil is dry to a depth of two inches, reintroduce a 10-5-5 NPK liquid fertilizer to restore vegetative vigor.
Maintenance:
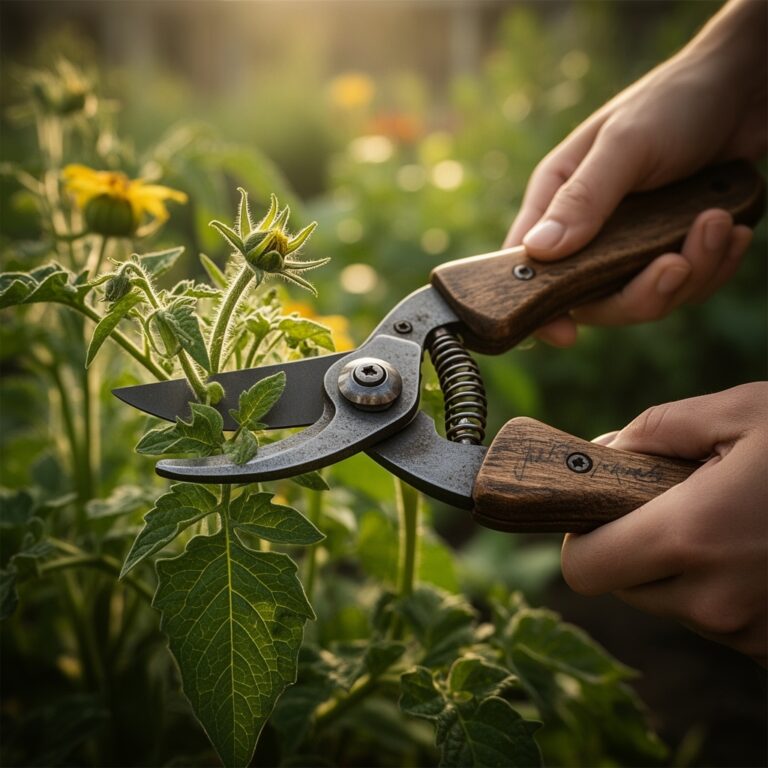
Post-leaching care is critical for long-term health. Use a soil moisture meter to ensure the substrate dries out to 30 percent capacity before watering again. For most indoor tropicals, provide 1.5 inches of water per week, delivered directly to the soil surface to avoid wetting the foliage. Use bypass pruners to remove any necrotic tissue, as dead leaves can become a host for fungal pathogens. Every six months, perform a "maintenance flush" using a volume of water equal to the pot size to prevent future accumulation. Always discard the water that collects in the saucer; allowing a plant to sit in runoff reintroduces the very salts you just removed.
The Yield:
While indoor plants are often ornamental, the yield of a healthy specimen is measured in biomass and leaf surface area. For herbs like basil or mint, harvest no more than one-third of the foliage at a time using sharp snips. To maintain "day-one" freshness, submerge the cut stems in 40-degree Fahrenheit water immediately after harvest. This preserves the essential oils and prevents the stomata from closing, which keeps the leaves turgid for a longer duration. For flowering plants, deadhead spent blooms at the first sign of wilting to redirect energy back into root development and salt tolerance.
FAQ:
How do I know if my soil has salt buildup?
Look for a white, crusty film on the soil surface or pot rim. Plant symptoms include stunted growth, brown leaf tips, and wilting even when the soil is moist. Use an EC meter for a definitive measurement.
Can I use tap water for leaching?
Tap water often contains chlorine and dissolved minerals that contribute to buildup. Use distilled, rainwater, or reverse osmosis water for the most effective leaching. If using tap water, let it sit for 24 hours to dissipate chlorine.
How often should I flush my indoor plants?
A deep flush should be performed every four to six months. If you use high-dose synthetic fertilizers or have very hard water, increase the frequency to every three months to prevent toxic salt concentrations in the rhizosphere.
What is the best water temperature for leaching?
Use water between 65 and 75 degrees Fahrenheit. Cold water can shock the root system and slow down metabolic processes, while hot water can damage delicate root hairs and kill beneficial soil microbes necessary for nutrient cycling.