6 Production Steps to Prepare a Kitchen Window Herb Site
Crush a fresh leaf of Mediterranean basil between your thumb and forefinger to release the volatile oils. The scent is sharp; a concentrated result of high turgor pressure within the plant cells. Achieving this level of essential oil density in a confined space requires more than just a pot and a ledge. To master how to prepare a kitchen window for herbs, you must treat the windowsill as a micro-climate laboratory. This environment demands precise control over light intensity, humidity, and substrate chemistry. Most indoor herbs fail because the grower ignores the physiological needs of the rhizosphere. A successful site mimics the drainage of a rocky hillside while providing the nutrient density of a forest floor. You are not just placing plants; you are engineering a life support system that balances solar radiation with atmospheric moisture. By focusing on the structural integrity of the soil and the orientation of the glass, you ensure that the plants transition from seedlings to high-yielding culinary assets without the onset of early senescence.
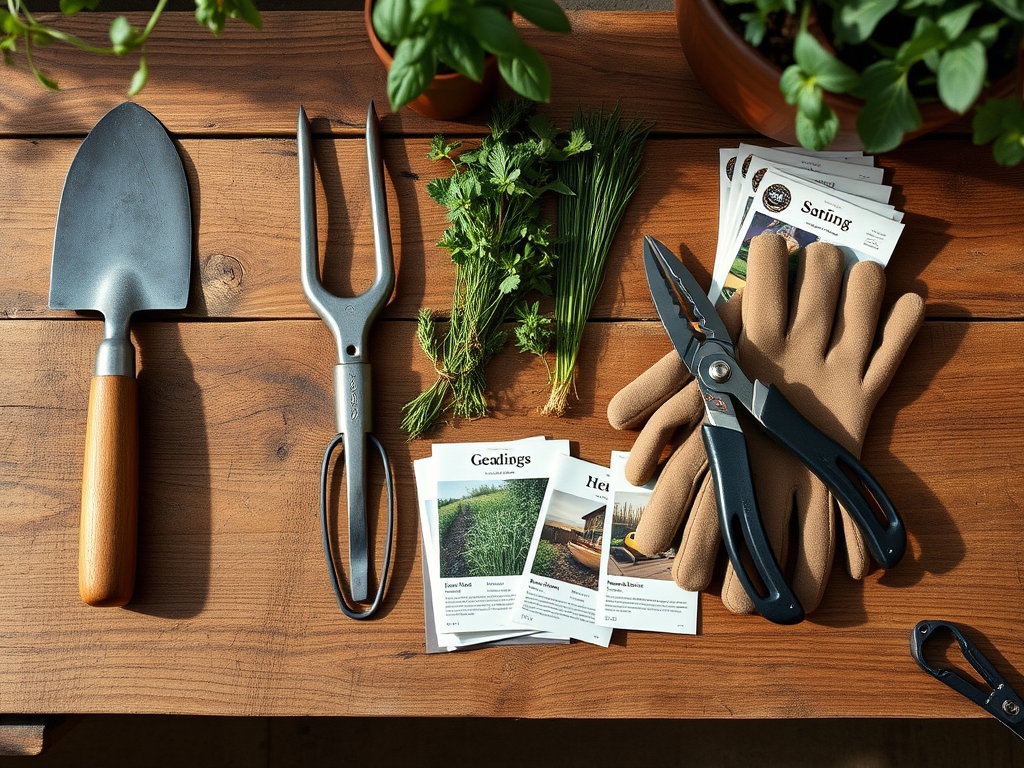
Materials:
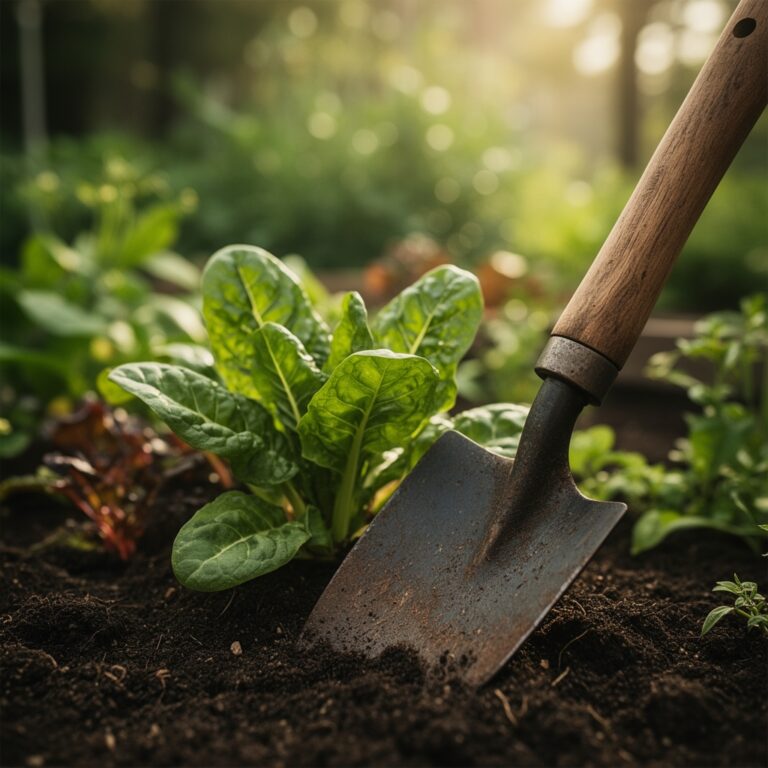
The substrate is the foundation of the Cation Exchange Capacity (CEC), which dictates how well your herbs can access nutrients. For a kitchen window, avoid standard garden soil; it is too heavy and lacks the necessary pore space for gas exchange. Use a **friable loam** consisting of 40 percent peat moss or coconut coir, 40 percent perlite, and 20 percent vermiculite.
The chemical profile must be exact. Target a soil pH between 6.0 and 7.0 for most culinary herbs. Use a slow-release organic fertilizer with an NPK ratio of 5-10-5 for woody herbs like rosemary or thyme to encourage root development over excessive leggy growth. For leafy annuals like cilantro or basil, an NPK ratio of 10-10-10 provides the nitrogen necessary for rapid leaf production. Ensure your containers are made of breathable materials like terracotta or high-grade glazed ceramic with a minimum of two drainage holes. The physical texture should feel gritty and loose; if you squeeze a handful of moist substrate, it should hold its shape momentarily and then shatter upon the slightest touch.
Timing:
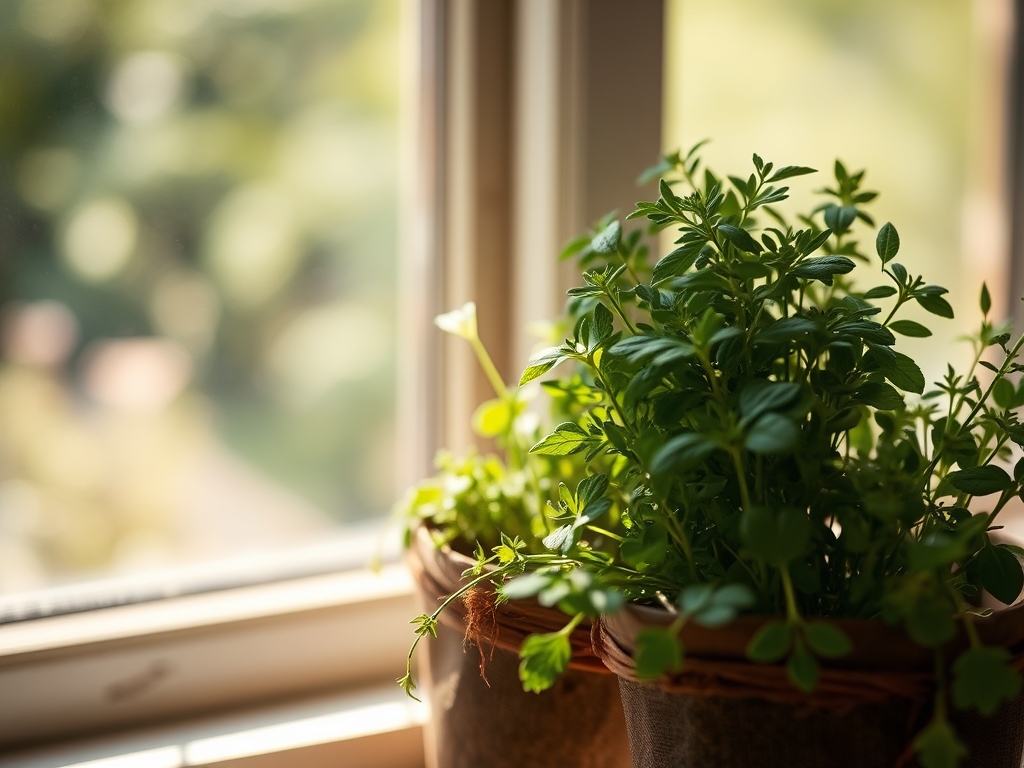
Timing in an indoor environment is less about the frost date and more about the photoperiod. Most culinary herbs require a minimum of six to eight hours of direct solar radiation. If you are in Hardiness Zones 3 through 6, your primary challenge is the "Cold Sink" effect where the glass temperature drops significantly below the room temperature at night.
The biological clock of the plant is triggered by light duration. In the northern hemisphere, a south-facing window is mandatory during the winter months to prevent the plant from entering a state of dormancy or "stretching" toward the light. If the ambient temperature at the window drops below 55 degrees Fahrenheit, the metabolic rate of the herb slows, leading to root rot because the plant cannot transpire water fast enough. Plan your sowing for late February or early March. This allows the young plants to establish a robust root system just as the natural day length increases, providing the energy needed for the transition from the vegetative stage to the reproductive stage.
Phases:

Sowing
Start seeds in a sterile germination mix at a depth of one-eighth of an inch. Maintain a consistent soil temperature of 70 to 75 degrees Fahrenheit using a heat mat. Once the first set of true leaves appears, reduce the heat.
Pro-Tip: Monitor for phototropism. Seedlings will lean toward the glass. Rotate the pots 90 degrees every 24 hours to ensure even distribution of auxins, the hormones responsible for cell elongation, which prevents weak, spindly stems.
Transplanting
Move seedlings to their permanent containers when they reach three inches in height. Ensure the new substrate is pre-moistened to prevent "wicking" moisture away from the delicate root hairs. Handle the plant by the root ball, never the stem, to avoid crushing the vascular tissue.
Pro-Tip: Inoculate the soil with mycorrhizal fungi. This symbiotic relationship extends the reach of the root system, allowing the plant to absorb phosphorus and micronutrients more efficiently than it could through its roots alone.
Establishing
During the first 14 days post-transplant, keep the plants out of harsh, direct midday sun. This allows the roots to settle without the stress of high transpiration rates. Gradually increase light exposure over a week.
Pro-Tip: Implement apical dominance suppression. Pinch off the top inch of the main stem once the plant has three sets of leaves. This redirects auxins to the lateral buds, forcing the plant to grow bushier and increasing your eventual harvest yield.
The Clinic:
Physiological disorders in window-grown herbs are usually a result of environmental imbalance rather than pathogens.
- Symptom: Interveinal chlorosis (yellowing between leaf veins).
- Solution: This indicates a magnesium deficiency or a pH imbalance. Flush the soil with distilled water and apply a 0.5 percent Epsom salt solution.
- Symptom: Leaf tip burn or "scorching."
- Solution: This is often caused by salt accumulation from tap water. Switch to filtered water and ensure 10 percent of the water applied exits through the drainage holes to leach out excess salts.
- Symptom: Sudden wilting despite moist soil.
- Solution: This is likely Root Hypoxia. The soil is too compacted or waterlogged, preventing oxygen from reaching the roots. Repot into a mix with higher perlite content.
Fix-It for Nitrogen Chlorosis: If the oldest leaves are turning a uniform pale yellow, the plant is scavenging nitrogen for new growth. Apply a liquid seaweed extract or a fish emulsion at half-strength every two weeks until the deep green color returns.
Maintenance:
Precision is the difference between a surviving plant and a thriving one. Use a soil moisture meter to ensure the substrate remains at a "Level 3" or "Moist" setting. Most herbs require approximately 1.5 inches of water per week, delivered directly to the soil surface at the drip line to keep the foliage dry.
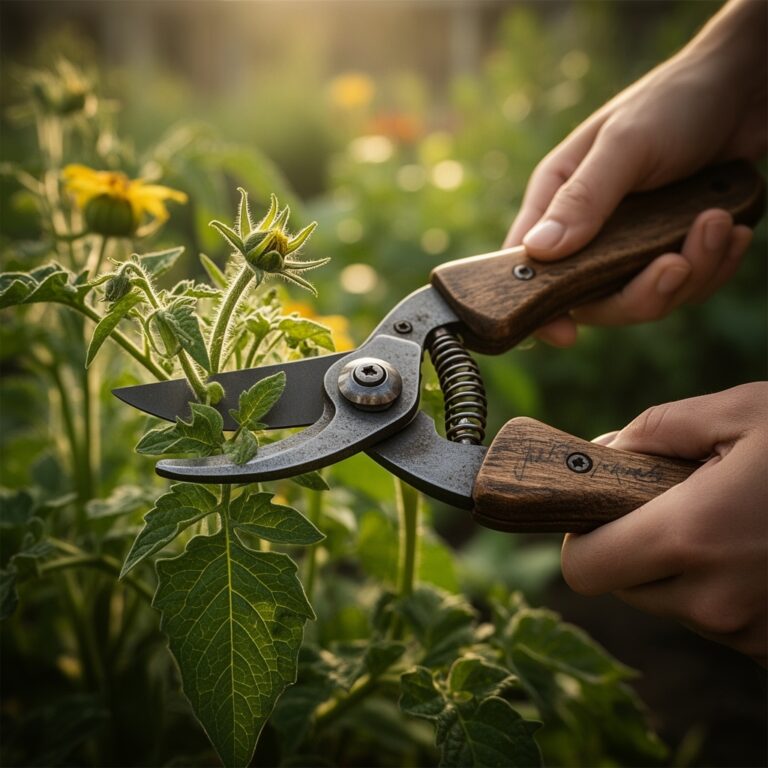
Pruning is a structural necessity. Use bypass pruners for woody stems and sharp kitchen shears for soft-stemmed herbs. Never remove more than 30 percent of the foliage at one time; doing so can shock the plant and lead to a total collapse of turgor pressure. For larger containers, use a hori-hori knife to occasionally "score" the outer inch of the soil. This prevents the substrate from becoming hydrophobic and ensures that water reaches the core of the root mass. Observe the root structure in the step-by-step photos to identify when a plant has become "pot-bound," requiring a larger vessel to maintain its growth trajectory.
The Yield:
Harvesting should occur in the early morning when the concentration of essential oils is at its peak. For leafy herbs like mint or basil, harvest just above a node (where leaves join the stem) to encourage new branching. For woody herbs like rosemary, take cuttings from the current year's green growth rather than the old, woody interior.
To maintain "day-one" freshness, treat harvested herbs like cut flowers. Place the stems in a glass of water at room temperature. For long-term storage, wrap them in a damp paper towel and seal them in a perforated plastic bag in the refrigerator. This maintains the relative humidity at the leaf surface, preventing the rapid evaporation of oils that causes the herb to lose its flavor profile.
FAQ:
How much light do kitchen herbs really need?
Most culinary herbs require six to eight hours of direct sunlight daily. If your window faces north or is shaded by trees, you must supplement with a full-spectrum LED grow light positioned 6 to 12 inches above the canopy.
Why are my herb leaves turning yellow?
Yellowing, or chlorosis, usually stems from overwatering or nitrogen deficiency. Ensure the top inch of soil is dry before watering. If the problem persists, check the soil pH; a level above 7.5 blocks essential nutrient uptake.
Can I use regular garden soil in window pots?
No. Garden soil is too dense for containers and lacks adequate pore space. It compacts easily, leading to anaerobic conditions and root rot. Always use a professional-grade, soilless potting medium designed for high drainage and aeration.
How often should I fertilize indoor herbs?
During the active growing season (spring and summer), apply a balanced liquid fertilizer at half-strength every two to four weeks. Reduce fertilization in the winter when the plant's metabolic rate slows due to decreased photoperiod and lower temperatures.