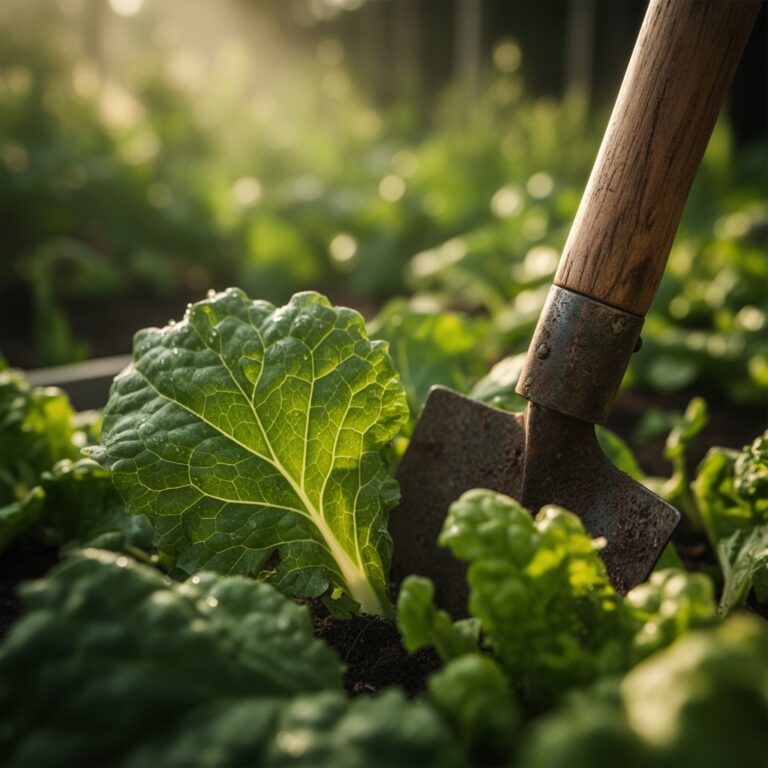
6 Shaping Steps: Using a Garden Pruner for Effective Deadheading
The crisp snap of pruner blades meeting spent tomato flower stems signals precision in the garden. Using a garden pruner for vegetable deadheading transforms energy management in productive beds, redirecting carbohydrates from failed reproductive structures back into developing fruit. The weight of bypass pruners in your palm, the clean cut through vascular bundles, and the immediate scent of released plant volatiles all confirm that you're managing auxin distribution with surgical accuracy.
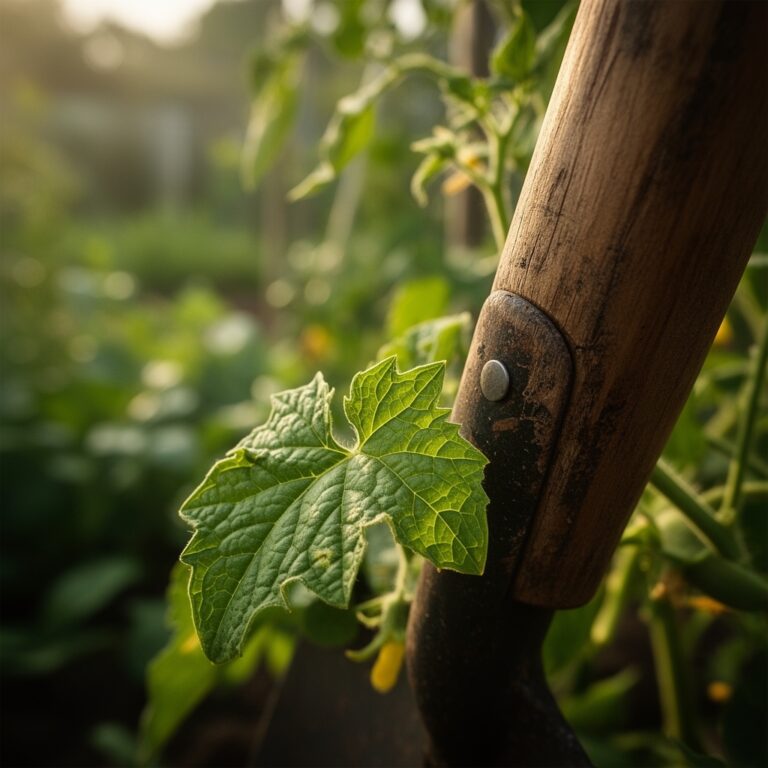
Deadheading vegetables differs fundamentally from ornamental practice. Where flower gardens seek prolonged bloom, vegetable plots demand strategic removal of non-productive blossoms to channel resources toward harvestable yield. The technique applies primarily to indeterminate tomatoes, peppers, eggplants, and squash family members that produce continuously. Each severed flower cluster that failed to set fruit becomes a metabolic liability eliminated.
Materials

Select bypass pruners with carbon steel blades measuring 1.5 to 2 inches in length. Anvil-style pruners crush vascular tissue and invite pathogen entry. Maintain blade sharpness at 400 grit minimum to ensure clean xylem and phloem severance.
Sterilization solution requires 70% isopropyl alcohol or 10% sodium hypochlorite. Immerse blades for 30 seconds between plants to prevent transmission of bacterial speck (Pseudomonas syringae) or tobacco mosaic virus.
Soil amendments supporting post-deadheading recovery include:
- Blood meal (12-0-0) for nitrogen-responsive crops like brassicas
- Bone meal (3-15-0) to support new flower formation in phosphorus-demanding peppers
- Kelp meal (1-0.5-2.5) supplying cytokinins that regulate apical dominance
- Mycorrhizal inoculant containing Glomus species to enhance phosphate uptake through hyphal networks
Target soil pH between 6.2 and 6.8 for optimal nutrient availability. Cation exchange capacity above 10 meq/100g ensures adequate calcium reserves necessary for new cell wall formation after pruning stress.
Timing
Execute deadheading in USDA Hardiness Zones 3-9 based on last spring frost and first fall frost windows. Begin operations when soil temperatures stabilize above 60°F and nighttime air temperatures remain above 50°F.
Northern zones (3-5) maintain a 10-week intensive deadheading window from June 15 through August 25. Transitional zones (6-7) extend the practice from May 20 through September 30. Southern zones (8-9) operate from April 15 through October 20, with secondary sessions during mild winter months for evergreen peppers.
Morning hours between 8:00 and 11:00 AM provide optimal conditions. Stomata remain partially closed, limiting moisture loss through cut surfaces. Dew has evaporated, reducing pathogen dispersal via water splash. Avoid deadheading within 24 hours of rain events or when relative humidity exceeds 80%.
Phases
Sowing Phase Preparation
Establish robust vascular architecture before deadheading becomes necessary. Transplant seedlings at the four-true-leaf stage to minimize transplant shock. Root systems colonized by mycorrhizal fungi during this phase show 40% greater recovery rates after future pruning stress.
Pro-Tip: Inoculate transplant holes with 2 tablespoons of Rhizophagus irregularis spores mixed into backfill soil. The hyphal network established during weeks 1-4 will support nutrient uptake when deadheading begins at week 8.
Transplanting Phase Structure
Position indeterminate varieties with 24-inch spacing to allow pruner access to interior flower clusters. Install stakes or cages at transplanting to prevent future root disturbance that compounds pruning stress.
Water transplants with starter solution containing 1-2-1 NPK ratio at quarter strength (300 ppm nitrogen) to encourage lateral root proliferation. This extensive root system will buffer nutrient demands when apical meristems redirect growth after deadheading.
Pro-Tip: Pinch terminal buds at 6 inches height on tomatoes and peppers. This forces branching that creates four to six productive laterals, distributing auxin more evenly and reducing the shock of later flower removal.
Establishing Phase Execution
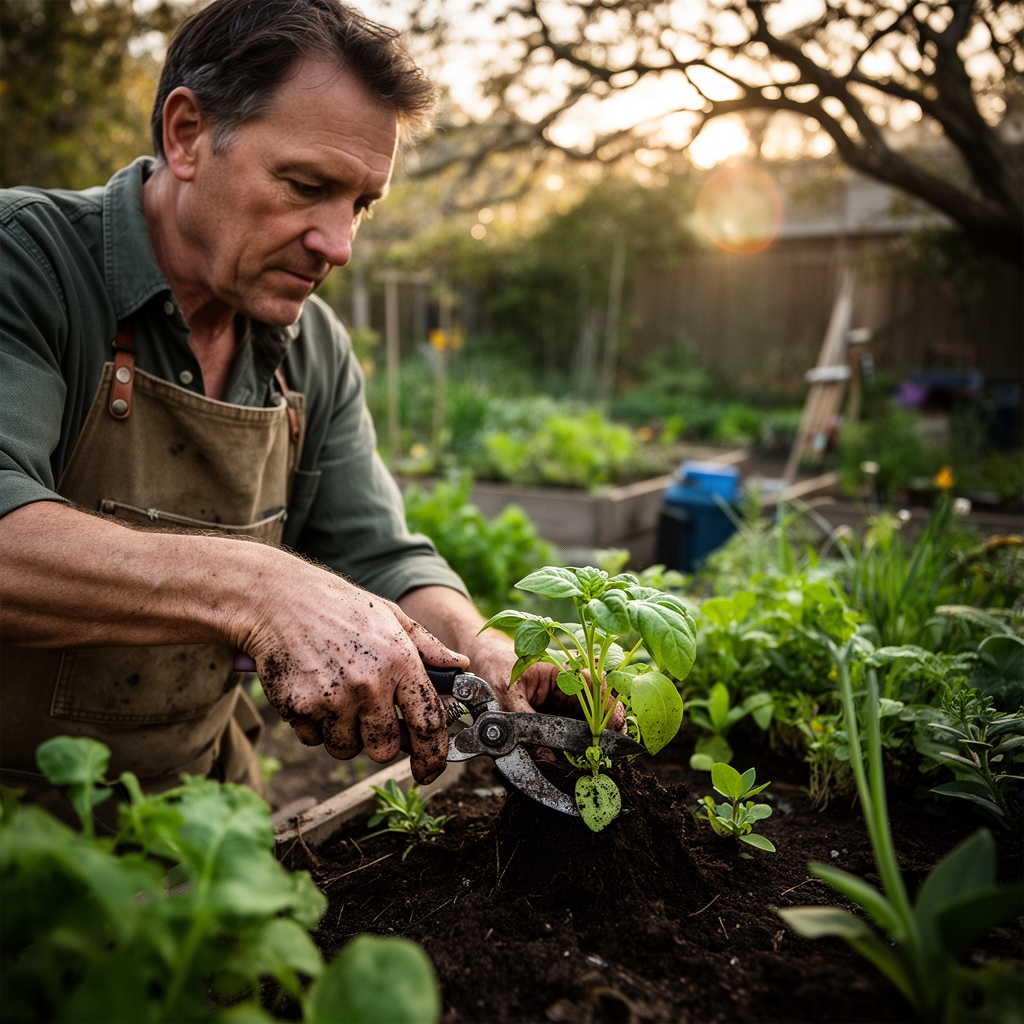
Begin using a garden pruner for vegetable deadheading when 30% of initial flowers fail to develop fruit within 10 days of petal drop. Position pruner blades at a 45-degree angle to the stem, cutting 1/4 inch above the nearest leaf axil. Angled cuts shed water and reduce fungal colonization at wound sites.
Remove entire flower clusters on tomatoes rather than individual blossoms. The peduncle (flower stem) contains significant stored carbohydrates that, if left attached, continue drawing resources from developing fruit.
Pro-Tip: Spray cut surfaces within 2 hours using compost tea diluted 1:5 (compost to water) to establish competitive beneficial bacteria. Bacillus subtilis strains colonize wounds rapidly, excluding Botrytis cinerea spores.
Troubleshooting
Symptom: Brown, corky tissue developing at pruning sites within 48 hours.
Solution: Reduce nitrogen inputs by 30%. Excess vegetative growth creates succulent tissue prone to bacterial canker (Clavibacter michiganensis). Switch to 4-6-6 NPK ratio emphasizing phosphorus for wound healing.
Symptom: Blossom production ceases 5-7 days after deadheading session.
Solution: Temperature stress compounds pruning shock. When daytime temperatures exceed 90°F, limit removal to 20% of non-productive flowers per session. Apply shade cloth (30% density) and increase irrigation frequency to twice daily.
Symptom: Wilting of pruned laterals despite adequate soil moisture.
Solution: Vascular damage from dull blades or crushing cuts. Resharpen pruners and make test cuts on paper. Clean cuts slice paper fibers; damaged blades tear. Remove affected laterals entirely 1 inch below wilted tissue.
Symptom: White, powdery coating on foliage surrounding cut sites.
Solution: Powdery mildew (Erysiphe spp.) colonizing stressed tissue. Apply sulfur dust at 4 pounds per 100 square feet. Increase air circulation by removing 10% of interior foliage to reduce humidity at canopy level.
Symptom: Fruit development rate unchanged despite aggressive deadheading.
Solution: Phosphorus deficiency limiting reproductive capacity. Soil test revealing less than 35 ppm available phosphorus requires amendment. Apply triple superphosphate (0-46-0) at 2 pounds per 100 square feet, watered in immediately.
Maintenance
Water deadheaded plants to 1 inch depth within 6 hours of pruning. Measure moisture penetration using a soil probe to 8-inch depth. Consistent moisture prevents abscission of developing fruit triggered by drought stress during recovery.
Apply foliar kelp spray (1 tablespoon per gallon) at 3-day intervals for 2 weeks post-deadheading. The cytokinin content promotes lateral bud activation and accelerates new flower cluster formation.
Mulch with 3 inches of aged compost (C:N ratio 25:1 or lower) to moderate soil temperature fluctuations. Stable root-zone temperatures between 68-75°F support continuous auxin production necessary for coordinated new growth.
Monitor calcium availability through monthly soil tests. Maintain 1200-1500 ppm exchangeable calcium to prevent blossom end rot on fruit developing after deadheading sessions. Apply gypsum (calcium sulfate) at 2 pounds per 100 square feet if levels drop below 1000 ppm.
FAQ
How often should I deadhead vegetable plants?
Inspect plants every 4 days during peak production. Remove flower clusters showing no fruit swelling 8-10 days after pollination. High-producing varieties like 'Sungold' tomatoes may require twice-weekly sessions.
Can I deadhead all vegetable types?
Limit the practice to indeterminate fruiting vegetables. Determinate varieties and annual crops like beans or lettuce follow programmed development patterns that deadheading cannot alter. Focus efforts on tomatoes, peppers, eggplants, and cucurbits.
What time of day minimizes plant stress?
Morning sessions between 8:00 and 11:00 AM allow 8-10 hours of daylight for initial wound healing before nighttime humidity rises. Avoid afternoon deadheading when transpiration rates peak and vascular pressure is lowest.
Do I need to fertilize after deadheading?
Apply half-strength liquid fertilizer (5-10-10 NPK) 48 hours post-pruning. Earlier application forces excessive vegetative growth before vascular repair completes. Later application misses the 72-hour window when auxin redistribution peaks.
Should I remove all non-productive flowers at once?
Never remove more than 40% of flower mass in a single session. Excessive pruning triggers abscission hormones that can cause fruit drop. Stage removal across three sessions spaced 5 days apart for plants with heavy non-productive bloom.