6 Steps to Install a Durable Garden Bench Within Your Vegetable Patch
The morning sun warms the wood as you settle onto a bench positioned directly among your tomato rows and bean trellises. This placement is not decorative. Steps for installing a vegetable garden bench transform empty pathways into productive observation posts where you monitor pest pressure, pollination activity, and soil moisture without trampling root zones. The bench becomes both tool and infrastructure, anchoring your garden's circulation while creating a stable platform for harvest baskets, pruning shears, and hand-weeding sessions. Proper installation preserves soil structure, prevents compaction beneath heavy lumber, and integrates seating into the garden's biological systems rather than fighting against them.
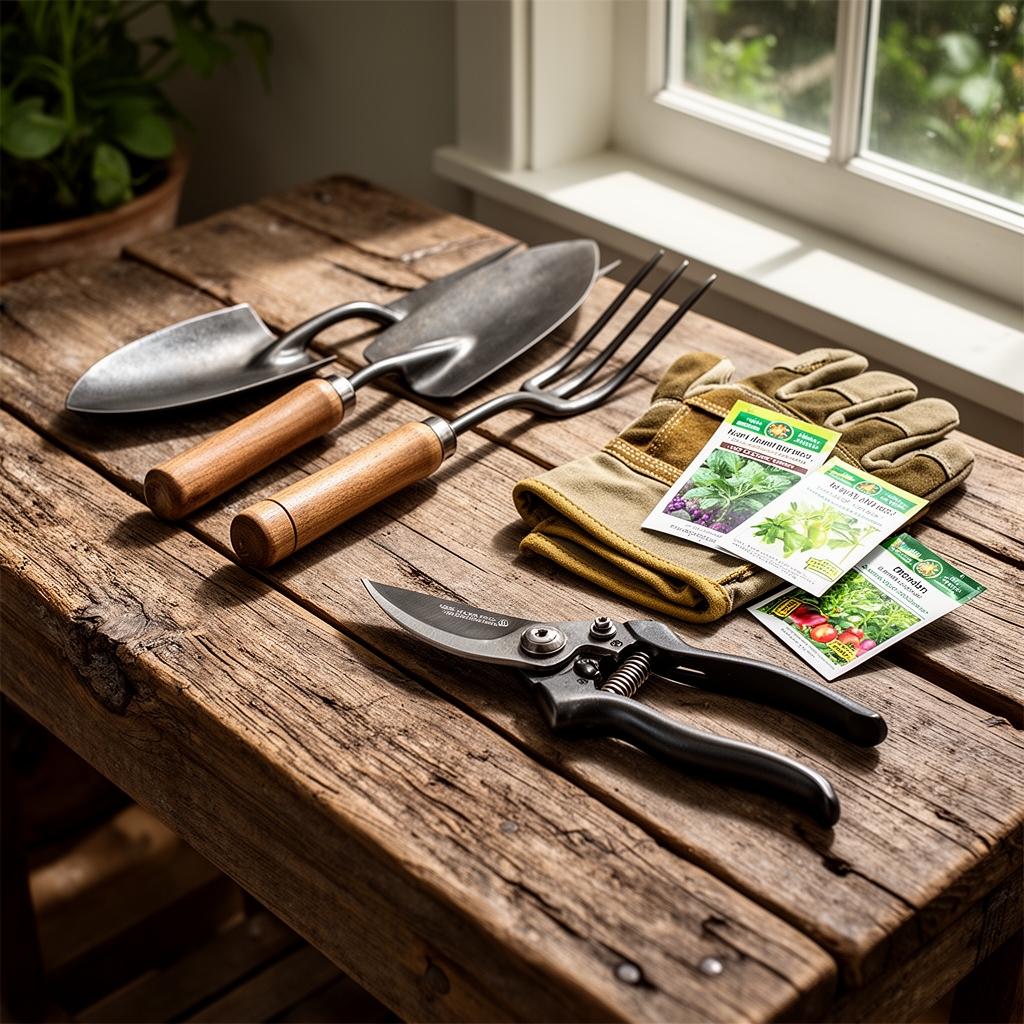
Materials and Soil Amendments
Select rot-resistant lumber such as black locust, white oak, or untreated cedar. Pressure-treated wood leaches copper and arsenic compounds that disrupt mycorrhizal fungi colonization in adjacent beds. Each bench requires two 8-foot lengths of 4×4 posts for legs, three 6-foot lengths of 2×6 planks for the seat surface, and four 18-inch lengths of 2×4 cross-bracing. Galvanized deck screws (3-inch) resist corrosion better than nails in high-humidity vegetable environments.
For soil stabilization beneath leg posts, prepare a 1:1:1 mixture of coarse sand, compost (pH 6.5-7.0), and native soil. This blend maintains cation exchange capacity while improving drainage. Avoid peat-based amendments under structural elements; peat compresses unevenly and creates subsidence pockets after seasonal freeze-thaw cycles. If your vegetable beds receive annual applications of blood meal (12-0-0) or feather meal (15-1-0), reduce nitrogen inputs within 18 inches of bench legs to prevent excessive auxin distribution that produces spindly growth in nearby plants.
Concrete pavers (12×12 inches, 2 inches thick) serve as foundation pads. Place one paver beneath each leg to distribute 200-300 pounds of seated load across 144 square inches rather than the 12.25 square inches of a 4×4 post end. This prevents the bench from sinking during spring thaw or after heavy irrigation.
Timing and Climate Windows
Install benches during dormant periods when soil moisture is moderate. In Hardiness Zones 3-5, target late September through mid-October before ground freeze. Zones 6-7 permit installation from October through November. Zones 8-10 should schedule work between December and February when vegetable beds hold winter brassicas and cool-season greens but foot traffic is minimal.
Avoid installation during active growing months (May through August in most zones). Digging post holes during peak production risks severing feeder roots of established crops. Tomatoes, peppers, and cucurbits extend lateral roots 24-36 inches from main stems. Bench placement requires minimum 30-inch clearance from plant bases to preserve these nutrient uptake zones.
Check frost dates before final positioning. Benches placed before last spring frost (typically April 15-May 15 in Zones 5-6) allow you to adjust placement after observing early-season sun angles and wind patterns that affect microclimate around seating areas.
Installation Phases

Site Preparation: Mark a rectangle 72 inches long by 20 inches wide along an existing pathway. Remove vegetation and top 3 inches of soil. Test remaining surface with a 4-foot level; grade to within 1/4 inch of true level to prevent racking stress on joints. Excavate four holes 10 inches deep and 14 inches square at corner positions.
Pro-Tip: Line hole bottoms with 2 inches of crushed gravel (3/8-inch diameter) to create a capillary break. This prevents moisture from wicking up into post ends while maintaining aerobic conditions that discourage anaerobic bacteria responsible for wood rot.
Foundation Setting: Place concrete pavers in holes, adjusting gravel depth until paver tops sit 1 inch below finished grade. Backfill around pavers with the sand-compost-soil mixture, tamping in 2-inch lifts. Water each lift with 1 quart to settle particles without creating slurry. Final surface should drain freely within 15 minutes of saturation.
Pro-Tip: Orient pavers with textured surface upward. The roughness increases friction coefficient between concrete and wood, reducing lateral movement when users shift weight while seated.
Assembly and Anchoring: Cut 4×4 posts to 18-inch lengths for legs. Pre-drill pilot holes 1/2 inch from top ends to prevent splitting. Position legs on pavers, checking plumb with a 2-foot level on two adjacent faces. Attach 2×4 cross-bracing between front and rear legs, creating two H-shaped end assemblies. Space assemblies 48 inches apart, then fasten three 2×6 seat planks across the top using two screws per plank per leg contact point.
Pro-Tip: Leave 1/4-inch gaps between seat planks. This spacing permits drainage and air circulation while preventing seed and soil accumulation that creates habitat for pill bugs and earwigs.
Troubleshooting Common Issues
Symptom: Bench sinks on one corner within first season.
Solution: Excavate beneath sunken leg to 16-inch depth. Install a 16×16-inch paver and backfill with compacted gravel. The larger footprint distributes load across weaker soil strata.
Symptom: Wood develops black staining at ground contact points.
Solution: This indicates saprophytic fungal colonization, not structural rot. Apply copper naphthenate wood preservative (2 percent solution) to affected areas after wire-brushing loose material. Reapply annually in early spring.
Symptom: Nearby tomato plants show reduced fruit set.
Solution: Bench shade alters temperature by 3-5 degrees Fahrenheit in a 24-inch radius. Relocate heat-loving crops or move bench 12 inches to redirect shade pattern. Alternatively, plant shade-tolerant crops like lettuce or spinach in the modified microclimate.
Symptom: Seat planks warp or cup after one year.
Solution: Wood moisture content exceeded 19 percent at installation. Replace with kiln-dried lumber (moisture content 12-15 percent). Seal all six sides of replacement planks with linseed oil before installation to equalize moisture uptake.
Symptom: Ants colonize hollow spaces in cross-bracing joints.
Solution: Fill gaps with exterior-grade wood filler. Dust entry points with food-grade diatomaceous earth. Ants seek cavities with stable temperature; eliminating voids removes nesting habitat.
Seasonal Maintenance
Apply linseed oil or tung oil finish each April before spring planting. Use 4 ounces per 8 square feet of surface area, rubbing with lint-free cloth along grain direction. This treatment replenishes protective coating lost to UV exposure and precipitation.
Tighten all screws in October after harvest. Seasonal expansion and contraction loosens fasteners by approximately 1/4 turn per year. Use a cordless drill with adjustable torque set to 25 inch-pounds to avoid stripping pilot holes.
Brush debris from under-bench area monthly during growing season. Accumulations of fallen leaves and spent plant material create anaerobic pockets that harbor fungus gnats and springtails. These arthropods do not damage benches but indicate excess organic matter decomposition that depletes soil oxygen within 6 inches of the surface.
Inspect leg-to-paver contact points each spring. Apply 1/4 inch of coarse sand around paver perimeters if settling creates gaps. Sand fills voids without introducing organic matter that attracts termites or carpenter ants.
Pressure-wash seat surfaces annually in late fall after final harvest. Use 1200 PSI maximum to avoid damaging wood grain. This removes algae, moss, and surface mold spores that reduce friction when wet and create slipping hazards.
Frequently Asked Questions
How far should a bench sit from raised bed edges?
Maintain 18-inch minimum clearance. This distance permits wheelbarrow access on three sides and prevents structural lumber from shading bed perimeters where edge crops like determinate tomatoes or compact peppers grow.
Can treated lumber be used if sealed?
No. Sealants crack within two seasons under UV exposure and temperature cycling. Copper compounds leach through microscopic fissures, reducing earthworm populations by 40-60 percent within a 24-inch radius of each post.
What is the maximum safe span between legs?
48 inches for 2×6 seat planks supporting up to 400 pounds. Spans exceeding 54 inches require 2×8 planks or additional center support legs to prevent deflection beyond 1/4 inch under load.
Does bench placement affect pollinator activity?
Yes. Benches create vertical visual markers that territorial bees use as navigation references. Position seating at least 6 feet from squash, cucumber, and melon plantings to avoid disrupting pollinator flight paths during critical morning foraging hours (7-10 AM).
How often should foundation pavers be releveled?
Check annually in spring. Clay soils require releveling every 3-4 years due to expansion-contraction cycles. Sandy or loamy soils remain stable for 8-10 years under normal precipitation conditions.