7 Yield Steps to Prepare a Container Garden for Maximum Harvest
Learning how to prepare a garden for a container vegetable garden begins with understanding that containerized crops demand more precision than ground beds. Root systems compress into finite volumes. Nutrients leach faster with each watering. The gardener controls every variable, from drainage velocity to microbial colonization, transforming balcony corners or paved patios into production zones that rival traditional plots in yield per square foot.
Materials
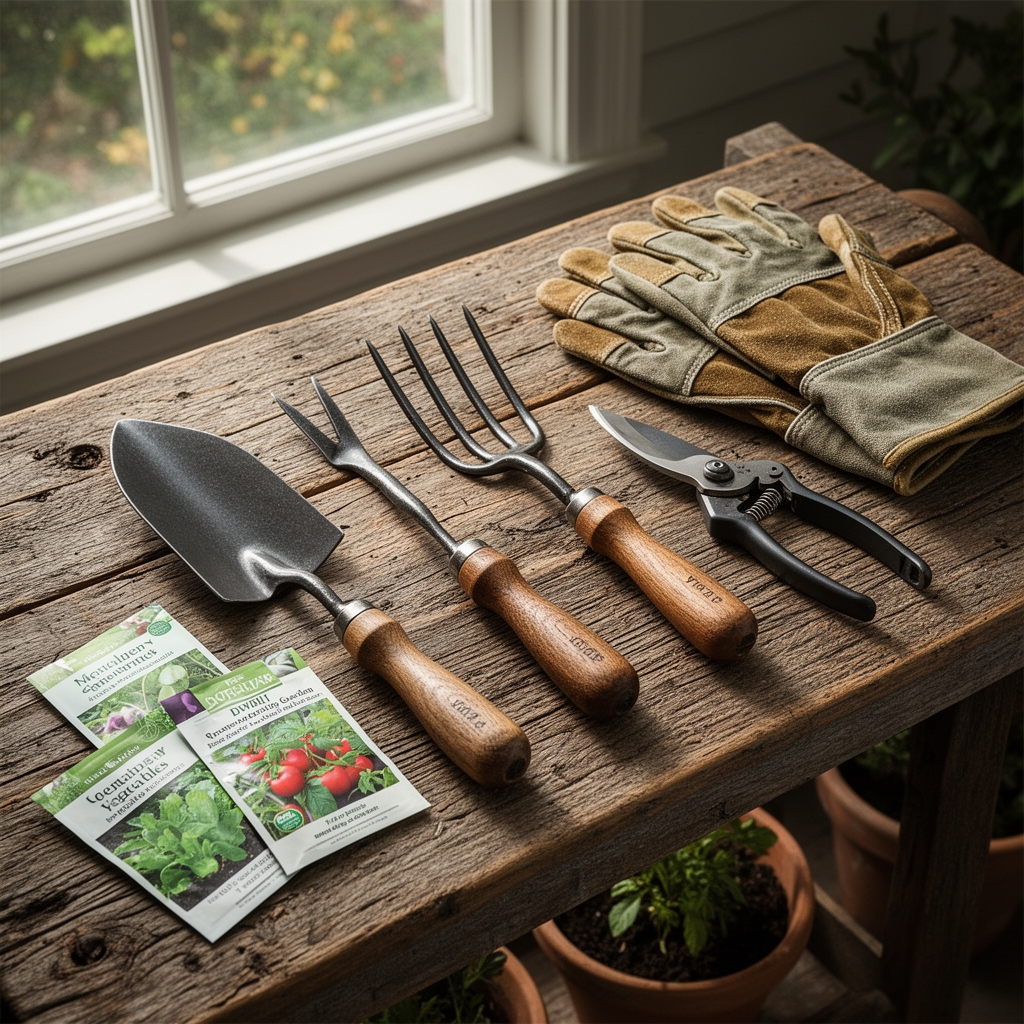
Select containers with drainage holes measuring at least 0.5 inches in diameter. Volume matters: tomatoes require 5-gallon minimum capacity, leafy greens thrive in 2-gallon pots, and root crops like carrots demand 12 inches of depth.
Base substrate should blend 40% coconut coir (pH 5.5-6.8), 30% perlite for aeration, and 30% aged compost. Add 4-4-4 organic fertilizer at 2 tablespoons per gallon of mix. This balanced NPK ratio supports vegetative growth and fruiting without excessive nitrogen that promotes foliage at the expense of harvest.
Incorporate mycorrhizal fungi inoculant at transplant time. These symbiotic organisms extend effective root surface area by 10 to 100 times, improving phosphorus uptake critical for flowering.
Adjust pH using dolomitic lime (raises) or sulfur (lowers). Target 6.0-6.8 for most vegetables. Higher cation exchange capacity substrates retain nutrients longer between feedings.
Optional amendments include kelp meal (trace minerals), rock phosphate (slow-release phosphorus), and greensand (potassium). Avoid garden soil or topsoil, which compacts in containers and harbors pathogens.
Timing
Hardiness zones dictate planting windows. Zone 7 gardeners begin cool-season crops (lettuce, spinach, peas) March 15-April 1 and again August 15-September 1. Warm-season vegetables (tomatoes, peppers, cucumbers) transplant after last frost, typically April 20-May 10.
Zones 9-10 enjoy year-round production but must account for summer heat stress. Plant heat-sensitive crops October through February. Tomatoes set fruit poorly when nighttime temperatures exceed 75°F.
Northern zones (3-5) maximize the season by starting seeds indoors 6-8 weeks before last frost. Harden off transplants over 7-10 days, gradually exposing them to outdoor UV and wind.
Track soil temperature, not just air temperature. Tomatoes require 60°F soil minimum. Beans germinate erratically below 65°F. Use a probe thermometer at 4-inch depth.
Phases
Sowing
Direct-seed large-seeded crops like beans, squash, and cucumbers. Plant at twice the seed diameter depth. Smaller seeds (carrots, lettuce) need light exposure. Press them onto moist substrate surface and mist daily.
Maintain substrate temperature 70-80°F for germination using heat mats if needed. Cover containers with humidity domes or plastic wrap until cotyledons emerge.
Pro-Tip: Scarify hard-coated seeds (okra, parsley) by rubbing between fine sandpaper sheets for 10 seconds. Germination accelerates by 3-5 days.
Transplanting
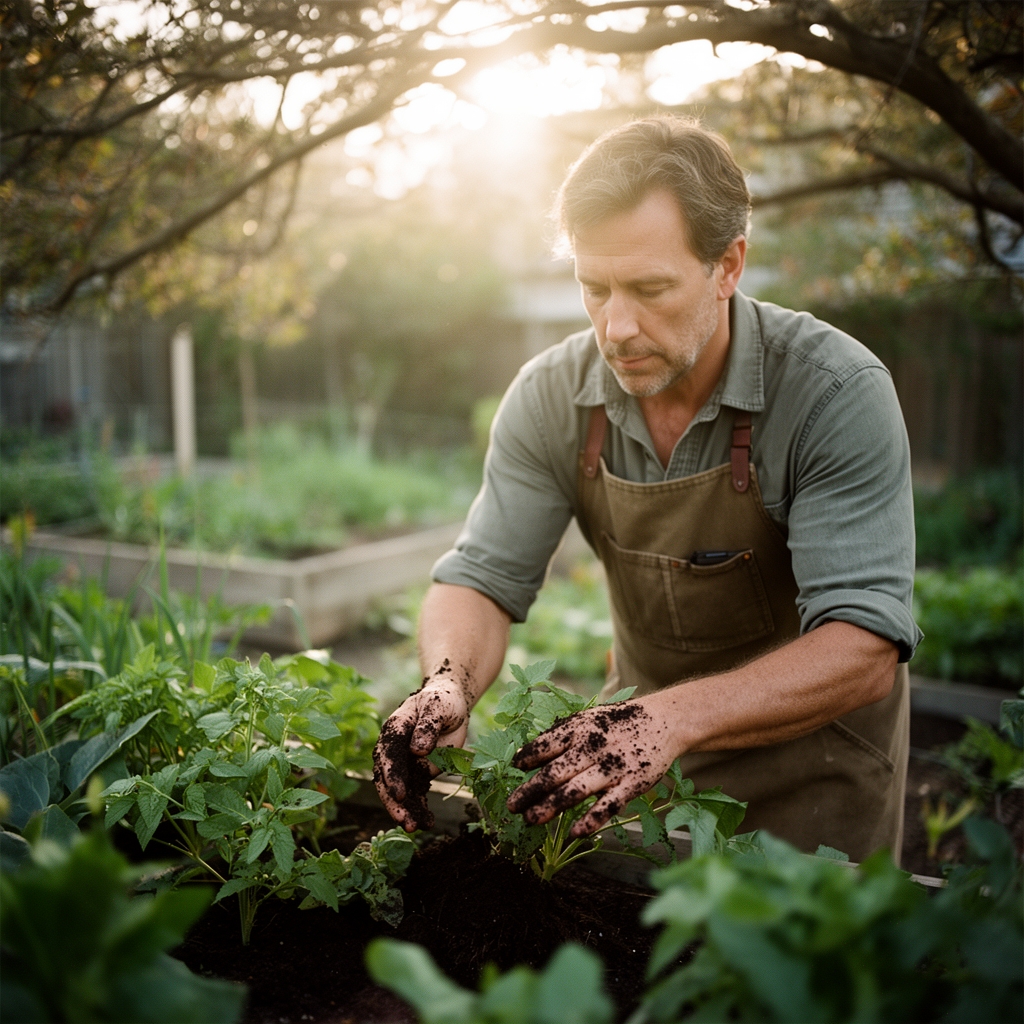
Remove seedlings from nursery pots by squeezing the base, never pulling stems. Inspect roots for circling patterns. Score root balls vertically with a knife at four points to encourage outward growth.
Set transplants at the same depth as nursery pots, except tomatoes. Bury tomato stems up to the lowest true leaves. Adventitious roots form along buried stems, creating more robust anchor systems.
Water immediately with diluted fish emulsion (1 tablespoon per gallon). This provides nitrogen boost and beneficial microbes to colonize the rhizosphere.
Pro-Tip: Apply endomycorrhizal spores directly into the transplant hole. Contact with roots triggers hyphal growth within 72 hours.
Establishing
First two weeks determine container crop success. Monitor substrate moisture by weight, not appearance. Lift containers daily. Water when weight drops 30-40% from saturation.
Auxin distribution drives root development before shoot expansion. Resist fertilizing until new growth appears, typically 10-14 days post-transplant.
Stake indeterminate tomatoes at transplant. Waiting damages roots later. Use 6-foot stakes driven to container bottom.
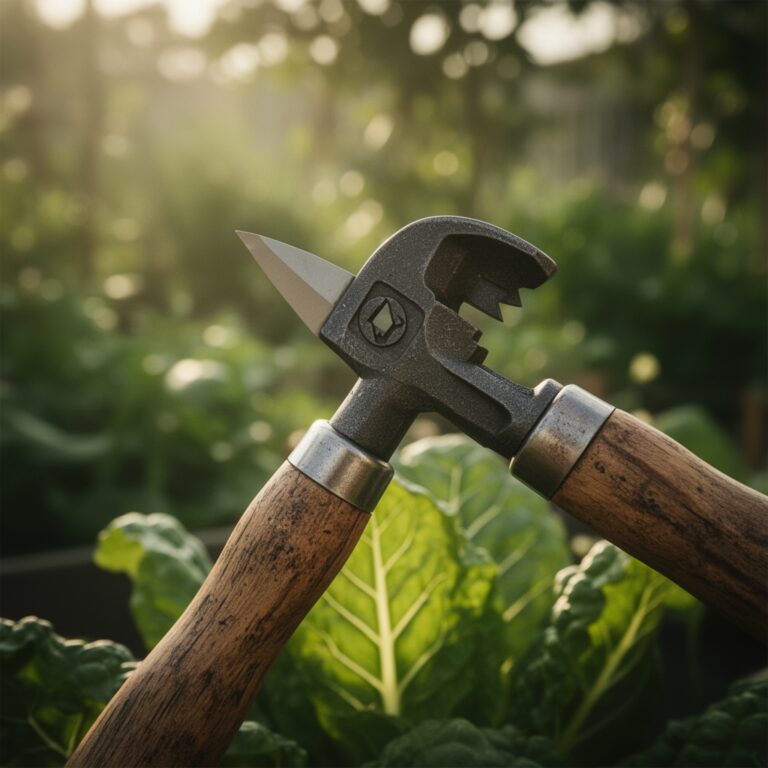
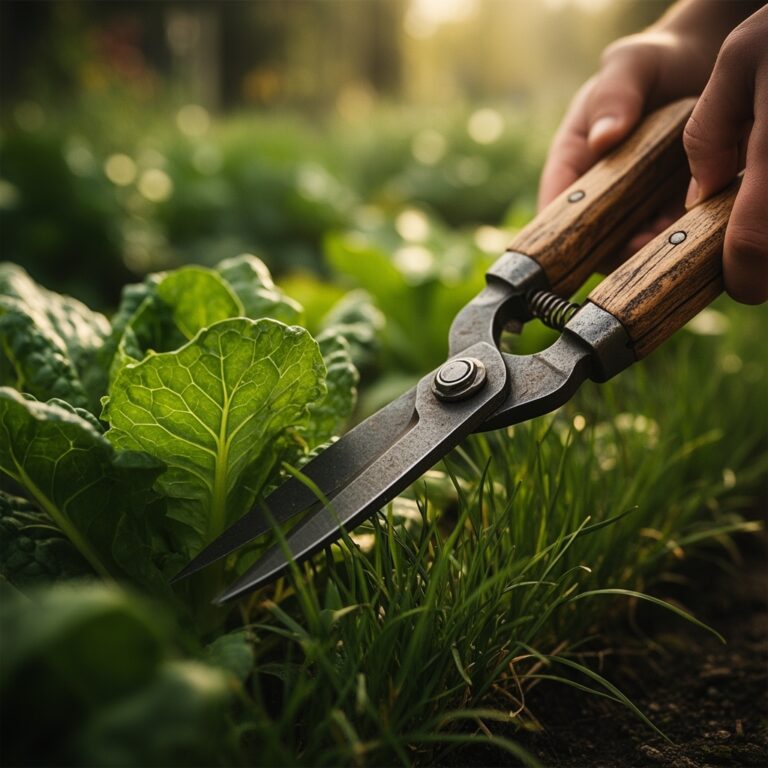
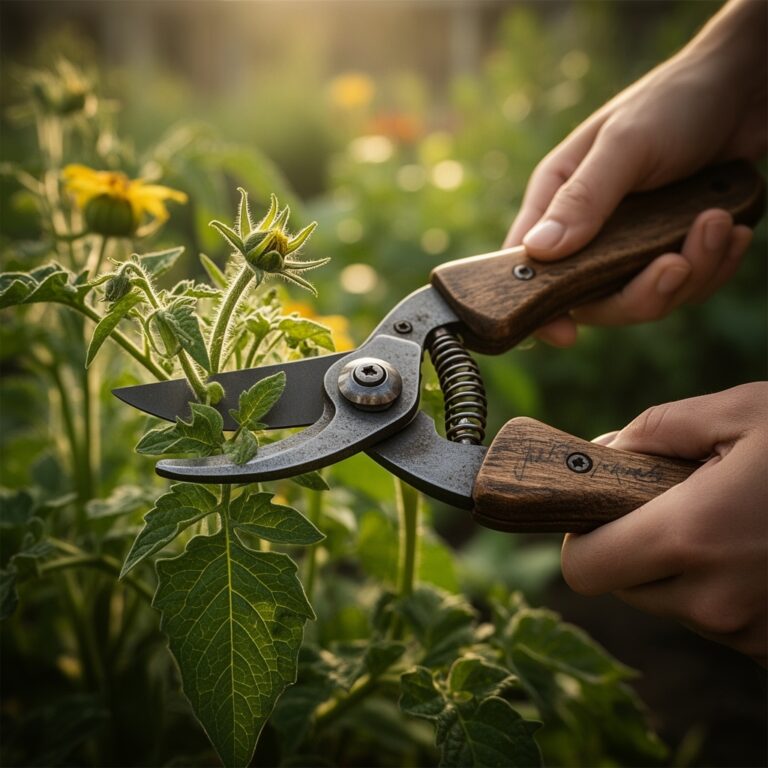
Pro-Tip: Prune tomato suckers at 45-degree angles when they reach 2 inches. This promotes air circulation and redirects energy toward fruiting trusses.
Troubleshooting
Symptom: Yellowing lower leaves with green veins (interveinal chlorosis).
Solution: Magnesium deficiency. Dissolve 1 tablespoon Epsom salt per gallon water. Drench substrate every two weeks.
Symptom: Blossom end rot, dark leathery spots on fruit bottoms.
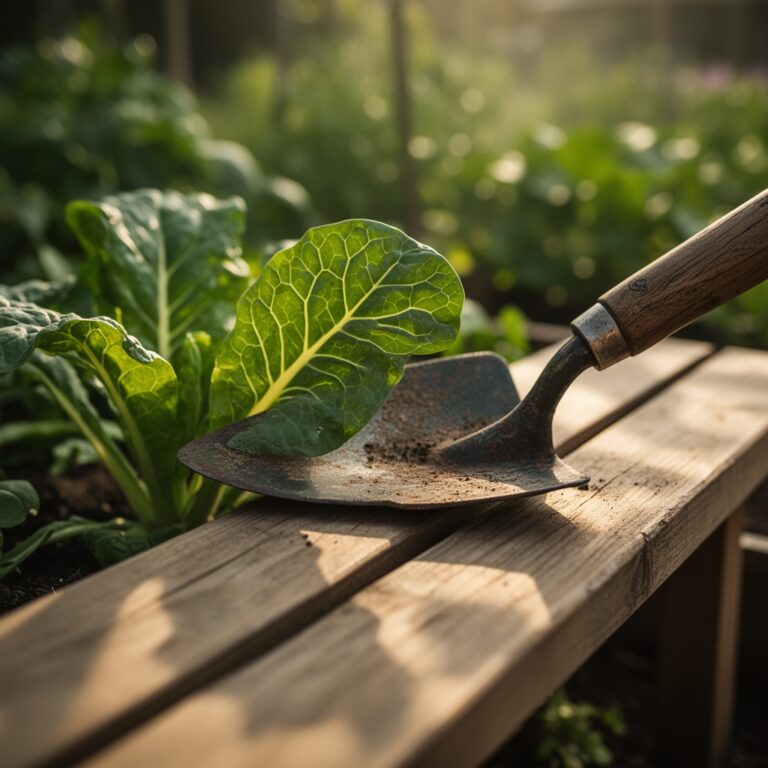
Solution: Calcium uptake failure from inconsistent moisture. Mulch container surface with 1 inch of straw. Water daily during fruit set.
Symptom: Wilting despite moist substrate.
Solution: Root rot from poor drainage or Pythium fungi. Remove affected plants. Sterilize containers with 10% bleach solution. Improve drainage by adding 20% more perlite.
Symptom: Stippled leaves with fine webbing.
Solution: Spider mites thrive in hot, dry conditions. Spray leaf undersides with insecticidal soap (2% potassium salts of fatty acids) every three days for two weeks.
Symptom: Stunted growth with purple-tinged leaves.
Solution: Phosphorus deficiency exacerbated by cold substrate. Warm containers by placing on heat-reflective surfaces. Side-dress with bone meal (3-15-0) at 1 tablespoon per gallon capacity.
Maintenance
Apply 1 inch of water per week through drip irrigation or hand watering. Container crops often need daily watering in temperatures above 85°F.
Feed every 14 days with balanced liquid fertilizer diluted to half-strength (e.g., 5-5-5 at 0.5 tablespoons per gallon). Increase potassium during flowering using 2-3-6 ratio.
Rotate containers 90 degrees weekly for even light exposure. South-facing positions receive 6-8 hours direct sun, ideal for fruiting crops.
Prune determinate varieties minimally. Remove only damaged foliage. Indeterminate tomatoes benefit from removing all suckers below the first flower cluster.
Monitor substrate EC (electrical conductivity) monthly using a TDS meter. Readings above 2.0 mS/cm indicate salt buildup. Leach by applying twice the container volume in water, allowing full drainage.
FAQ
How deep should containers be for root vegetables?
Carrots need 12 inches minimum, beets 10 inches, and radishes 6 inches. Depth directly correlates with root development potential.
Can I reuse substrate from previous seasons?
Yes, after amending. Remove old roots, add 30% fresh compost, and re-incorporate 4-4-4 fertilizer. Pasteurize at 180°F for 30 minutes if disease was present.
What container material works best?
Fabric pots promote air pruning of roots and superior drainage. Plastic retains moisture longer. Terra cotta breathes but dries quickly.
How often should I test substrate pH?
Test every 4-6 weeks during the growing season. pH drifts with fertilizer applications and organic matter decomposition.
Do containers need mulch?
Surface mulch reduces evaporation by 40% and moderates temperature swings. Use 1-2 inches of straw or shredded leaves, keeping material away from stems.