8 Sensitivity Steps for Repotting a Calathea
The scent of damp, acidic peat and the cool resistance of a turgid leaf against your palm signal the start of a critical horticultural intervention. Calatheas, members of the Marantaceae family, maintain a delicate equilibrium between root respiration and moisture retention. When the root mass begins to circle the interior of the pot, gas exchange slows and cellular turgor drops. Executing the correct steps for repotting a calathea requires precision to avoid transplant shock and root desiccation. This process is not merely a container change; it is a recalibration of the rhizosphere to support the plant's unique nyctinastic movements.
A successful repotting event hinges on understanding the plant's biological thresholds. These tropical perennials thrive in environments where the soil temperature remains between 65 and 75 degrees Fahrenheit. Deviation from this range during the procedure can lead to immediate stomatal closure and leaf curling. The objective is to transition the specimen into a larger volume of substrate while maintaining the integrity of the fine root hairs. These microscopic structures are responsible for the bulk of nutrient uptake and are highly susceptible to mechanical damage.
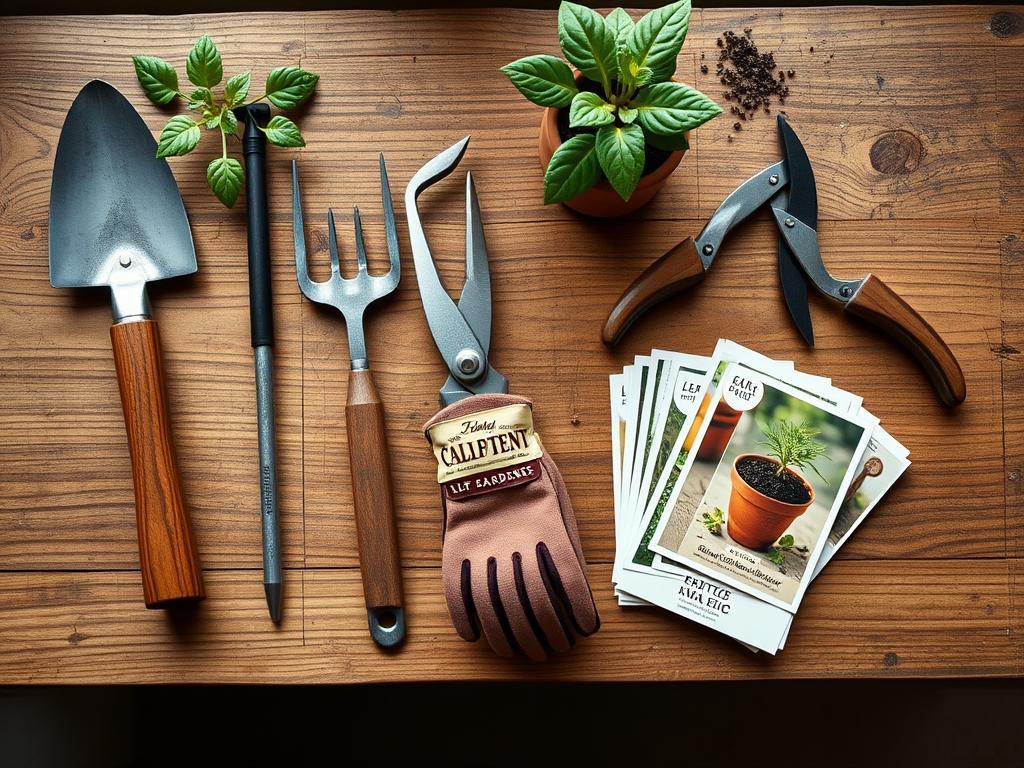
Materials:
Substrate composition is the primary driver of Calathea health. The ideal medium is a friable loam with a high Cation Exchange Capacity (CEC), allowing the soil to hold and release essential nutrients like potassium and magnesium. Aim for a soil pH between 5.5 and 6.5. A mix consisting of 50 percent peat moss or coco coir, 20 percent perlite, 20 percent orchid bark, and 10 percent worm castings provides the necessary porosity and moisture retention.
Regarding nutrient density, use a slow-release fertilizer with an NPK ratio of 3-1-2. High nitrogen levels support the vegetative expansion of the broad foliage, while the lower phosphorus ratio prevents salt buildup, which often leads to marginal leaf necrosis. Ensure the new container is only 1 to 2 inches wider in diameter than the current one. Using an oversized pot increases the risk of "perched water tables," where the bottom layer of soil remains anaerobic, leading to Pythium or other root rot pathogens.
Timing:
In most temperate climates (Hardiness Zones 8 through 11), the window for repotting opens in late spring or early summer. This aligns with the plant's transition from a semi-dormant winter state to its primary vegetative growth phase. During this period, the biological clock of the Calathea is tuned to high light intensity and longer photoperiods, which stimulates the production of auxins in the apical meristems. These hormones signal the roots to expand into new territory.
Avoid repotting during the reproductive stage if the plant is flowering, as the energy expenditure is diverted away from root establishment. The safest time is typically 14 to 21 days after the last frost date when indoor ambient humidity levels naturally rise. This environmental buffer reduces the transpiration rate during the critical 48-hour window following the substrate change.
Phases:
Sowing and Preparation
Before the plant leaves its original housing, hydrate it thoroughly 24 hours in advance. This ensures the cells are at maximum turgidity. Prepare your workstation by sterilizing a hori-hori knife with 70 percent isopropyl alcohol to prevent the transmission of soil-borne pathogens.
Pro-Tip: Pre-moistening the new substrate prevents "wicking," where dry soil pulls moisture directly out of the plant's root tissues upon contact. This protects the delicate mycorrhizal symbiosis required for nutrient cycling.
Transplanting
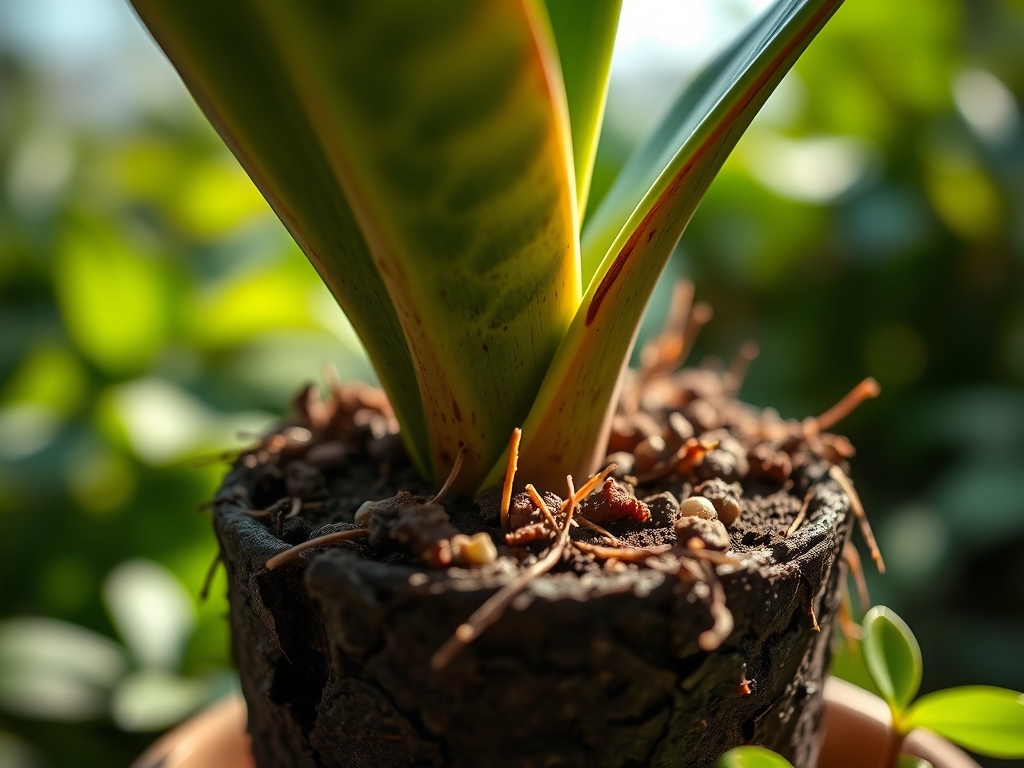
Gently invert the pot while supporting the base of the stems. If the plant is stuck, use a thin blade to sever the surface tension between the root ball and the container wall. Inspect the roots for any signs of senescence or decay. Healthy roots should be firm and light tan or white. Use bypass pruners to remove any mushy, black, or odorous tissue.
Pro-Tip: Do not aggressively tease out the roots. Calatheas are sensitive to root disturbance; keeping the central root mass intact preserves the existing rhizosphere bacteria that assist in nitrogen fixation.
Establishing
Center the plant in the new pot and fill the voids with the prepared friable loam. Press the soil down lightly to remove large air pockets but avoid heavy compaction, which reduces the oxygen available to the roots. The final soil level should sit 0.5 inches below the rim of the pot to allow for efficient watering.
Pro-Tip: After settling the soil, place the plant in a location with 50 percent higher humidity than usual for seven days. This suppresses auxin production in the leaves and encourages the plant to prioritize root elongation into the new substrate.
The Clinic:
Symptom: Yellowing of lower leaves (Chlorosis).
Solution: This typically indicates a Nitrogen deficiency or overwatering. Check the soil moisture meter; if it reads in the "Wet" zone for more than four days, the roots are suffocating. If moisture is correct, apply a liquid fertilizer at half strength.
Symptom: Brown, crispy leaf margins.
Solution: This is a classic sign of fluoride or chlorine sensitivity. Switch to distilled water or rainwater. Calatheas cannot process the heavy salts found in municipal tap water, leading to localized tissue death at the leaf edges.
Symptom: Sudden drooping (Loss of turgor).
Solution: Check for "air pockets" in the soil. If the roots are not in direct contact with the substrate, they cannot draw water. Use a chopstick to gently probe the soil and collapse any hidden voids.
Fix-It: Nitrogen Chlorosis
If the entire plant appears pale, it lacks the nitrogen necessary for chlorophyll synthesis. Apply a high-nitrogen foliar spray once every two weeks until the deep green color returns. Ensure the ambient temperature is above 60 degrees for the plant to metabolize the nutrients.
Maintenance:
Post-repotting maintenance requires a disciplined irrigation schedule. Provide approximately 1 cup of water per gallon of soil volume once the top inch of substrate feels dry. Use a soil moisture meter to ensure the core of the root ball remains at a consistent 40 to 60 percent moisture level.
Clean the leaves monthly with a damp cloth to remove dust, which can block stomata and reduce photosynthetic efficiency. If you notice leggy growth, use bypass pruners to remove older leaves at the base of the petiole. This encourages the plant to redirect energy to new, more efficient foliage. Maintain a consistent humidity level of at least 50 percent using a dedicated humidifier or a gravel tray filled with water.
The Yield:
While Calatheas are grown primarily for foliage, their "yield" is measured in leaf size and color saturation. To maximize the aesthetic output, monitor the light levels. These plants require indirect light between 1,000 and 2,000 foot-candles. Direct solar radiation will bleach the anthocyanins responsible for the purple undersides of the leaves. If you intend to propagate by division during the repotting process, ensure each section has at least two healthy leaves and a robust portion of the rhizome. Treat the cut ends with a fungicidal powder to prevent rot before placing them in their own containers.
FAQ:
How do I know when to repot my Calathea?
Look for roots emerging from drainage holes or water sitting on the soil surface. If growth stalls during spring and the plant requires watering more than twice a week, the root-to-soil ratio is likely too high for the current container.
Can I use standard potting soil?
Standard soil is often too dense and retains excessive moisture. Amend it with perlite and orchid bark to increase aeration. Calatheas require a specialized mix that balances high moisture retention with rapid drainage to prevent root hypoxia.
Why are the leaves curling after repotting?
This is a defensive response to transpiration stress. The plant closes its leaves to reduce surface area and conserve water. Increase local humidity and ensure the soil is evenly moist to help the plant recover from the transition.
Should I fertilize immediately after repotting?
Wait at least four to six weeks. The new substrate usually contains enough nutrients for initial growth. Adding fertilizer too soon can burn the sensitive new root hairs that are attempting to establish themselves in the new medium.