9 Best Heavy-Duty Tool Boxes for Garden Maintenance Kits
The scent of damp earth and the crisp turgor of a healthy leaf define the successful landscape. Maintaining this physiological balance requires more than just intent; it demands a mobile command center capable of protecting precision instruments from moisture and impact. Selecting the best tool boxes for garden maintenance ensures that your bypass pruners remain sharp and your soil moisture meters stay calibrated. A disorganized kit leads to neglected pruning or missed structural issues in the woody perennials. Professional maintenance relies on having immediate access to specialized hardware, whether you are adjusting irrigation emitters or performing emergency surgery on a damaged limb.
Materials:
A heavy duty tool box must house the inputs necessary for soil optimization. For general maintenance, target a **friable loam** substrate with a **Cation Exchange Capacity (CEC) of 15 to 25**. Your kit should include amendments to manage a **pH range of 6.2 to 6.8**, which is the window for maximum nutrient bioavailability.
Carry specialized fertilizers with specific NPK ratios. For vegetative growth, an 10-5-5 NPK ratio provides the nitrogen necessary for chlorophyll synthesis. For flowering stages, transition to a 5-10-10 NPK ratio to support phosphorus demand during reproductive development. The physical texture of your amendments should be granular to prevent leaching in high-porosity soils. Store these in airtight, UV-resistant compartments within your tool box to prevent chemical degradation or clumping from atmospheric humidity.
Timing:
Successful garden maintenance is dictated by the United States Department of Agriculture (USDA) Hardiness Zones. In Zones 7 through 9, the window for structural pruning begins in late dormancy, typically between January 15 and February 20. This timing precedes the "Biological Clock" transition where the plant moves from its dormant state to the vegetative stage.
As soil temperatures reach a consistent 55 degrees Fahrenheit, the rhizosphere becomes active. This is the critical moment to deploy your maintenance kit for first-stage fertilization. Monitoring the photoperiod is essential; as day length exceeds 12 hours, plants increase their metabolic rate, requiring more frequent checks of turgor pressure and nutrient uptake. Failure to align maintenance with these biological windows results in stunted growth or increased susceptibility to environmental stressors.
Phases:
Sowing
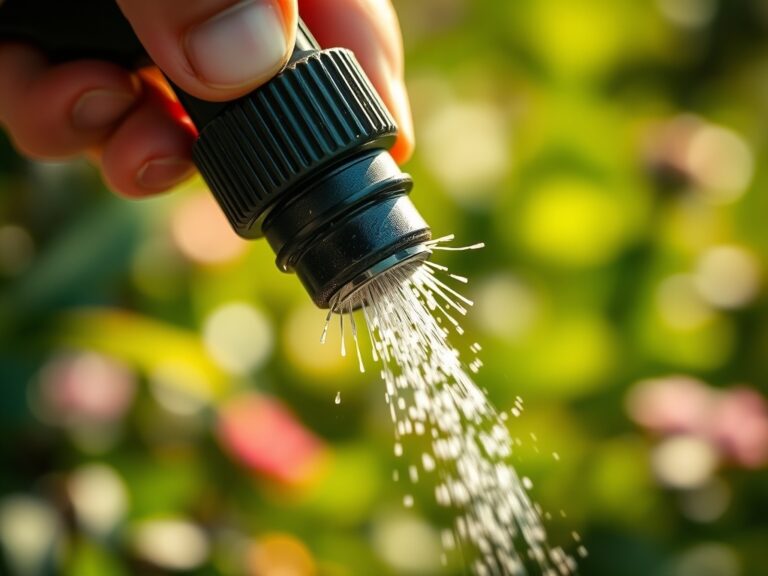
When starting seeds, the maintenance kit must include precision labels and a fine-mist applicator. Ensure the germination medium is kept at a constant 70 to 75 degrees Fahrenheit.
Pro-Tip: Maintain consistent moisture to trigger imbibition, the process where the seed coat absorbs water to activate metabolic enzymes. Without this specific hydraulic pressure, the embryo remains dormant and susceptible to fungal decay.
Transplanting
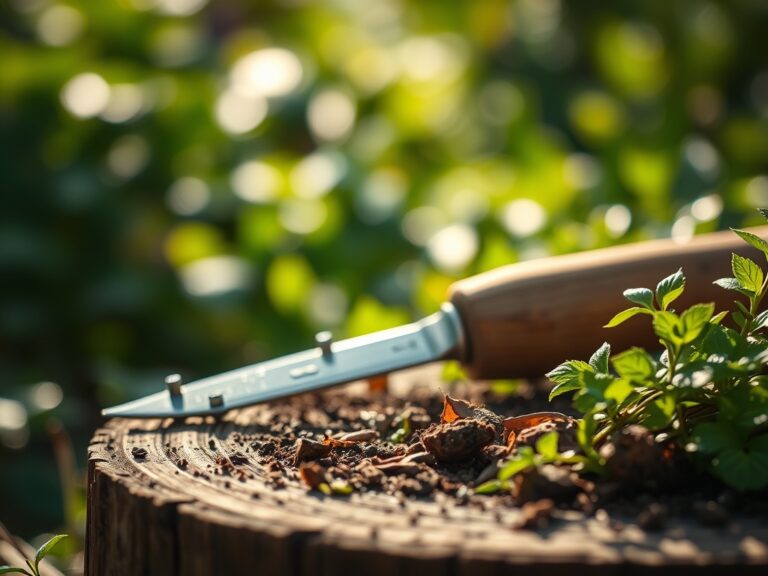
Moving a plant requires a hori-hori knife to cleanly slice through circling roots. The new planting hole should be twice the width of the root ball but no deeper than the original container depth to prevent crown rot.
Pro-Tip: Minimize light exposure to the root system to prevent photomorphogenesis in tissues designed for darkness. Rapidly re-establishing mycorrhizal symbiosis through the application of fungal inoculants during this phase increases the root surface area for water absorption.
Establishing
The first 21 to 45 days are critical for vascular integration. Use a soil moisture meter to ensure the root zone remains at 60 percent field capacity.
Pro-Tip: Avoid heavy nitrogen application during the first two weeks to prevent auxin suppression. High nitrogen levels can prioritize foliage over root development, leading to a structurally weak plant that cannot survive high-wind events or heat spikes.
The Clinic:
Physiological disorders often mimic pathogen attacks but are frequently rooted in environmental or nutritional imbalances.
Symptom: Interveinal chlorosis on young leaves.
Solution: This indicates an Iron (Fe) deficiency, often caused by a pH above 7.0. Apply chelated iron and adjust soil pH using elemental sulfur to reach a 6.5 target.
Symptom: Blossom end rot in fruiting crops.
Solution: This is a Calcium (Ca) transport issue. Ensure consistent irrigation of 1.5 inches per week to facilitate the movement of calcium through the xylem; calcium is immobile and relies on the transpiration stream.
Symptom: Purpling of older foliage.
Solution: Phosphorus (P) deficiency. This often occurs in cold soils below 50 degrees Fahrenheit where microbial activity is low. Apply a water-soluble high-phosphorus starter fertilizer.
Fix-It for Nitrogen Chlorosis: If the entire leaf turns pale yellow, apply a quick-release urea-based fertilizer. Nitrogen is mobile; the plant scavenges it from old growth to support new shoots, hence the yellowing of bottom leaves first.
Maintenance:
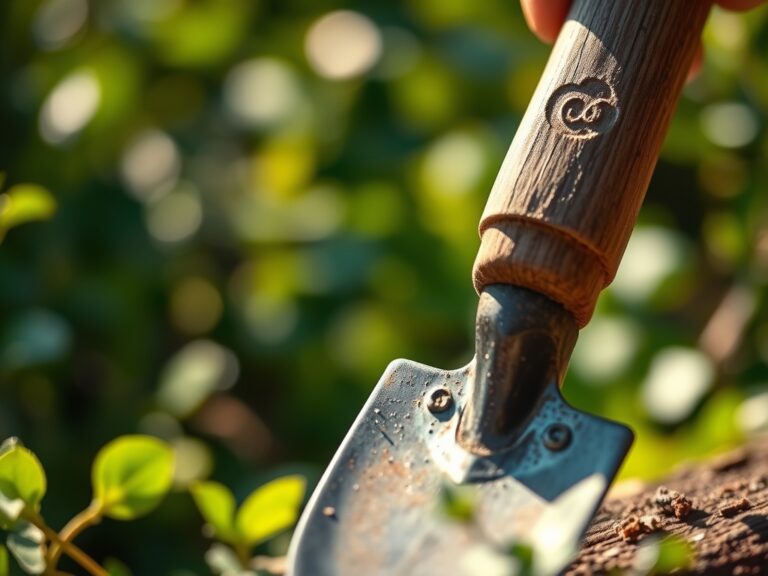
Precision maintenance requires a standardized regimen. Deliver 1.5 inches of water per week directly at the drip line rather than the trunk to encourage lateral root expansion. Use bypass pruners for live tissue to ensure a clean "scissoring" cut that heals faster than the crushing action of anvil pruners.
Clean your tools with 70 percent isopropyl alcohol between every plant to prevent the mechanical transmission of vascular pathogens. Check the sharpness of your hori-hori knife monthly; a dull blade tears the cambium layer, creating an entry point for opportunistic fungi. Calibrate your soil moisture meter by testing it in a saturated sponge versus dry sand to ensure the probe's accuracy before making irrigation adjustments.
The Yield:
Harvesting is the final stage of the maintenance cycle. For most leafy greens, harvest before the plant reaches senescence, typically characterized by the elongation of the central stalk. For fruiting bodies, harvest when the abscission layer at the stem base begins to weaken.
Use a sharpened blade to make a clean cut, leaving a small portion of the pedicel attached to the fruit. This reduces the rate of moisture loss and prevents "bleeding" of internal fluids. Immediately move harvested material to a cool, shaded area to reduce field heat. Lowering the temperature by 10 degrees Fahrenheit can double the shelf life of the produce by slowing down the plant's post-harvest respiration rate.
FAQ:
What is the best material for a garden tool box?
High-density polyethylene (HDPE) or heavy-duty steel with a powder-coated finish is best. HDPE resists UV degradation and chemical corrosion from fertilizers, while steel provides superior structural integrity for heavy loads of hand tools and soil amendments.
How do I prevent rust in my garden tool box?
Maintain a thin film of mineral oil on all carbon steel tools. Include silica gel desiccant packets in the tool box compartments to absorb atmospheric moisture. Ensure the box has a gasket seal to prevent water ingress during irrigation or rain.
Why is tool box organization important for plant health?
Organization prevents cross-contamination. Dedicated slots for sterilized pruning shears ensure you do not inadvertently use a contaminated blade on a healthy specimen. It also allows for rapid response to physiological stressors like wilting or nutrient deficiencies.
Can I store liquid fertilizers in my tool box?
Only if stored in upright, leak-proof containers within a secondary containment tray. Temperature fluctuations inside a tool box can cause plastic bottles to expand and leak, potentially damaging electronic moisture meters or corroding metal hand tools.