9 Stem-Protection Steps: Installing a Garden Hose Guide
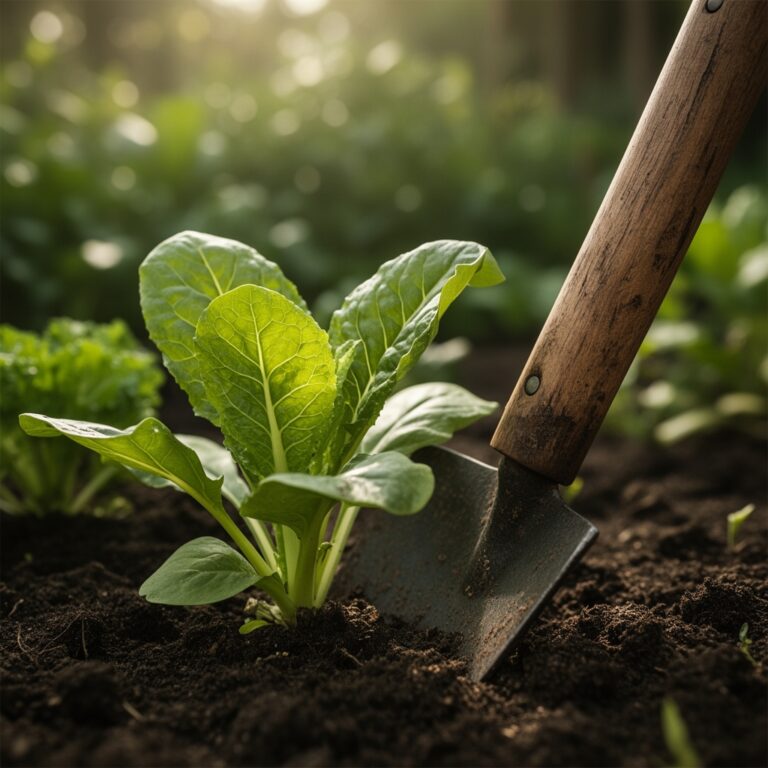
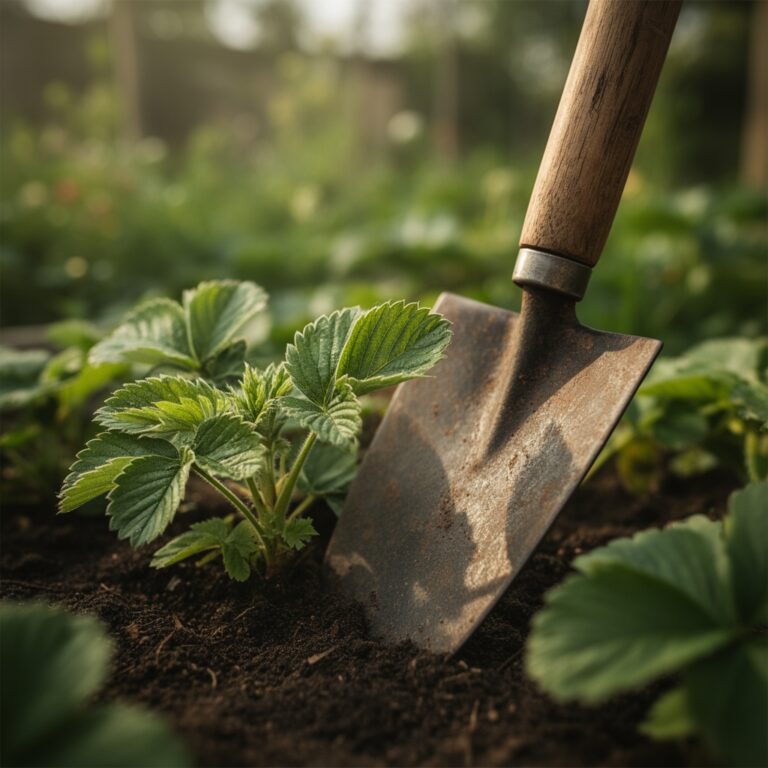
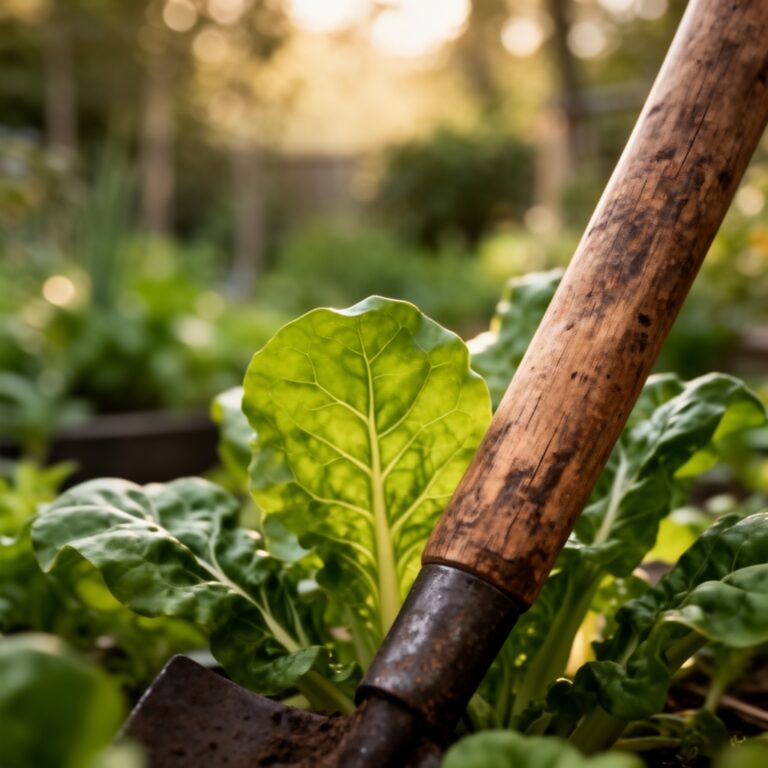
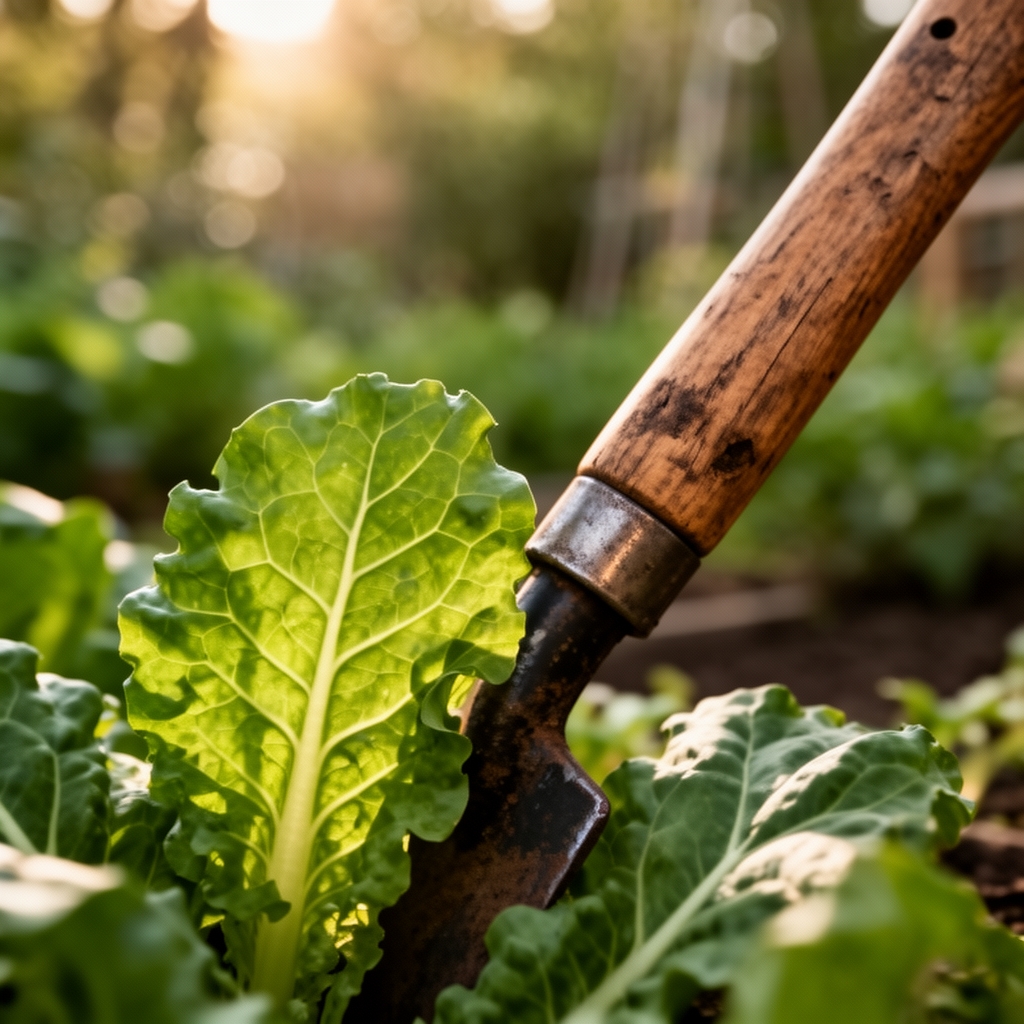
Dragging a garden hose across young tomato seedlings snaps their stems at the soil line, severing vascular tissue before plants establish secondary xylem. A single careless pull destroys weeks of vegetative growth and forces replanting cycles that push harvest dates into autumn frost zones. The steps for installing a vegetable garden hose guide protect stem cambium during critical establishment phases, preserving auxin distribution patterns that govern apical dominance and lateral branching. Installing purpose-built guides creates physical barriers between irrigation equipment and tender growth points, maintaining the structural integrity of annual vegetables from transplant through final harvest.
Materials
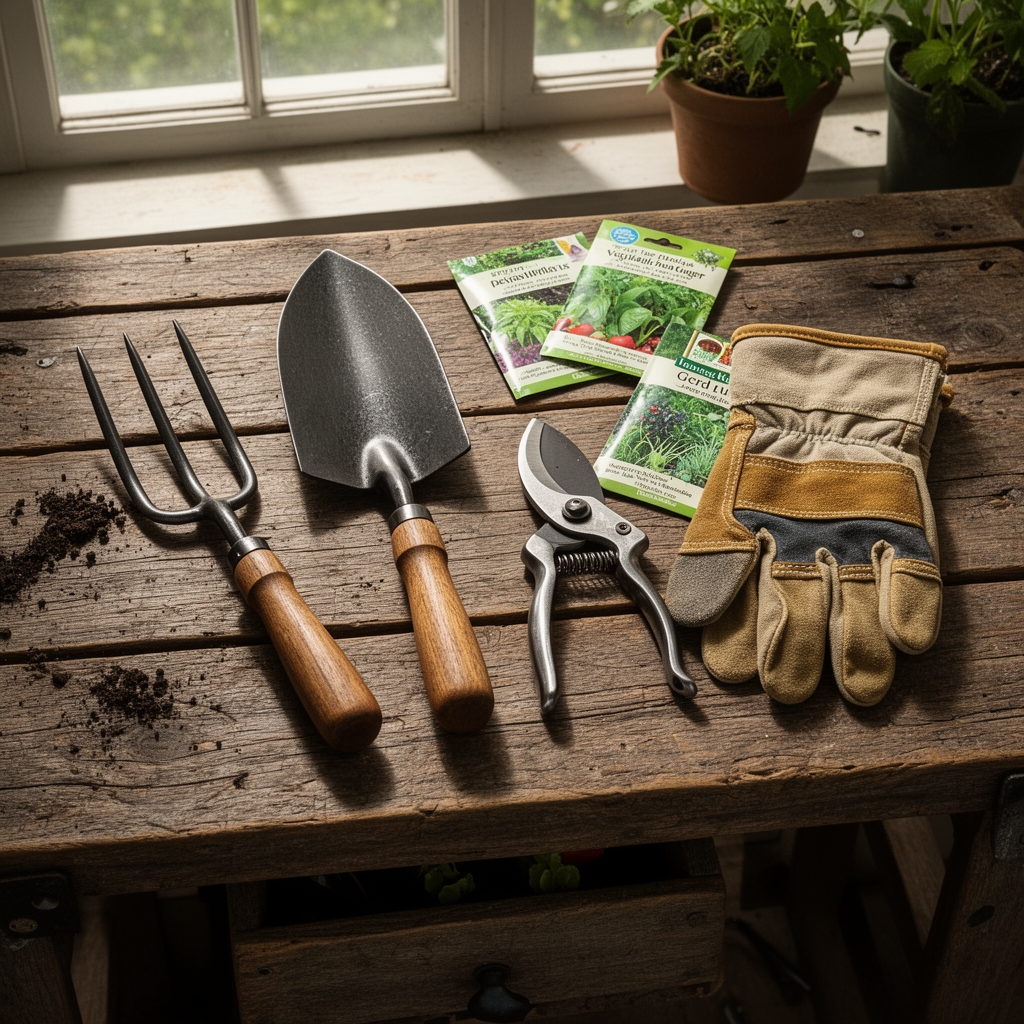
Select galvanized steel or UV-resistant HDPE stakes measuring 18-24 inches in length with a minimum diameter of 0.5 inches. Powder-coated aluminum models resist corrosion in acidic soils (pH 5.5-6.2) common to vegetable beds amended with sulfur or peat moss. Purchase rubber hose sleeves with 0.75-inch inner diameters to cushion friction points. Acquire a 3-pound hammer for installation and a soil pH test kit calibrated to 0.2 increments.
Before installation, broadcast a balanced organic fertilizer with an NPK ratio of 4-4-4 across beds, delivering 0.5 pounds of actual nitrogen per 100 square feet. This formulation supports mycorrhizal fungi colonization without promoting excessive vegetative growth that weakens stem structural carbohydrates. Add dolomitic limestone at 5 pounds per 100 square feet if soil pH falls below 6.0, optimizing calcium availability for cell wall rigidity in developing stems.
Timing
Install guides 7-10 days after the last expected frost date for USDA Hardiness Zones 5-8, when soil temperatures stabilize at 55-60°F at a 4-inch depth. This window coincides with transplanting schedules for warm-season crops including tomatoes (Solanum lycopersicum), peppers (Capsicum annuum), and eggplants (Solanum melongena). In Zone 9-10 regions, install guides during late winter planting periods, typically mid-February through March.
Cool-season crops such as brassicas tolerate installation during early spring when soil temperatures reach 40°F. Stakes driven into frozen or waterlogged ground suffer frost heaving, creating gaps that negate protective function.
Phases

Sowing Phase
Mark bed corners and midpoints along 20-foot intervals using landscape marking paint. Drive stakes 6-8 inches deep at 45-degree angles away from bed centers, creating outward deflection points. The angled installation redirects hose momentum away from root zones rather than allowing perpendicular impacts that compact soil and damage feeder roots.
Pro-Tip: Install stakes 2 inches outside the bed perimeter before direct-seeding carrots or beans. This prevents root disturbance during stake placement and protects emerging hypocotyls vulnerable to mechanical damage during the first 14 days post-germination.
Transplanting Phase
Position additional stakes at 10-foot intervals along high-traffic pathways adjacent to newly transplanted seedlings. Thread rubber sleeves onto stake tops, extending 3 inches above the terminal point to eliminate sharp edges that abrade hose polymer coatings. Abraded hoses develop pinhole leaks that reduce water pressure and create muddy zones prone to damping-off pathogens (Pythium spp., Rhizoctonia solani).
Pro-Tip: Apply mycorrhizal fungi inoculant (Glomus intraradices) directly into transplant holes at 0.25 teaspoons per plant. The hyphal networks extend root surface area by 100-1000x, accelerating establishment and reducing transplant shock that makes stems brittle during the first 21 days.
Establishing Phase
Inspect guide stability weekly during the first month. Stakes in sandy soils (less than 15% clay content) require tamping after irrigation events that reduce cation exchange capacity and destabilize installation depth. Add organic matter at 2 cubic feet per 100 square feet annually to improve soil aggregation and stake retention.
Pro-Tip: Prune lower leaves on indeterminate tomatoes at a 30-degree angle 0.25 inches above axillary buds once plants reach 18 inches tall. Removing foliage below the first fruit truss improves air circulation around stakes, reducing humidity that accelerates galvanized coating oxidation.
Troubleshooting
Symptom: Stakes lean inward after three weeks, failing to deflect hoses.
Solution: Re-drive stakes at 50-degree angles in clay-dominant soils. Increase spacing to 8-foot intervals in high-traffic zones.
Symptom: Rubber sleeves crack and split within one season.
Solution: Replace with silicone sleeves rated for continuous UV exposure exceeding 2000 hours. Store removed stakes indoors during winter.
Symptom: Plants within 6 inches of stakes show chlorotic leaves and stunted growth.
Solution: Test soil for zinc toxicity from galvanized coatings. If zinc exceeds 50 ppm, switch to aluminum or bamboo alternatives.
Symptom: Hoses still damage stems despite guide presence.
Solution: Add secondary stakes at 5-foot intervals. Install horizontal crossbars connecting adjacent stakes at 12-inch heights to create continuous barriers.
Maintenance
Water vegetable beds with 1-1.5 inches per week, measured with rain gauges placed at soil level. Coil hoses after each use on wall-mounted reels positioned 30 feet from bed edges. Inspect stakes monthly for rust perforation or structural compromise. Replace any guide showing more than 20% surface corrosion.
Remove and sterilize stakes annually in a 10% bleach solution (9 parts water to 1 part sodium hypochlorite) for 15 minutes. This eliminates overwintering pathogen spores without degrading metal integrity. Reapply powder coating to scratched areas using zinc-rich spray primer.
FAQ
How deep should stakes penetrate compacted clay soil?
Drive stakes 10-12 inches deep in clay with bulk density exceeding 1.4 g/cm³. Deeper placement prevents seasonal heaving during freeze-thaw cycles.
Can plastic stakes replace metal versions?
Fiberglass-reinforced polycarbonate stakes withstand lateral hose pressure in Zones 7-10. Avoid standard PVC, which becomes brittle below 40°F and shatters under impact.
What spacing works for drip irrigation systems?
Place stakes every 15 feet along drip lines. Elevated tubing requires fewer guides than ground-level soaker hoses.
Do guides interfere with crop rotation?
No. Remove and reposition stakes annually during bed preparation. Mark permanent positions using GPS coordinates for orchards or perennial installations.
How many guides does a 400-square-foot garden require?
Install 12-16 stakes for rectangular beds measuring 10×40 feet. Increase density by 25% in gardens with multiple access points or irregular shapes.