
7 Best Vegetable Garden Tool Organizers for Sheds and Garages
Finding the best vegetable garden tool organizers transforms a chaotic shed into a workspace where every rake, hoe, and trowel hangs within arm's reach. Soil-crusted spades no longer clutter the floor. Pruners occupy dedicated slots. The scent of aged wood and metal becomes manageable when tools rest in systems designed for durability and instant access. Best vegetable garden tool organizers solve the frustration of digging through piles when transplanting seedlings demands speed.
Materials
Wall-mounted systems require pressure-treated lumber rated for pH 6.5 to 7.0 environments, resistant to rot from damp tool contact. Cedar and redwood boards naturally resist fungal colonization without chemical treatment. Steel pegboard frames need powder-coat finishes to prevent oxidation in high-humidity sheds where cation exchange capacity in surrounding soil may accelerate rust.
Metal hooks and brackets perform best when galvanized or coated with zinc at 1.5-mil thickness. Plastic organizers must carry UV inhibitors rated for 500 hours under ASTM G154 testing to prevent brittleness. Magnetic tool strips made from neodymium magnets hold 8 to 12 pounds per linear foot, securing hand tools without mechanical fasteners.
Organic fertilizer analogs apply here. Just as 4-4-4 organic meal provides balanced nutrition, a balanced organizer system provides equal access to digging tools, cutting implements, and hand cultivators. Synthetic systems, like quick-release plastic clips, offer immediate results but may degrade under temperature fluctuations exceeding 40 degrees Fahrenheit daily variance.
Composite materials combining recycled plastic and wood fiber mimic the structure of lignin-cellulose matrices in plant stems. They resist moisture absorption below 2% by weight, preventing warp in garages with seasonal condensation.
Timing
Install organizers during USDA Hardiness Zones' dormant windows when garden activity pauses. Zones 3 through 5 see installation between November and March, when frost heaves stabilize and shed access remains feasible. Zones 6 through 8 allow year-round mounting, though autumn offers lower humidity for adhesive curing.
Coordinate installation 4 to 6 weeks before spring soil temperatures reach 50 degrees Fahrenheit at 4-inch depth. This timing ensures tools occupy fixed positions before the rush of seed starting and bed preparation. Late-summer installation, 8 weeks before first frost dates, captures the transition from harvest chaos to winter storage.
Temperature affects adhesive-backed organizers. Epoxy-based mounting systems require ambient temperatures above 55 degrees Fahrenheit for 24-hour curing. Below this threshold, auxin-like polymer chains fail to cross-link properly, reducing load capacity by 40%.
Phases
Sowing Phase: Assessment and Measurement
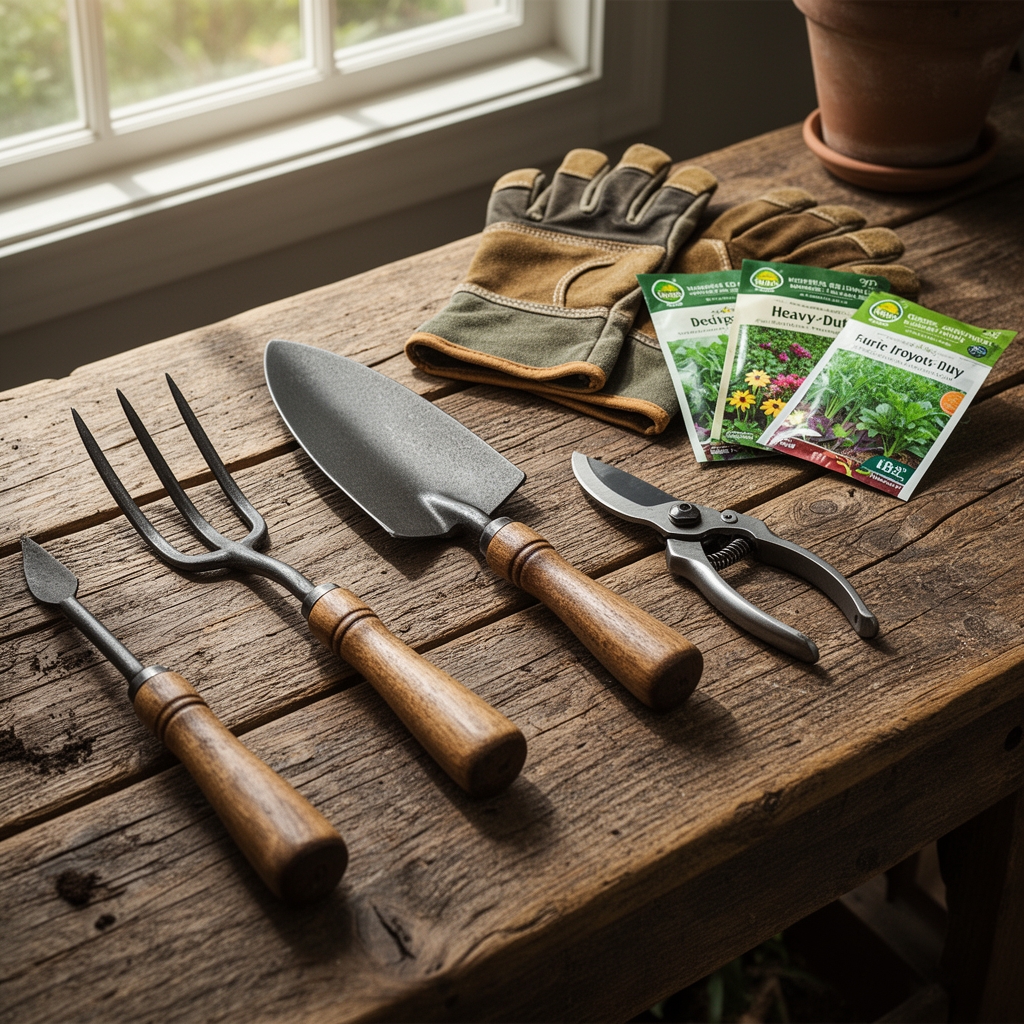
Inventory all tools by category: cultivation (hoes, rakes, cultivators), cutting (pruners, shears, loppers), digging (spades, trowels, forks), and maintenance (files, sharpeners, oil). Measure handle lengths to determine vertical clearance. Long-handled tools average 54 to 60 inches; allocate 66 inches of vertical space to prevent binding.
Map wall studs at 16-inch intervals using electronic stud finders. Load-bearing organizers require mounting into studs or blocking rated for 50 pounds per square foot. Mark locations with carpenter's pencil at heights between 48 and 72 inches for optimal ergonomic retrieval.
Pro-Tip: Apply mycorrhizal analogy to organization. Just as fungal networks distribute nutrients efficiently, cluster frequently used tools within a 24-inch radius of the primary entry point.
Transplanting Phase: Installation
Drill pilot holes at 3/16-inch diameter for lag screws in wood studs. Use toggle bolts rated for 100-pound capacity in drywall or panel applications. Mount horizontal tool racks with 3-degree downward tilt to prevent tools from sliding forward.
Install pegboard systems with 1-inch spacers behind panels, creating air gaps that reduce moisture trapping. Secure panels every 16 inches horizontally and 24 inches vertically. Insert hooks at 45-degree angles to maximize holding friction.
Magnetic strips mount with countersunk screws at 8-inch intervals. Position strips 52 inches above floor level for shoulder-height access. Verify magnet strength by testing with a 5-pound hand tool before full deployment.
Pro-Tip: Mimic apical dominance in pruning. Place most-used tools at the "apex" of your reach zone, relegating specialty items to lower or higher positions requiring deliberate retrieval.

Establishing Phase: Optimization
Label zones with vinyl decals or engraved tags identifying tool types. Retroreflective labels improve visibility in low-light sheds. Create silhouette outlines on pegboards using permanent marker, establishing visual cues for correct placement.
Add drip trays beneath tool storage for soil and debris containment. Galvanized trays with 1-inch lips prevent sediment migration to shed floors. Install brush stations with stiff-bristle brushes mounted near tool returns to encourage cleaning before storage.
Pro-Tip: Apply fertilizer timing logic. Just as side-dressing nitrogen occurs at specific growth stages, reorganize tool positions every 90 days based on seasonal usage patterns.
Troubleshooting
Symptom: Tools slip from hooks or pegs repeatedly.
Solution: Replace smooth metal hooks with rubberized or textured variants. Increase hook diameter to match tool handle circumference. For handles between 1 and 1.5 inches, use hooks with 0.375-inch wire diameter. Apply friction tape to handle contact points.
Symptom: Rust develops on metal tools within 30 days of storage.
Solution: Shed humidity exceeds 60% relative humidity threshold. Install passive dehumidifiers using calcium chloride crystals at 2 pounds per 100 cubic feet. Coat tool metal surfaces with food-grade mineral oil at 0.5-mil thickness before hanging. Ensure air circulation exceeds 2 cubic feet per minute near tool zones.
Symptom: Organizer systems sag or pull away from walls under load.
Solution: Fastener failure indicates insufficient anchoring into structural members. Relocate mounts to studs or install backing plates distributing load across 48 square inches. Reduce tool density to 15 pounds per linear foot of horizontal rail.
Symptom: Handles crack or split at mounting contact points.
Solution: Wood handles exhibit moisture stress from uneven drying. Sand contact zones to 220-grit smoothness, removing splinters. Apply linseed oil at 24-hour intervals for three applications, penetrating 1/16 inch into wood fibers. Store tools vertically to prevent gravitational stress on weakened grain.
Symptom: Plastic organizers become brittle and crack after one season.
Solution: UV degradation exceeds material specifications. Replace with organizers containing benzotriazole or hindered amine light stabilizers (HALS). Relocate storage to interior shed walls receiving less than 4 hours of direct sunlight daily.
Maintenance
Clean mounting surfaces every 90 days using pH-neutral detergent solutions. Remove debris accumulation preventing full tool seating. Tighten fasteners quarterly, applying 15 foot-pounds of torque to lag screws. Inspect load-bearing components for stress fractures or corrosion pitting deeper than 0.5 millimeters.
Lubricate moving parts on quick-release systems with silicone spray every 6 months. Apply 0.2 ounces per pivot point. Replace worn rubberized grips annually or when compression sets exceed 25% of original thickness.
Recalibrate magnetic strips if holding strength diminishes. Clean magnet faces with isopropyl alcohol to remove oxidation films thicker than 0.1 millimeters. Verify wall anchor integrity by applying 30-pound lateral force; movement exceeding 0.125 inches requires re-anchoring.
Adjust tool positions seasonally. Winter storage emphasizes snow removal and cold-frame tools in primary zones. Spring configuration prioritizes transplanting trowels, dibbers, and cultivation rakes. Summer placement elevates harvest knives, pruners, and weeding tools. Autumn shifts focus to soil preparation forks and compost turners.
FAQ
What spacing prevents tool handle interference?
Maintain 4-inch minimum horizontal spacing between hanging tools. Long-handled implements require 6-inch intervals to prevent handle overlap during removal. Vertical spacing of 8 inches accommodates tilted tools without crowding.
Can organizers support cast iron or steel digging tools?
Yes, if mounted into studs with lag screws rated for 200-pound shear strength. Distribute weight across multiple contact points. Single-point hangers fail under 40-pound static loads when mounted to drywall alone.
How does humidity affect organizer longevity?
Relative humidity above 70% accelerates wood rot and metal oxidation. Composite and powder-coated steel systems tolerate 85% RH for 5 years. Untreated wood systems degrade within 2 years at sustained 75% RH.
Should tools hang or rest horizontally?
Hang digging tools vertically to prevent edge dulling and handle warping. Rest cutting tools horizontally on padded brackets to protect sharpened bevels. Store long-handled rakes and hoes vertically to save floor space.
What fire safety considerations apply?
Maintain 36-inch clearance between tool organizers and electrical panels or heating elements. Avoid storing oily rags near tools; spontaneous combustion occurs when linseed oil-soaked materials reach 120 degrees Fahrenheit in confined spaces.