9 Drainage Steps to Prepare a Raised Bed Vegetable Garden
Poor drainage transforms a raised bed from a thriving ecosystem into a stagnant swamp where roots rot and vegetables fail. Learning how to prepare a garden for a raised bed vegetable garden begins with understanding that elevation alone does not guarantee drainage. Water must move through the soil profile at a rate of 1 to 6 inches per hour, depending on crop selection. A properly drained bed supports aerobic microbial populations, encourages mycorrhizal colonization, and prevents anaerobic conditions that produce phytotoxic compounds.
Materials
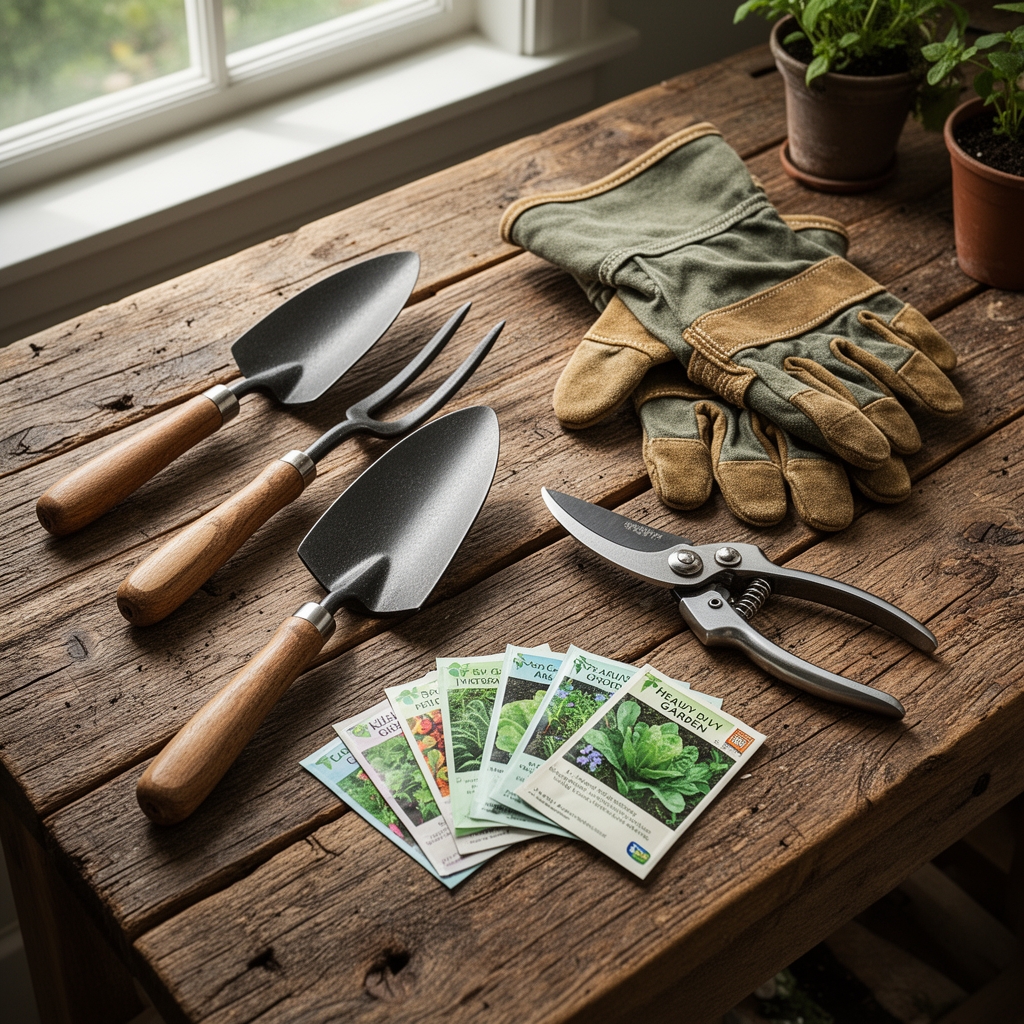
Gather coarse sand or perlite (particle size 2-5mm), aged compost with a C:N ratio below 20:1, and peat moss or coconut coir to improve cation exchange capacity. Select a balanced organic amendment such as 4-4-4 or 5-5-5 to establish baseline fertility. The pH should measure between 6.0 and 7.0 for most vegetables; amend acidic soils with dolomitic lime at 5 pounds per 100 square feet, or lower alkaline soils with elemental sulfur at 1 pound per 100 square feet. Acquire landscape fabric rated at 3-5 ounces per square yard to suppress perennial weeds without blocking water. Purchase untreated lumber or composite boards for bed frames. Cedar and redwood resist decay for 10-15 years without chemical preservatives. Avoid railroad ties or pressure-treated wood containing chromated copper arsenate.
Timing
Execute drainage preparation in early spring, 4-6 weeks before the last average frost date in your hardiness zone. Zones 3-5 should begin site work in late March through April. Zones 6-8 can start in February through early March. Zones 9-11 may prepare beds year-round but should avoid monsoon or heavy rain periods. Soil temperature must reach 50°F at a 4-inch depth before incorporating organic matter; colder conditions slow microbial decomposition and nutrient cycling. Allow amended beds to settle for 2-3 weeks before planting to stabilize the structure and activate beneficial microorganisms.
Phases
Step 1: Site Selection and Grading
Choose a location receiving 6-8 hours of direct sunlight. Grade the native soil to create a 1-2 percent slope away from structures. Remove turf, roots, and rocks to a depth of 2 inches.
Step 2: Perforation of Compacted Subsoil
Drive a digging fork or broadfork 8-12 inches into the native soil at 6-inch intervals. Rock the tool back and forth to fracture compacted layers without inverting soil horizons. This improves vertical water movement and root penetration.
Step 3: Installation of Drainage Layer
Spread a 2-inch layer of coarse gravel or crushed stone across the bed footprint. This basal layer prevents capillary rise from saturated subsoil and facilitates lateral drainage.
Step 4: Landscape Fabric Placement
Lay permeable landscape fabric over the gravel. Overlap seams by 6 inches and secure edges with landscape staples every 12 inches. This barrier blocks upward weed migration while allowing water to descend.
Pro-Tip: Inoculate the fabric surface with mycorrhizal fungi spores at a rate of 1 ounce per 10 square feet to accelerate root colonization once plants establish.
Step 5: Frame Construction
Assemble the raised bed frame to a height of 12-18 inches. Secure corners with galvanized screws or corner brackets. Level the frame using a 24-inch spirit level, adjusting with shims as needed.
Step 6: Soil Mixture Formulation
Combine 40 percent topsoil, 30 percent compost, 20 percent peat moss or coir, and 10 percent perlite or coarse sand. This blend achieves a bulk density of 0.8-1.0 g/cm³, ideal for root growth and drainage. Mix components in a wheelbarrow or on a tarp before filling the bed.
Pro-Tip: Adjust particle size distribution by screening compost through a 1/2-inch mesh to remove large fragments that create air pockets and inconsistent water distribution.
Step 7: Filling and Settling
Fill the bed to within 2 inches of the frame top. Water thoroughly with a hose to settle the mixture, then add more soil to restore the level. Expect 10-15 percent initial settling.
Step 8: Incorporation of Amendments
Broadcast the 4-4-4 organic fertilizer at 2-3 pounds per 100 square feet. Work it into the top 4 inches using a garden rake. Add 1/4 cup of rock phosphate per square yard to support root auxin distribution.
Step 9: Final Surface Preparation
Rake the surface smooth and create furrows or planting holes according to crop specifications. Water the bed to field capacity, defined as the point where free drainage ceases but soil remains moist.
Pro-Tip: Test drainage by digging a 12-inch hole, filling it with water, and timing how long complete absorption takes. Ideal drainage occurs in 1-4 hours.
Troubleshooting
Symptom: Standing water 24 hours after irrigation.
Solution: Core-aerate the bed with a hollow-tine aerator to create vertical channels. Top-dress with 1 inch of coarse sand and incorporate to a 3-inch depth.
Symptom: Yellowing lower leaves with purple venation (phosphorus deficiency).
Solution: Phosphorus binds in poorly drained, anaerobic soils. Improve drainage following Step 9 testing protocol, then apply bone meal at 2 pounds per 100 square feet.
Symptom: Fungal mats or mushroom growth on soil surface.
Solution: Excess moisture and incomplete compost decomposition. Remove mulch, cease irrigation for 3-5 days, and apply a 1/4-inch layer of horticultural grit to improve surface evaporation.
Symptom: Wilting despite moist soil (root rot pathogens).
Solution: Pythium and Phytophthora thrive in saturated conditions. Remove affected plants, incorporate additional perlite at 20 percent by volume, and drench soil with a biological fungicide containing Trichoderma harzianum.
Maintenance
Irrigate raised beds with 1-1.5 inches of water per week, delivered in 2-3 sessions to maintain consistent moisture without saturation. Insert a soil moisture probe 6 inches deep; irrigate when readings drop to 40-50 percent of field capacity. Mulch with 2-3 inches of straw or shredded leaves to moderate soil temperature and reduce evaporation. Replenish organic matter annually by top-dressing with 1/2 inch of finished compost each spring. Monitor cation exchange capacity every 2-3 years through soil testing, adjusting with compost or biochar as needed. Rotate crop families on a 3-year cycle to prevent pathogen buildup and nutrient depletion.
FAQ
How deep should a raised bed be for proper drainage?
Minimum depth of 12 inches allows adequate root development and drainage layer installation. Increase to 18 inches for root crops like carrots and parsnips.
Can I build a raised bed directly on lawn?
Yes, but remove sod first or smother with cardboard for 8-12 weeks. Grass roots create channels that disrupt the drainage layer and compete for nutrients.
What is the best soil mix ratio for drainage?
The 40-30-20-10 formula (topsoil, compost, peat/coir, perlite) provides optimal porosity and water-holding capacity for most vegetables.
How often should I replace raised bed soil?
Never replace entirely. Add 1-2 inches of compost annually to maintain structure and fertility. Full replacement is unnecessary with proper amendment practices.
Do I need to drill holes in the bed frame for drainage?
No. The gap between the basal drainage layer and frame bottom provides sufficient lateral outflow. Drilling holes weakens structural integrity and allows soil loss.