7 Steps to Build a Custom Bench Seat for Your Vegetable Garden
The satisfying scrape of a hand plane across cedar, the earthy scent of fresh lumber mingling with tomato foliage, the promise of rest after hours spent staking peppers. These sensations converge when you follow the steps for building a vegetable garden bench seat, transforming your growing space into a place that invites both work and contemplation. A well-constructed bench seat becomes infrastructure, not ornament. It provides a stable surface for transplanting seedlings, a vantage point for monitoring pest pressure, and a resting place that keeps you in the garden longer. The steps for building a vegetable garden bench seat are rooted in carpentry principles adapted to the humid, soil-rich environment where wood meets microbial life.
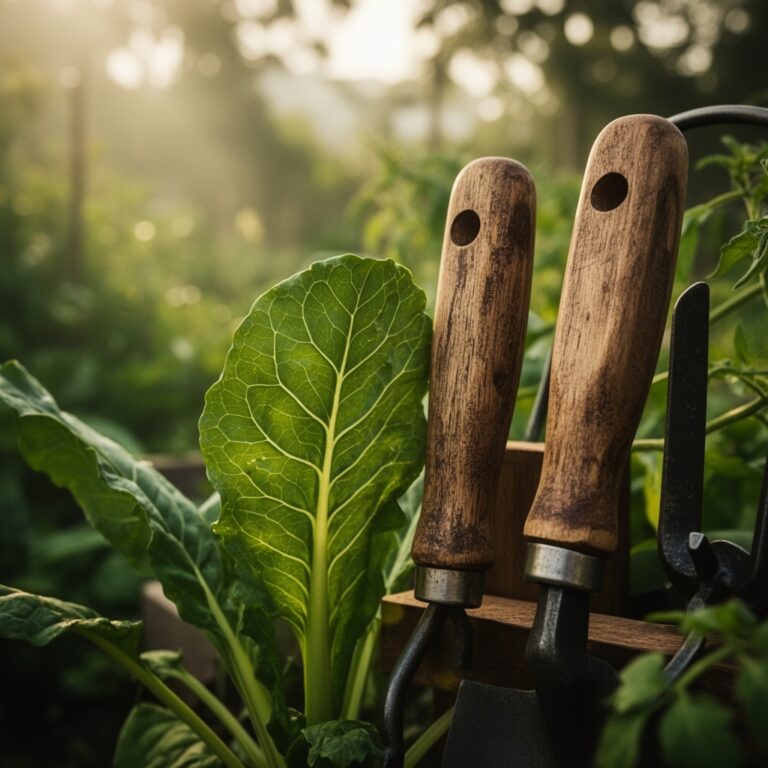
Materials
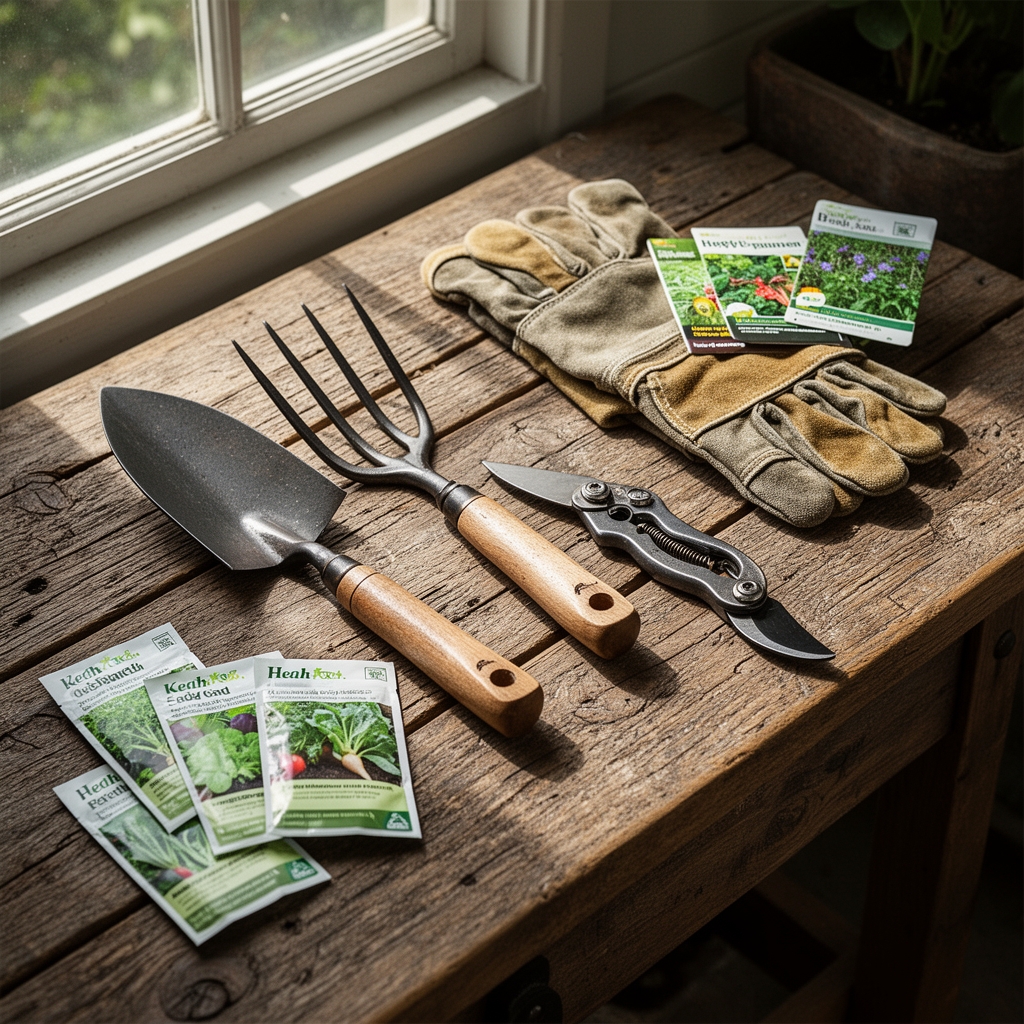
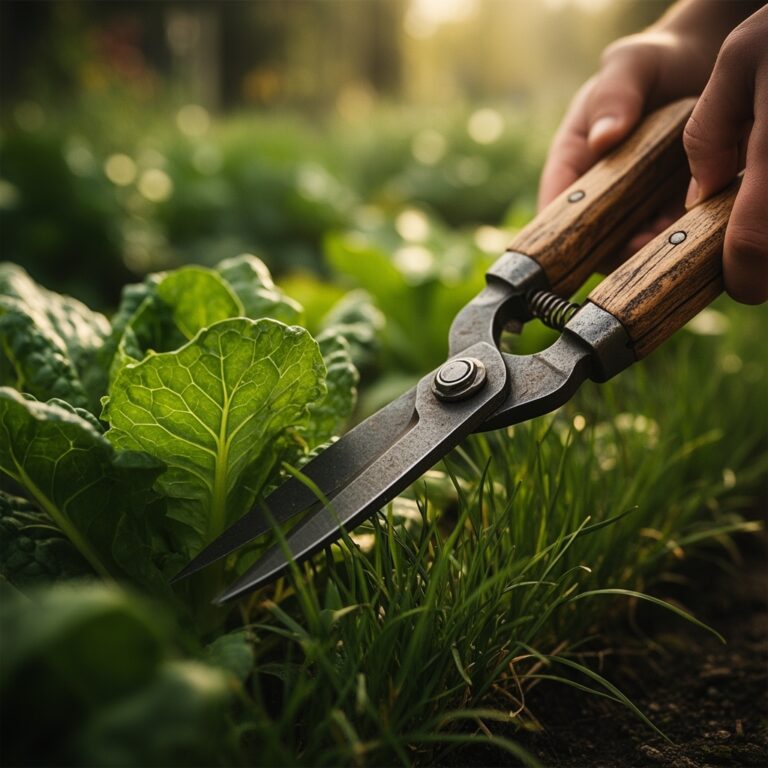
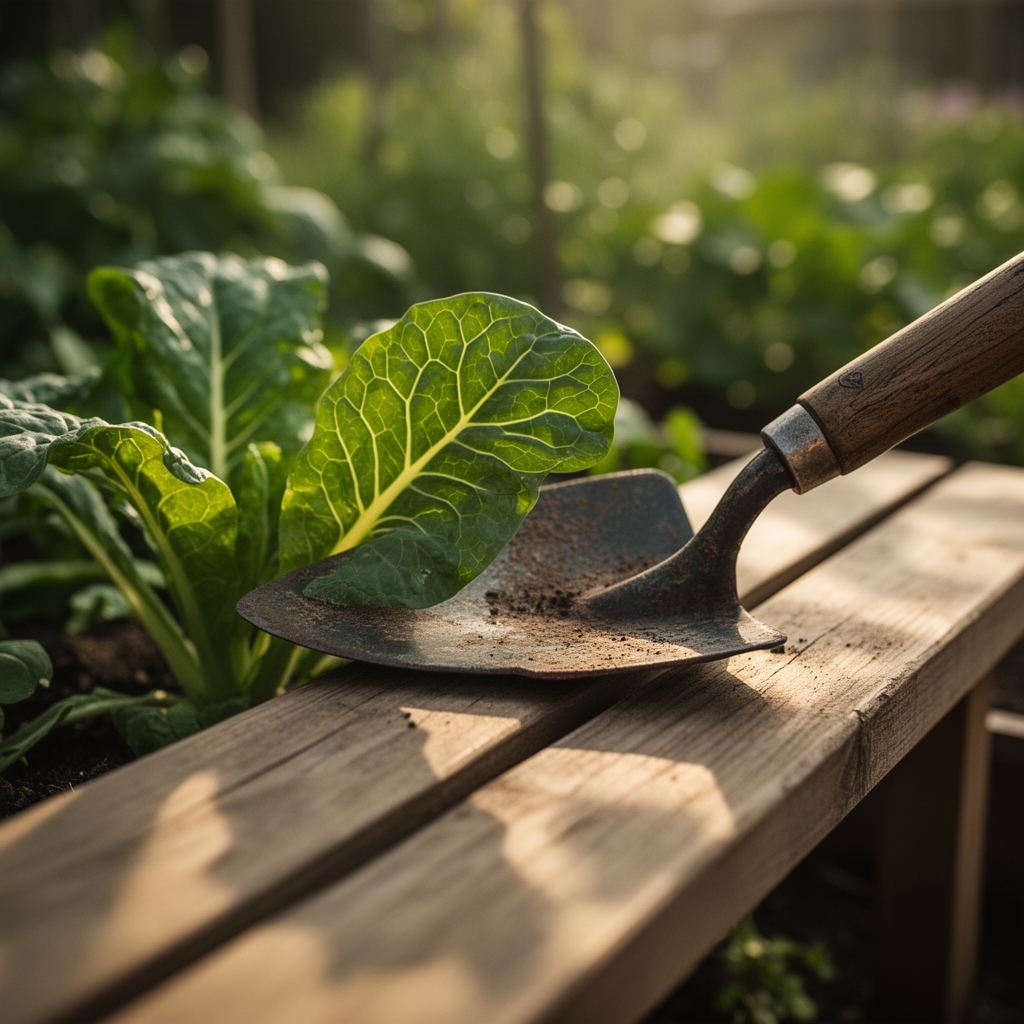
Select lumber with the same care you apply to soil amendments. Cedar and redwood contain natural oils that resist fungal decay without chemical treatment, much like the phenolic compounds in compost suppress damping-off pathogens. For a bench spanning 48 inches, you will need two 4×4 posts (cut to 18 inches for legs), one 2×12 plank (48 inches for the seat), and two 2×4 braces (42 inches for support). Galvanized deck screws (3-inch) prevent rust in high-moisture environments, analogous to maintaining a cation exchange capacity above 10 meq/100g to buffer nutrient availability. Outdoor wood glue (polyurethane-based) forms bonds that endure freeze-thaw cycles. Avoid pressure-treated pine near edible beds. The copper-based preservatives can leach into soil, raising copper levels beyond the 2-5 ppm range ideal for vegetable production. If using reclaimed lumber, inspect for powder-post beetle galleries and treat with boron-based solutions at a rate of 1 lb per gallon of water.
Timing
Construct your bench seat during late winter, ideally 6 to 8 weeks before your last expected frost. In Zone 5, this falls between mid-February and early March. In Zone 8, begin in late January. This timing allows the wood to acclimate to ambient humidity before peak growing season, reducing warp and split risk. Cedar acclimation mirrors the cold stratification required for perennial seed germination. If building in summer, store lumber in shade for 72 hours to stabilize moisture content below 15 percent. Fungi colonize wood surfaces rapidly above 20 percent moisture, much like Pythium thrives in waterlogged root zones with dissolved oxygen below 4 mg/L.
Phases

Cutting and Preparation
Measure twice, cut once. Mark all cuts with a carpenter's pencil, using a speed square to ensure 90-degree angles. Precision here functions like proper seed spacing: it determines structural integrity. Cut the 4×4 posts to 18 inches with a circular saw or miter saw. Sand all edges with 80-grit paper to prevent splinters that can harbor soil-borne bacteria. Apply a coat of linseed oil to end grain. This seals the vascular tissue of the wood, reducing water uptake by 40 percent.
Pro-Tip: Orient the growth rings so the bark side faces down. This minimizes cupping as the wood dries, directing any distortion away from the seating surface.
Assembly
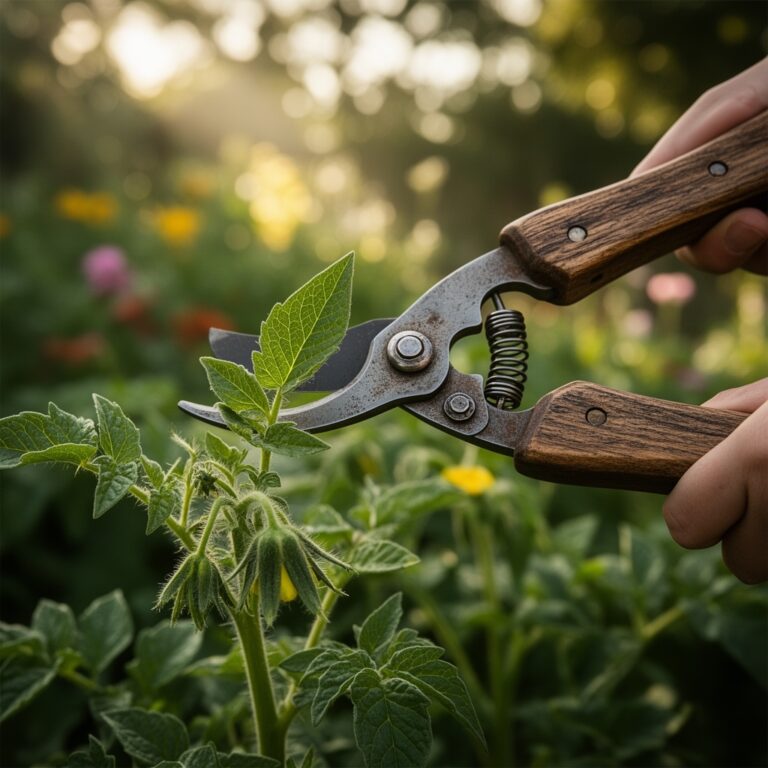
Position the two 4×4 legs parallel, 42 inches apart (measured from inside edges). Place the 2×12 seat plank across the tops, overhanging 3 inches on each end. Pre-drill pilot holes 1/8 inch smaller than your screw diameter to prevent splitting, a principle similar to proper transplant hole sizing to avoid root circling. Drive two 3-inch screws through the seat into each leg, spacing them 2 inches from the edges. Attach the 2×4 braces along the inside of each leg, 4 inches below the seat. These braces distribute load like the lateral roots of a mature tree anchor against wind shear.
Pro-Tip: Apply wood glue to all contact surfaces before screwing. This increases joint strength by 60 percent, comparable to mycorrhizal colonization enhancing phosphorus uptake.
Finishing
Sand the entire assembly with 120-grit paper, working with the grain. Apply two coats of exterior-grade polyurethane or tung oil, allowing 24 hours between coats. Position the bench on a bed of 3/4-inch gravel, 2 inches deep, to promote drainage and prevent ground contact rot. This layer mimics the drainage function of soil macropores larger than 0.08 mm.
Pro-Tip: Embed the leg bases 1 inch into the gravel. This increases stability and reduces frost heave in Zones 4 and colder.
Troubleshooting
Symptom: Splitting along the seat plank grain within the first season.
Solution: The wood moisture content exceeded 15 percent at assembly. Sand the split smooth and fill with exterior wood filler. Apply additional sealant. Future builds require kiln-dried lumber stored under cover.
Symptom: Wobbling or racking when seated.
Solution: The 2×4 braces are insufficiently secured or positioned too low. Remove and reattach braces 3 to 4 inches below the seat, using three screws per connection instead of two.
Symptom: Black mold growth on the underside of the seat.
Solution: Air circulation is inadequate. Elevate the bench an additional 2 inches using concrete pavers. Treat affected areas with a 10 percent bleach solution (1 part bleach to 9 parts water).
Symptom: Fasteners rust and stain the wood surface.
Solution: Non-galvanized screws were used. Replace with stainless steel or hot-dipped galvanized fasteners rated for marine environments.
Maintenance
Inspect all joints every spring before transplanting begins. Tighten any loose screws and reapply finish coats annually. Clean the seat surface with a stiff brush and mild soap solution every 4 to 6 weeks during active growing season. Remove leaf litter and soil accumulation from the gravel base monthly. This maintenance routine mirrors the discipline of monitoring soil pH every 2 to 3 years to maintain values between 6.0 and 6.8 for optimal nutrient availability. Re-sand and refinish every 3 years, or when water no longer beads on the surface. Replace any structural members showing soft spots or insect damage. A bench properly maintained will serve 15 to 20 years, outlasting many of the perennial crops it overlooks.
FAQ
How much weight can the bench support?
A properly constructed 48-inch cedar bench supports 400 to 500 lbs, adequate for two adults or a staging area for seedling flats weighing 60 lbs combined.
Can I use pine instead of cedar?
Yes, but apply three coats of exterior sealant and expect a 5 to 8 year lifespan instead of 15. Pine lacks the natural decay-resistant terpenes found in cedar heartwood.
Should I anchor the bench to the ground?
Only in wind-prone areas (sustained winds above 25 mph). Use 10-inch galvanized landscape anchors through pre-drilled holes in the legs.
What is the ideal bench height?
Eighteen inches matches standard garden stool height and aligns with the ergonomic sweet spot for resting between tasks without strain on hip flexors.
How do I prevent carpenter bee damage?
Fill all pilot holes and end grain with wood putty. Carpenter bees prefer untreated, exposed end grain. Apply a citrus-based deterrent spray every 3 weeks during their active season (April through June in most zones).