8 Precision Tips: Using a Garden Spade for Precise Edging
Using a garden spade for vegetable edging transforms informal beds into crisp, defined zones that prevent grass encroachment and optimize root development. The clean vertical cut severs lateral runners before they colonize fertile vegetable soil. A sharp spade severs rhizomes at 4 to 6 inches deep, the optimal depth for intercepting perennial weed roots while preserving topsoil structure. This technique maintains distinct boundaries that simplify crop rotation planning and prevent nutrient competition between ornamentals and edibles.
Materials
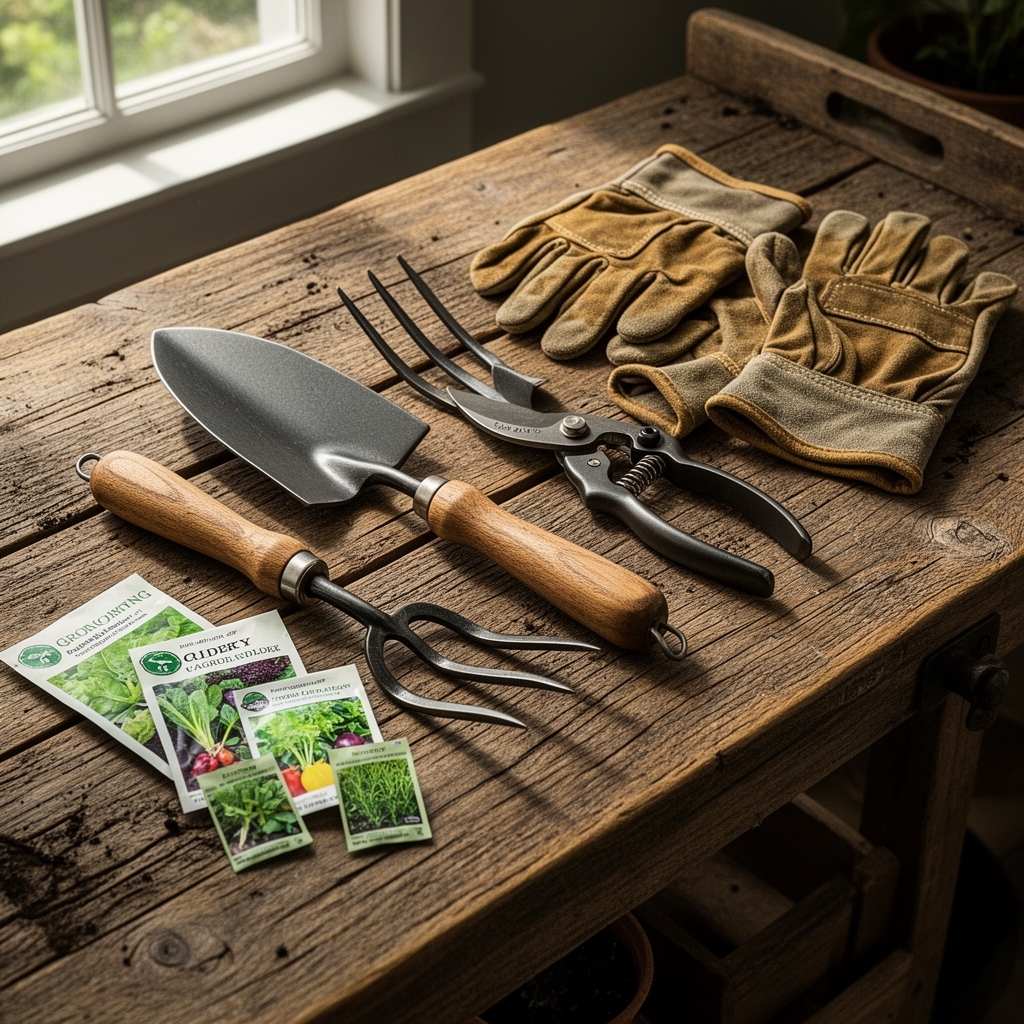
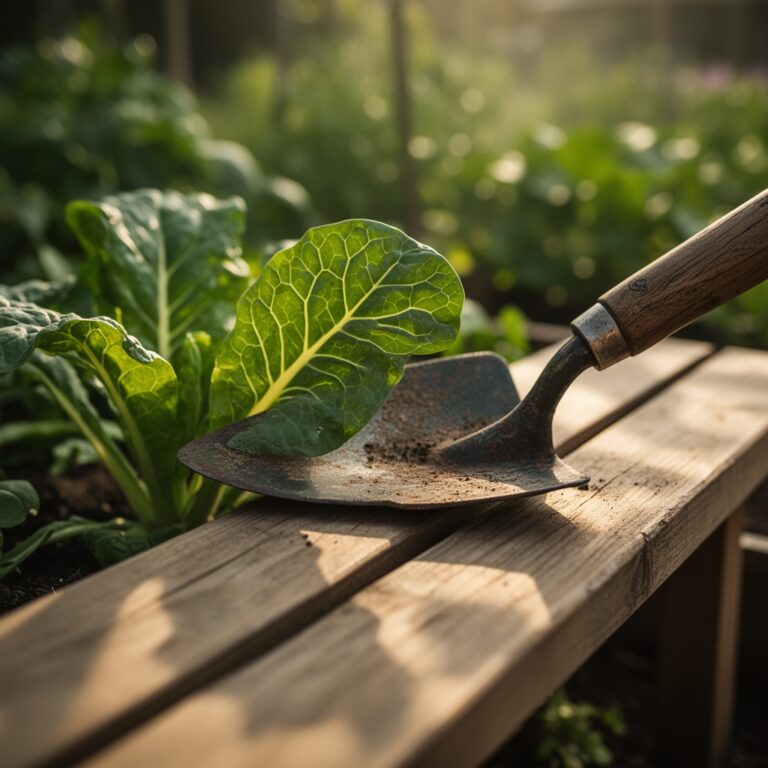
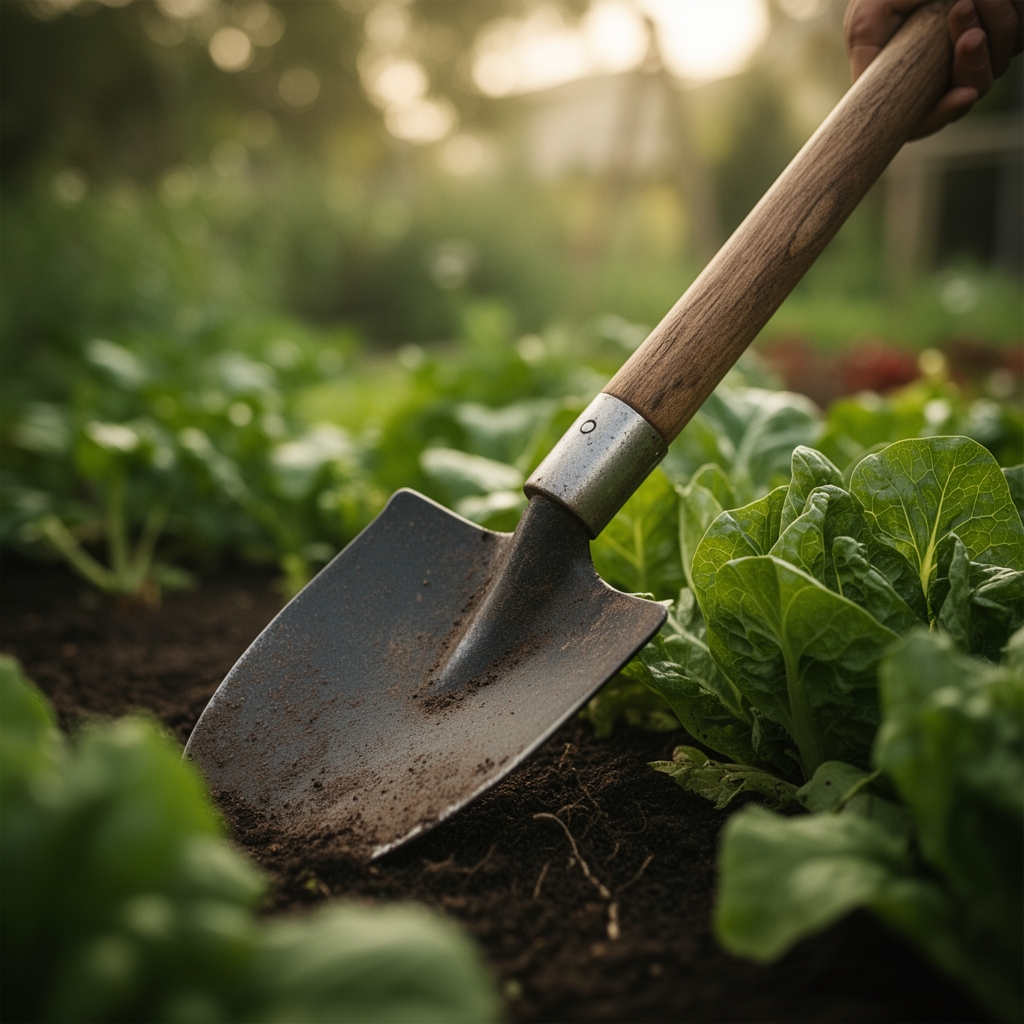
Select a forged-steel spade with a blade width of 7 inches and a sharp, flat edge. Stainless models resist soil adhesion in clay-heavy soils with cation exchange capacities above 25 meq/100g. Pair the spade with a half-moon edger for curved borders.
Amend edge zones with compost at pH 6.2 to 6.8, ideal for most vegetables. Apply a 4-4-4 organic fertilizer blend derived from feather meal, bone meal, and kelp at 2 pounds per 100 square feet along the edge trench. This balanced NPK supports lateral root development without encouraging excessive vegetative growth. For acid-loving crops like potatoes, incorporate sulfur to lower pH to 5.5 to 6.0. Add dolomitic lime at 5 pounds per 100 square feet for brassicas that thrive at pH 6.5 to 7.0.
Mycorrhizal fungi inoculant packets at 0.5 ounces per linear foot colonize root zones and extend nutrient uptake range by 200 percent. This colonization reduces fertilizer dependency and strengthens drought tolerance.
Timing
Execute initial edging in USDA Hardiness Zones 3 through 7 two weeks before the last expected spring frost. Soil temperatures should reach 50°F at 4-inch depth to prevent compaction during spade work. In Zones 8 through 10, edge in late February when winter rains soften soil structure.
Refresh edges mid-season, six to eight weeks after transplanting, when vegetable root systems establish and grass resumes aggressive growth. Fall edging occurs four weeks before first frost, allowing perennials to harden off without interference from severed weed roots. This timing prevents auxin distribution disruption in dormant root crowns.
Phases

Sowing Phase
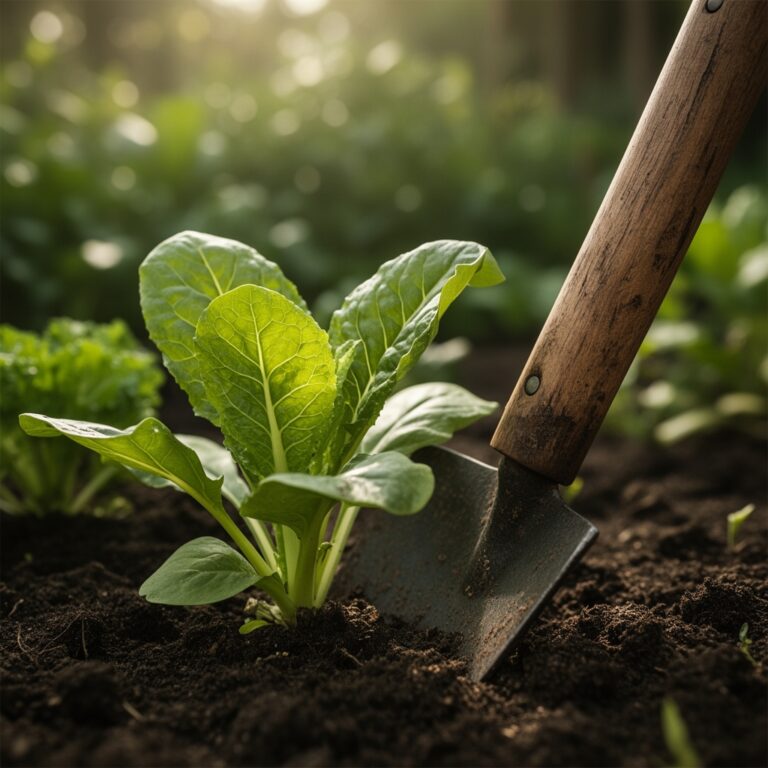
Mark bed perimeters with stakes and biodegradable twine at exact dimensions. Position the spade vertically against the twine line, foot pressure driving the blade to full depth. Rock the handle back 15 degrees to create a narrow trench. Remove excavated soil in 12-inch segments, maintaining a 90-degree angle to prevent collapse.
Pro-Tip: Angle the spade 5 degrees outward on each subsequent cut to create a slight bevel. This micro-slope channels runoff toward bed centers and prevents erosion during heavy irrigation.
Transplanting Phase
After seedlings establish true leaves, re-cut edges to 5-inch depth, severing any weed seeds that germinated in disturbed soil. The renewed trench intercepts crabgrass stolons and bindweed rhizomes before they reach transplant root zones. Space cuts 1 inch apart for continuous barriers in heavy weed pressure zones.
Backfill the trench with a 3-2-1 NPK mix from composted manure, rock phosphate, and greensand at 1 pound per 10 linear feet. This slow-release formula supports transplant establishment over 60 days without leaching.
Pro-Tip: Inoculate trench backfill with Trichoderma harzianum at label rates. This beneficial fungus outcompetes soilborne pathogens and accelerates root hair proliferation by 40 percent.
Establishing Phase
Monitor edge integrity weekly during peak growth from week 8 to week 14 post-transplant. Re-edge only sections where grass advances more than 2 inches into beds. Excessive cutting disrupts vegetable feeder roots within 6 inches of borders.
Apply mulch to a depth of 3 inches along interior edges, creating a physical barrier that suppresses annual weed germination. Cedar or hardwood chips maintain soil temperatures between 65°F and 75°F, optimal for microbial activity that supports nutrient cycling.
Pro-Tip: Prune vegetable foliage back 4 inches from edges to improve air circulation. This spacing reduces foliar disease incidence by 30 percent and allows light penetration for edge inspection.
Troubleshooting
Symptom: Edge collapse with soil slumping into trenches.
Solution: Reduce irrigation volume by 20 percent for 48 hours before edging. Saturated soil lacks cohesion. Install temporary wooden forms along curves to support edges until soil dries.
Symptom: Grass regrowth within seven days of edging.
Solution: Increase cutting depth to 7 inches to sever entire rhizome networks. Apply corn gluten meal at 20 pounds per 1,000 square feet as a pre-emergent herbicide alternative.
Symptom: Stunted vegetable growth within 8 inches of edges.
Solution: Root pruning from aggressive edging causes auxin imbalance. Foliar-feed affected plants with liquid kelp at 1 tablespoon per gallon weekly for three weeks to restore growth hormones.
Symptom: Persistent quackgrass invasion despite monthly edging.
Solution: Excavate the edge zone to 10 inches, install landscape fabric vertically, then backfill. This physical barrier blocks rhizome penetration indefinitely.
Maintenance
Water edge zones at 1 inch per week, measured with rain gauges placed 6 inches from borders. Drip irrigation positioned 4 inches from edges delivers moisture without saturating trench walls. Overwatering promotes fungal growth and destabilizes vertical cuts.
Sharpen spade blades after every 200 linear feet of cutting. A file held at 20 degrees restores the cutting edge. Dull blades compress rather than sever roots, reducing effectiveness by 60 percent.
Reapply 4-4-4 organic fertilizer along edges at mid-season, late June in northern zones. This supplemental feeding compensates for nutrients lost through runoff along exposed trench faces.
FAQ
How often should edges be recut?
Every four to six weeks during active growing season, or when grass encroaches 1 inch into beds.
Can edging damage vegetable roots?
Edging more than 8 inches from plant crowns avoids feeder root zones that extend 6 inches laterally.
What spade angle prevents edge collapse?
Maintain strict 90-degree vertical cuts. Angles beyond 5 degrees compromise structural integrity.
Does edging improve yields?
Eliminating grass competition increases vegetable nutrient uptake by 15 to 25 percent, measurable in biomass at harvest.
Should edges follow straight or curved lines?
Curves require more frequent maintenance but improve aesthetics and water distribution in irregularly shaped yards.