6 Training Steps for Repotting a Heartleaf Philodendron
The moment a heartleaf philodendron's roots coil against terracotta walls, pushing through drainage holes like pale fingers seeking freedom, the plant signals its need for intervention. Proper steps for repotting a heartleaf philodendron preserve the delicate balance between root disruption and growth stimulation, a process that requires precision timing and material selection. The vine's aerial roots, evolved for climbing tropical trees, respond to repotting stress by either accelerating new growth or entering dormancy depending on technique. These steps transform a root-bound specimen into a thriving climber within six to eight weeks.
Materials
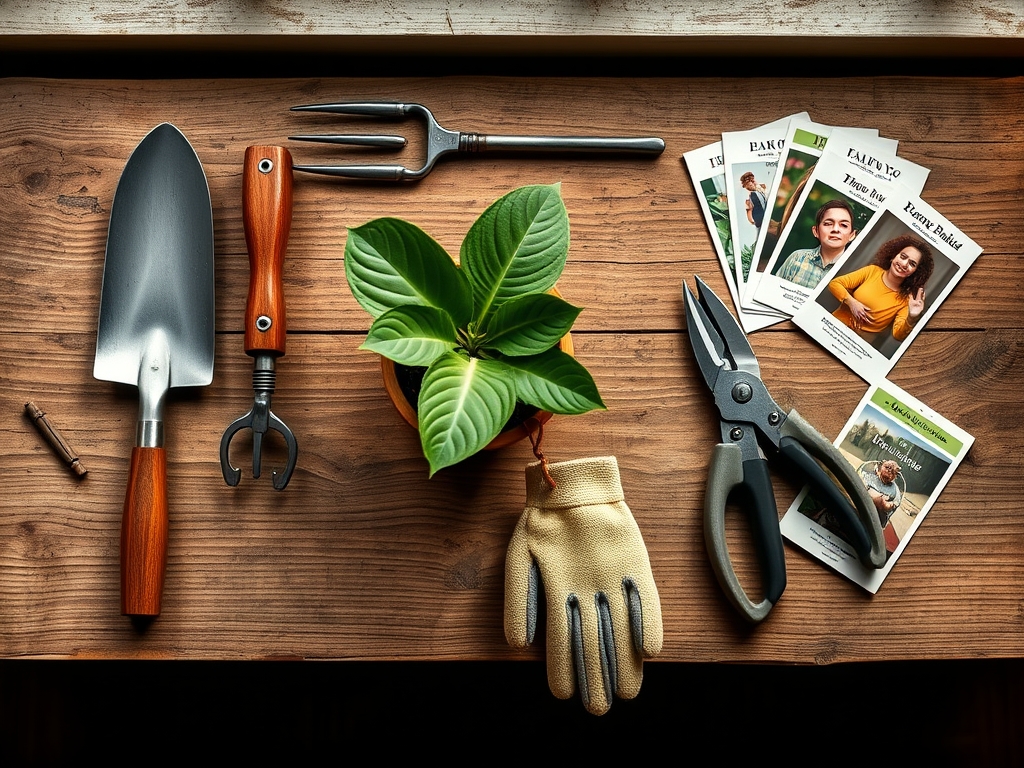
Select a container two inches wider in diameter than the current pot, with multiple drainage holes. Clay pots maintain better gas exchange through porous walls, supporting aerobic bacteria populations at the root interface.
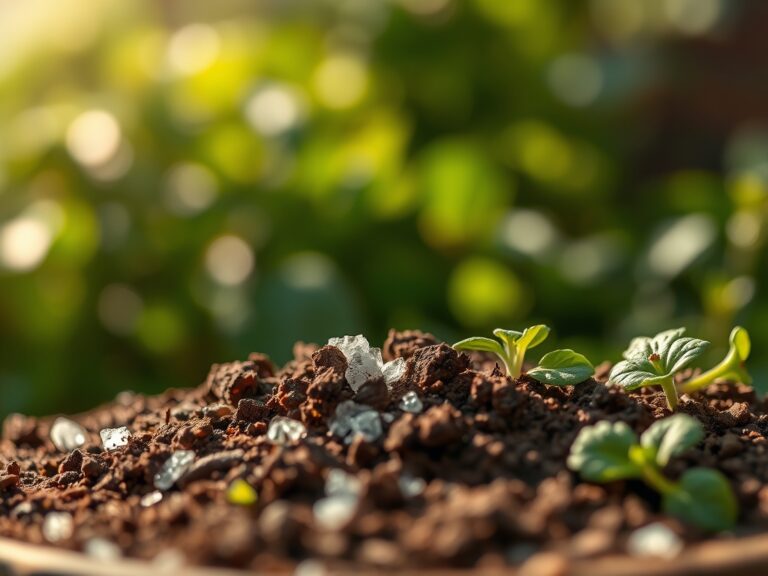
The growing medium requires a pH range of 5.5 to 6.5 for optimal nutrient availability. Combine two parts peat moss or coco coir with one part perlite and one part orchid bark. This mixture provides a cation exchange capacity between 15 and 25 meq/100g, adequate for epiphytic root systems.
A balanced slow-release fertilizer at 3-1-2 or 4-4-4 NPK ratio supports vegetative growth without excessive salt accumulation. Organic options include worm castings at one tablespoon per six-inch pot diameter, which supply micronutrients and beneficial microorganisms. Mycorrhizal fungi inoculant, applied at 0.5 grams per gallon of soil, colonizes roots within three weeks and increases phosphorus uptake by 40 percent.
Sterilize pruning shears with 70 percent isopropyl alcohol. Prepare a water source dechlorinated through 24-hour standing or filtration to prevent root hair damage from chloramines.
Timing
In USDA Hardiness Zones 10 through 12, where heartleaf philodendrons grow outdoors year-round, schedule repotting between March and June. This window aligns with the spring growth flush when auxin production peaks in apical meristems.
For indoor cultivation across all zones, repot from April through August when ambient temperatures consistently exceed 65°F and day length provides 12 to 14 hours of light. Avoid repotting during winter dormancy when root growth rates drop to 20 percent of peak-season velocity.
Monitor root emergence through drainage holes, circling root masses visible at the soil surface, or water that drains through the pot within seconds. These indicators typically appear 18 to 24 months after the previous repotting for mature specimens, or annually for juvenile plants under high-fertility conditions.
Phases

Preparation Phase
Water the plant thoroughly 24 hours before repotting. Hydrated roots exhibit greater flexibility and resist tearing during extraction. The turgid cellular structure maintains integrity when compressed or manipulated.
Prepare the new container by covering drainage holes with mesh screen to prevent soil loss while maintaining water flow. Add one to two inches of fresh growing medium to the bottom.
Pro-Tip: Mix endomycorrhizal inoculant directly into the bottom layer of soil at the manufacturer's specified rate. The fungal hyphae will colonize new root growth within the critical establishment window.
Extraction and Root Management Phase
Invert the pot while supporting the stem base between your index and middle fingers. Tap the pot rim against a table edge to release the root ball. If resistance occurs, slide a sterilized knife along the interior pot wall to sever adhered roots.
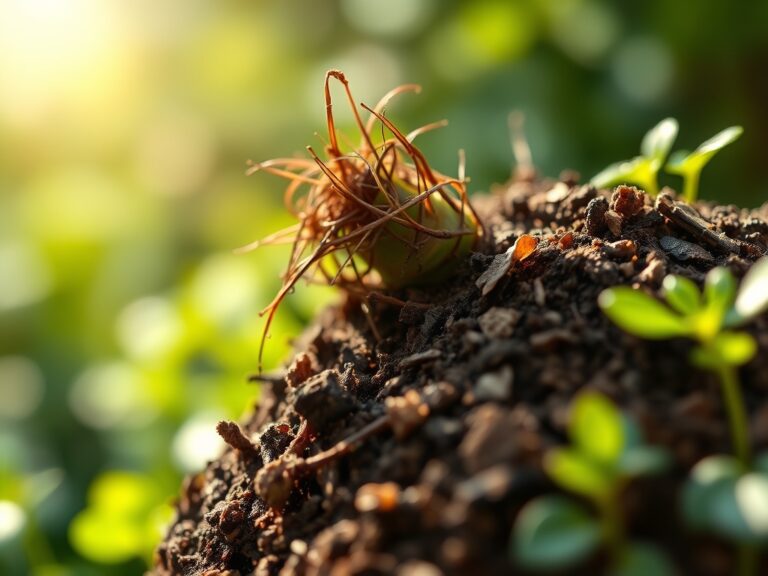
Examine the root system. Healthy roots appear white to tan with firm texture. Remove any brown, mushy, or blackened roots using clean cuts at the junction with healthy tissue. Gently tease apart circling roots, especially those forming dense mats at the bottom of the root ball. This disruption stimulates lateral root branching through wound-induced auxin redistribution.
Pro-Tip: For severely root-bound specimens, make three to four vertical cuts one-half inch deep along the root ball's sides. These controlled wounds trigger adventitious root formation within seven to ten days.
Transplanting and Establishment Phase
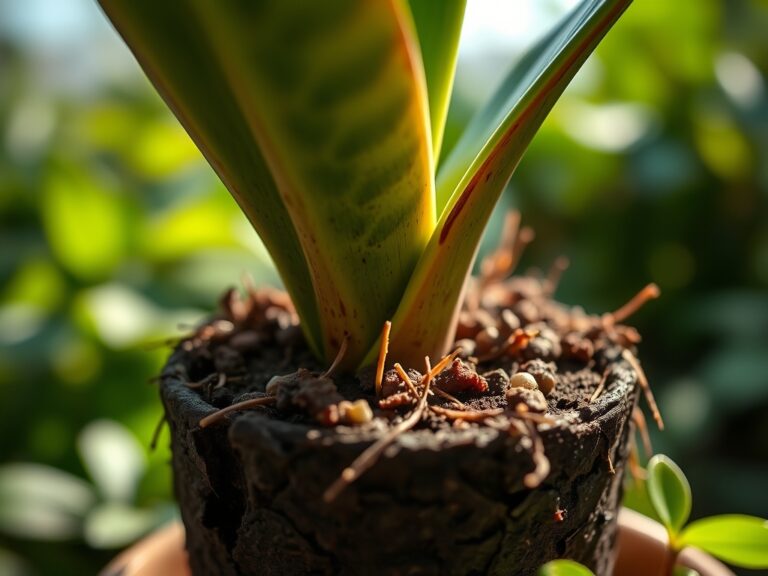
Center the root ball in the new container, positioning the crown at the same depth as the previous pot. Raising or lowering the crown by more than one-quarter inch disrupts the optimized gas exchange zone where stem meets soil.
Fill around the root ball with prepared growing medium, firming gently to eliminate air pockets without compacting the soil structure. Leave one-half inch between the soil surface and pot rim to contain irrigation water.
Water thoroughly until liquid drains from the bottom holes. This initial saturation settles the medium and establishes hydraulic continuity between old and new soil zones. Expect 10 to 15 percent settling within 48 hours.
Pro-Tip: Place the repotted philodendron in indirect light for five to seven days post-transplant. Reduced photosynthetic demand allows the plant to prioritize root regeneration over leaf production, decreasing transplant shock duration by 30 percent.
Troubleshooting
Symptom: Yellowing lower leaves within one week of repotting, progressing upward.
Solution: Overwatering in combination with reduced root mass. Allow the top two inches of soil to dry between waterings. Root respiration requires oxygen, and saturated conditions create anaerobic zones where beneficial bacteria die and pathogenic organisms proliferate.
Symptom: Wilting despite moist soil, with leaves losing turgor pressure.
Solution: Root damage during extraction or fungal infection. Remove the plant, inspect roots for brown lesions, and trim affected tissue. Repot in fresh, sterile medium with improved drainage. Apply a phosphorous acid fungicide at label rates.
Symptom: New growth emerges pale yellow or white, lacking chlorophyll.
Solution: Nitrogen deficiency or root system unable to access nutrients. Apply liquid fertilizer at one-quarter strength weekly for three weeks, then resume normal feeding. Check soil pH, as values above 7.0 lock out nitrogen availability.
Symptom: Brown, crispy leaf edges appearing two to three weeks post-repot.
Solution: Fertilizer salt accumulation or fluoride toxicity. Leach the soil by running water through the pot for three to five minutes, allowing complete drainage. Switch to rainwater or distilled water if municipal water contains fluoride levels exceeding 0.25 ppm.
Symptom: No new growth for four to six weeks after repotting.
Solution: Transplant shock extended by temperature below 65°F or light levels under 150 foot-candles. Increase ambient temperature to 70-80°F and provide bright indirect light measuring 200 to 400 foot-candles. Root establishment precedes visible top growth by two to three weeks.
Maintenance
Water when the top two inches of growing medium feel dry to touch, typically every five to seven days depending on environmental conditions. Apply water until it drains freely, then discard any liquid collecting in saucers within 30 minutes.
Feed every four weeks from April through September using liquid fertilizer at 20-10-20 NPK ratio diluted to half the manufacturer's recommended strength. This provides approximately 100 ppm nitrogen per application. Cease feeding from October through March when growth rates decline.
Maintain humidity between 40 and 60 percent. Place the pot on a pebble tray with water level below the pot bottom, or use a humidifier in rooms where relative humidity drops below 30 percent during heating seasons.
Prune to shape the plant by making cuts one-quarter inch above a node at a 45-degree angle. This angle prevents water accumulation on the cut surface and directs growth hormones to lateral buds. Sterilize cutting tools between plants to prevent pathogen transmission.
Rotate the pot 90 degrees every two weeks to ensure even light distribution. Philodendrons exhibit strong phototropism, growing preferentially toward light sources and developing asymmetric canopies without regular rotation.
FAQ
How often should I repot a heartleaf philodendron?
Repot every 18 to 24 months for mature plants, annually for specimens under three years old. Root-bound conditions develop faster in high-light environments with consistent fertilization.
Can I use garden soil for repotting?
No. Garden soil compacts in containers, reducing porosity to less than 10 percent air space. This creates anaerobic conditions that suffocate roots and promote root rot pathogens like Pythium and Phytophthora species.
What container size increase is appropriate?
Increase diameter by two inches maximum. Oversized containers hold excess moisture that roots cannot access, creating perpetually wet zones where fungal pathogens thrive. A four-inch plant moves to six inches, a six-inch to eight inches.
Should I fertilize immediately after repotting?
Wait three to four weeks. Fresh growing medium contains sufficient nutrients for initial root establishment. Early fertilization increases salt concentration before roots can effectively absorb and distribute nutrients, potentially causing osmotic stress and root tip death.
Why are my philodendron's leaves smaller after repotting?
Temporary size reduction indicates resource reallocation to root regeneration rather than leaf expansion. Normal leaf size returns within six to eight weeks once the root system reestablishes full function. Maintain consistent watering and avoid fertilizer during this recovery period.