8 Best Paving Bricks for Custom Backyard Design Projects
Damp earth releases geosmin as the spade cuts through the rhizosphere; the scent signals a transition from organic decay to structural permanence. Successful hardscaping requires more than aesthetic selection; it demands an understanding of how masonry interacts with soil turgor and drainage. Selecting the best bricks for backyard design is a mechanical decision that dictates the thermal regulation of the surrounding soil and the stability of the root zones adjacent to the path. A brick is not merely a decorative unit. It is a heat sink that influences the microclimate of your garden beds. When the sun hits a high-density clay paver, the material absorbs thermal energy and releases it slowly during the nocturnal cooling phase. This process can extend the growing season for heat-loving species by maintaining a consistent root temperature. You must calculate the compressive strength and water absorption rates of your materials to ensure they withstand the freeze-thaw cycles of your specific geography. Structural integrity begins beneath the surface; the interaction between the sub-base and the brick determines the longevity of the entire botanical installation.
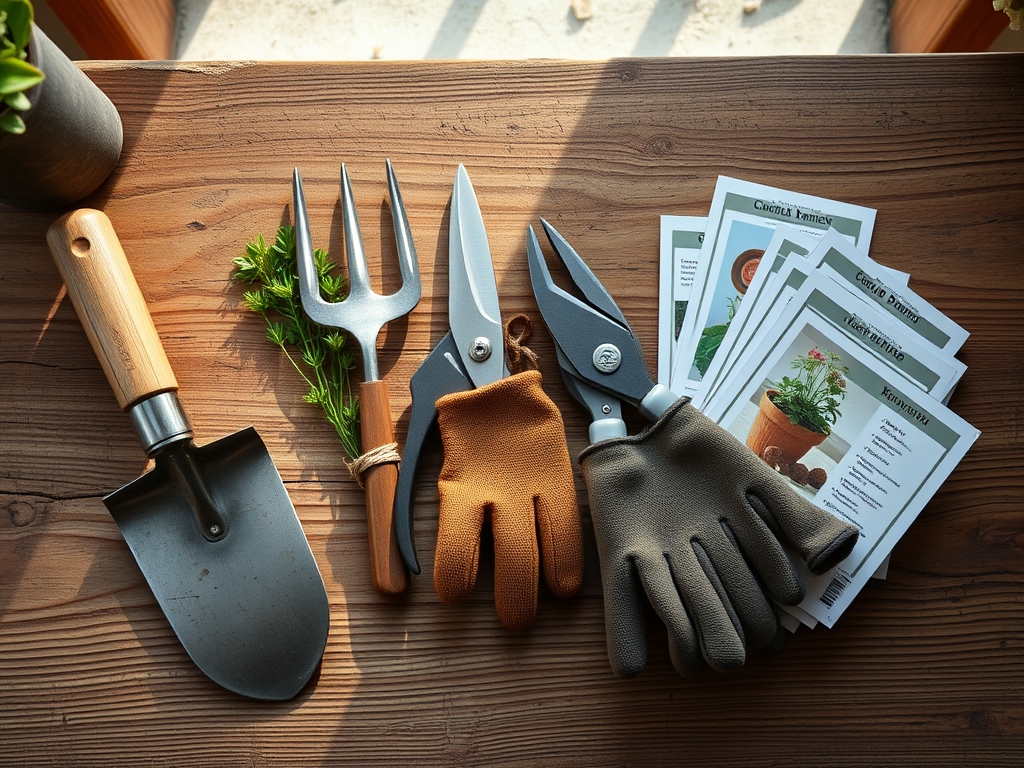
Materials:
The foundation of any masonry project must account for the surrounding soil chemistry. In areas with high **Cation Exchange Capacity (CEC)**, such as heavy clay soils, drainage is the primary concern. The ideal substrate for brick installation is a **friable loam** with a **pH between 6.0 and 7.0**. Before laying your base, test the soil for **Nitrogen (N), Phosphorus (P), and Potassium (K)**. A balanced **10-10-10 NPK ratio** in the adjacent planting zones ensures that the runoff from the pavers does not create nutrient imbalances.
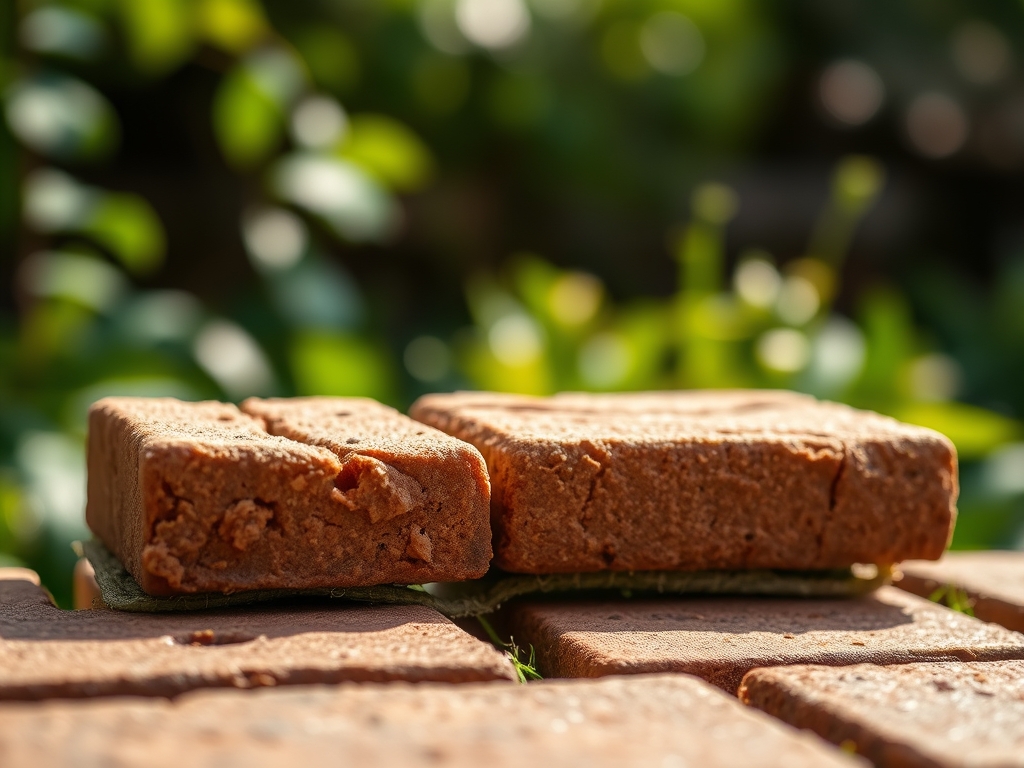
- Reclaimed Clay Bricks: High density; low porosity (less than 8 percent water absorption).
- Concrete Pavers: High compressive strength (8,000 psi minimum).
- Sand-Molded Bricks: Textured surface for increased friction; ideal for high-traffic zones.
- Fire Bricks: Extreme thermal resistance; best for hearths and outdoor kitchens.
- Permeable Pavers: Designed for maximum water infiltration to the water table.
- Blue Engineering Bricks: Acid-resistant; essential for soils with a pH below 4.5.
- Interlocking Bricks: Mechanical stability for sloped terrains.
- Wire-Cut Bricks: Sharp edges for tight, formal joints and minimal weed intrusion.
Timing:
Installation must align with the local Hardiness Zone requirements. In Zones 3 through 6, masonry work should occur after the final frost but before the summer solstice to allow the base materials to settle before the autumn rains. The "Biological Clock" of the garden dictates that hardscaping be completed during the plant's dormant phase or early vegetative stage. Excavating near established root systems during the reproductive stage (flowering or fruiting) can induce systemic stress and lead to flower drop. Aim for a window where the soil temperature is consistently above 50 degrees Fahrenheit (10 degrees Celsius) to ensure proper compaction of the sand and gravel base.
Phases:

Sowing the Foundation
The excavation depth must account for 4 inches of compacted 21A or 3/4-inch crushed stone followed by 1 inch of coarse bedding sand. Use a plate compactor to reach 98 percent Proctor density. This prevents the shifting that leads to uneven surfaces and potential tripping hazards.
Pro-Tip: Mycorrhizal symbiosis is often disrupted during excavation. Reintroduce beneficial fungi to the surrounding soil post-construction to restore the nutrient transport network between the roots and the soil.
Transplanting the Units
Lay the bricks in the desired pattern; running bond or herringbone offer the highest lateral stability. Maintain a joint width of 1/8 inch to 1/4 inch. Use a rubber mallet to set each unit into the sand bed, checking for level every three feet.
Pro-Tip: Bricks placed too close to tree trunks can cause auxin suppression by physically restricting the expansion of the root flare. Always leave a minimum 24-inch radius around established woody perennials.
Establishing the Joints
Sweep polymeric sand into the joints until they are filled to the chamfer edge. Lightly mist the surface with water to activate the binding polymers. This creates a semi-permeable barrier that inhibits weed seed germination and prevents ant colonization.
Pro-Tip: Phototropism will cause nearby plants to lean toward the reflective heat of the bricks. Prune the side facing the path to maintain an upright growth habit and prevent "leggy" stems.
The Clinic:
Physiological disorders in the garden often manifest near hardscaped areas due to changes in drainage and heat reflection.
- Symptom: Interveinal chlorosis (yellowing leaves with green veins) in nearby shrubs.
- Solution: This is often Iron deficiency caused by high alkalinity leaching from concrete mortar. Apply chelated iron and adjust soil pH with elemental sulfur.
- Symptom: Leaf scorch or marginal necrosis.
- Solution: Excessive thermal radiation from dark-colored bricks. Increase irrigation frequency or install light-colored pavers to reduce the albedo effect.
- Symptom: Root rot or fungal pathogens at the edge of the path.
- Solution: Poor drainage at the brick-soil interface. Install a French drain or increase the slope of the path to 2 percent to direct water away from the root zones.
Fix-It for Nitrogen Chlorosis: If plants appear stunted and pale, apply a high-nitrogen fertilizer (20-10-10) at a rate of 1 pound of actual nitrogen per 1,000 square feet.
Maintenance:
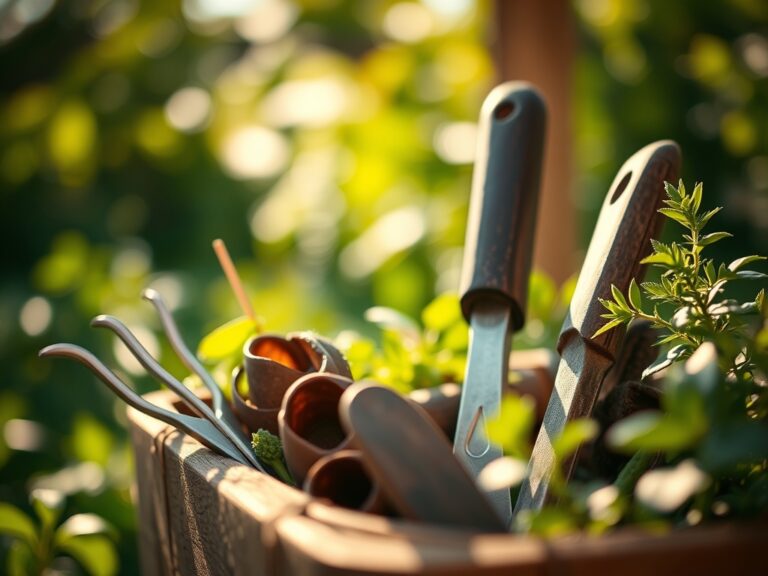
Precision is required to maintain the balance between the masonry and the flora. Use a soil moisture meter to monitor the levels at the edge of the bricks; these areas dry out 30 percent faster than open ground. Provide 1.5 inches of water per week at the drip line of adjacent plants to compensate for the heat sink effect. Use a hori-hori knife to remove any stubborn weeds that breach the joints. For woody perennials overhanging the path, use bypass pruners to make clean cuts at the branch collar, ensuring the plant can compartmentalize the wound quickly. Inspect the bricks annually for "heaving" caused by frost; reset any units that have shifted more than 1/4 inch from the original grade.
The Yield:
While bricks do not produce a harvest, the microclimate they create can accelerate the ripening of nearby fruiting plants. For example, tomatoes planted within 18 inches of a brick wall or path may ripen 7 to 10 days earlier due to reflected infrared radiation. Harvest these fruits when they reach 90 percent color saturation. Handle all produce with care to maintain turgor pressure; place them in a cool, shaded area immediately after harvest to prevent rapid senescence and moisture loss.
FAQ:
What is the best brick for high-traffic garden paths?
Clay pavers are superior for high-traffic areas. They possess a high compressive strength and the color is fired through the entire unit. This ensures the path does not fade or wear down over decades of consistent mechanical use.
How do I prevent weeds from growing between my bricks?
Use polymeric sand in the joints. This material hardens when activated by water; it creates a durable bond that resists seed penetration. Maintain the integrity of the joints by sweeping in fresh sand every three to five years as needed.
Can I lay bricks directly on soil?
No. Bricks laid on raw soil will shift due to hydrostatic pressure and frost heave. A stable installation requires a compacted base of crushed stone and a leveling layer of bedding sand to ensure proper drainage and longevity.
Will bricks change the pH of my garden soil?
Concrete-based bricks and mortar can leach calcium hydroxide, which raises soil pH. If you have acid-loving plants like azaleas, use fired clay bricks and sand joints to avoid increasing the alkalinity of the surrounding rhizosphere.