9 Steps to Prepare a Recurring Garden Tool Maintenance Schedule
The scent of petrichor signifies the release of geosmin from the soil surface; it is the smell of a healthy rhizosphere ready for cultivation. Maintaining this biological equilibrium requires more than just seeds and water. It demands a systematic approach to mechanical readiness. Learning how to prepare a garden for a tool maintenance schedule ensures that every cut is clean and every furrow is precise. Dull blades crush vascular tissue and invite pathogens into the plant's circulatory system. Proper maintenance preserves turgor pressure and prevents the spread of systemic infections throughout the growing season.
Success in the field begins with the integrity of the equipment. A jagged edge on a pruning shear does not just look poor; it creates a site for fungal spores to colonize the xylem. By establishing a rigid calendar for sharpening, disinfecting, and lubricating your kit, you stabilize the environment for your crops. High-performance gardening is a game of margins. When tools are calibrated, the physical exertion of the gardener decreases while the precision of the horticultural intervention increases. This guide provides the technical framework for integrating mechanical upkeep into the biological rhythm of the garden.
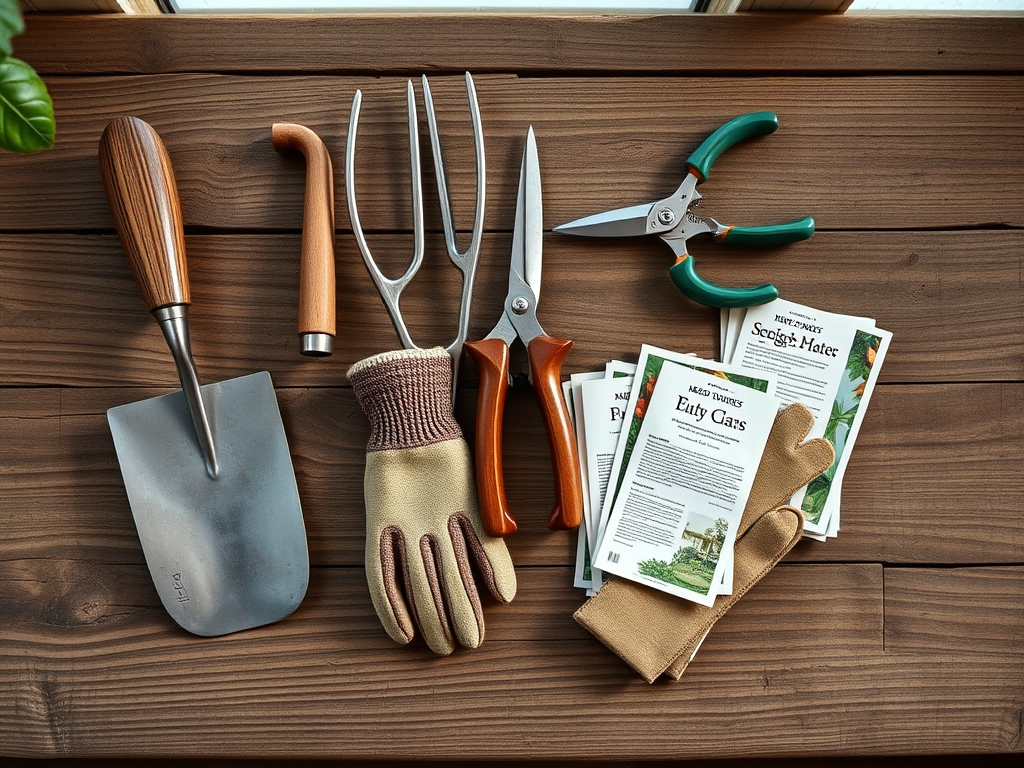
Materials:
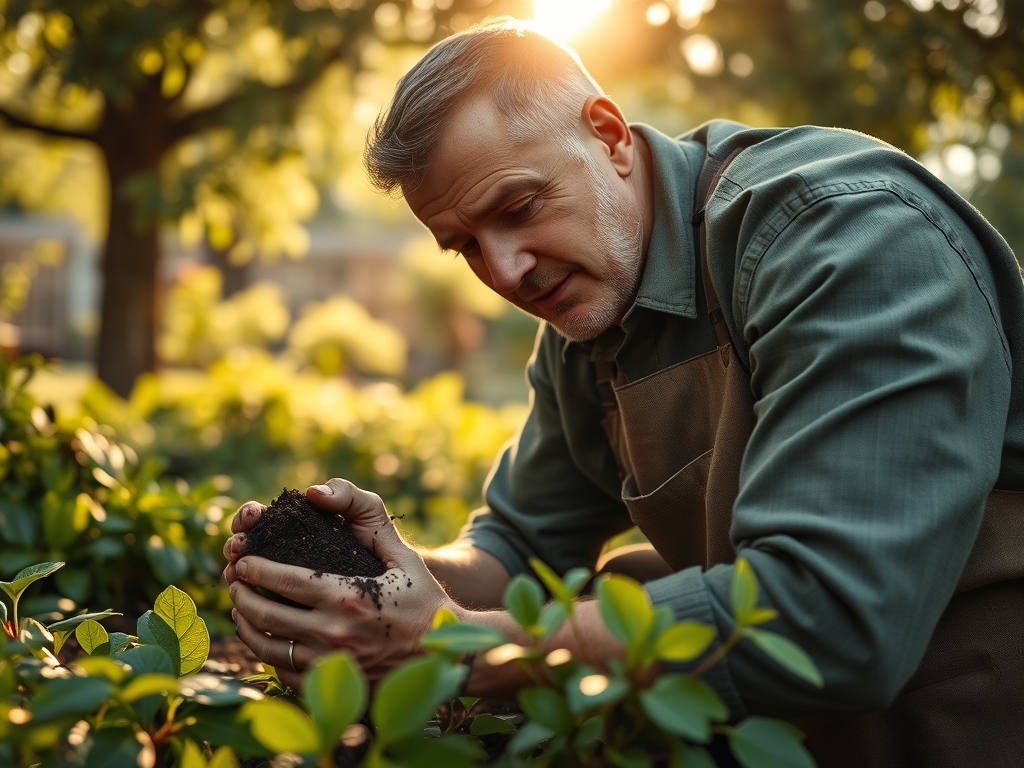
The foundation of any garden is the substrate. For a standard vegetable plot, aim for a **friable loam** with a **Soil Cation Exchange Capacity (CEC) between 15 and 25 meq/100g**. This ensures the soil can hold and exchange essential cations like Calcium and Magnesium. Maintain a **soil pH between 6.2 and 6.8** to maximize nutrient bioavailability.
Fertilization should follow specific NPK (Nitrogen-Phosphorus-Potassium) ratios based on the growth stage. Use a 5-10-10 ratio during the establishment phase to prioritize root development over foliage. Transition to a 10-10-10 balanced ratio for general maintenance. If the soil test reveals low organic matter, incorporate composted steer manure to increase the carbon-to-nitrogen ratio. The physical texture must allow for pore space of approximately 50 percent, split evenly between air and water, to prevent anaerobic conditions that lead to root rot.
Timing:
Timing is dictated by the United States Department of Agriculture (USDA) Hardiness Zones. In Zones 5 through 7, the primary maintenance window opens 4 to 6 weeks before the last predicted frost date. This period aligns with the "Biological Clock" of the garden, specifically the transition from winter dormancy to the early vegetative stage.
Monitor the photoperiod. As daylight exceeds 12 hours, plants initiate the production of auxins, signaling the end of senescence. Your tool schedule must be complete before this hormonal shift. Sharpening blades in late February ensures that when the first buds break, you are ready to manage growth without tearing delicate tissues. If you miss this window, you risk pruning during the high-sap-flow period, which can lead to excessive "bleeding" and nutrient loss for the specimen.
Phases:
Sowing
Direct sow seeds only when the soil temperature consistently reaches 60 degrees Fahrenheit (15.5 Celsius). Use a calibrated dibber to ensure a planting depth exactly three times the diameter of the seed. This depth provides the necessary darkness and moisture for the coleoptile to emerge.
Pro-Tip: Proper sowing depth is critical for skotomorphogenesis, the developmental process of a seedling in the dark. If sown too shallow, the seed may desiccate; too deep, and it exhausts its endosperm reserves before reaching the surface for photosynthesis.
Transplanting
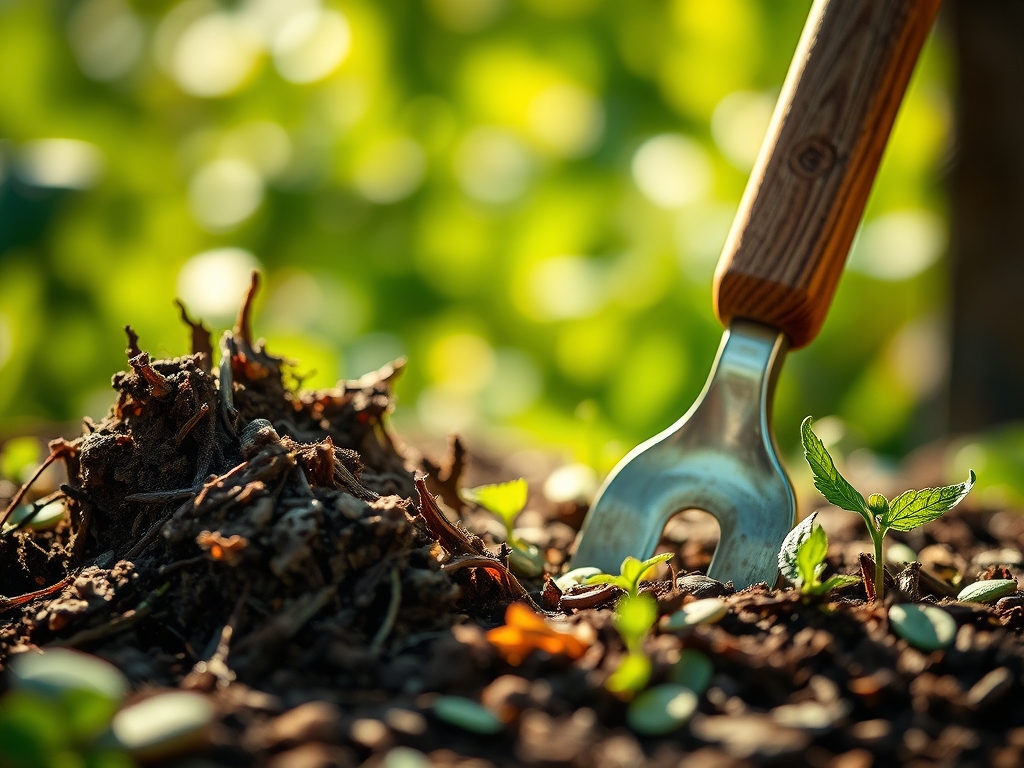
When moving seedlings from flats to the field, ensure they have at least two sets of true leaves. Dig a hole twice the width of the root ball. Use a hori-hori knife to gently loosen any circling roots to prevent girdling.
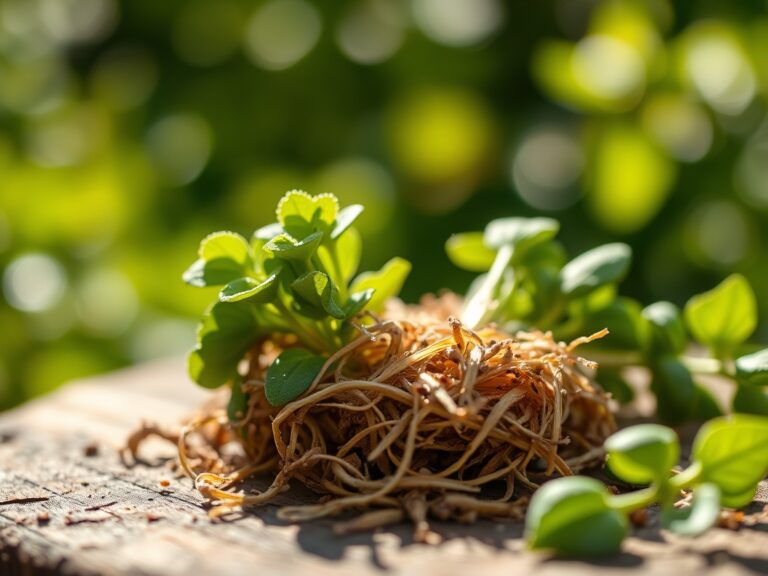
Pro-Tip: Transplanting triggers a temporary reduction in turgor pressure. To mitigate this, apply a seaweed-based solution to encourage mycorrhizal symbiosis, which extends the root system's reach and improves water uptake via fungal hyphae.
Establishing
During the first 21 days after planting, the focus is on root architecture. Maintain consistent moisture levels using a soil moisture meter to ensure the root zone stays between 60 percent and 80 percent of field capacity.
Pro-Tip: Avoid high-nitrogen fertilizers during establishment to prevent auxin suppression. Excessive nitrogen can lead to rapid "leggy" growth at the expense of a robust root system, making the plant susceptible to lodging during high winds.
The Clinic:
Physiological disorders often mimic infectious diseases. Accurate diagnosis is essential for effective intervention.
- Nitrogen Chlorosis: Observe the older, lower leaves. If they turn a uniform pale yellow while the veins remain green, the plant is scavenging nitrogen for new growth. Fix-It: Apply a fast-acting blood meal or urea at a rate of 1 pound per 100 square feet.
- Blossom End Rot: This appears as a sunken, leathery black spot on the base of fruits like tomatoes. It is caused by a Calcium deficiency often triggered by erratic watering. Fix-It: Maintain a steady watering schedule and ensure soil pH is above 6.0 to allow calcium uptake.
- Interveinal Chlorosis (Iron/Magnesium): If new leaves are yellow with green veins, it is likely an iron deficiency. If old leaves show this pattern, it is magnesium. Fix-It: Apply chelated iron or Epsom salts (Magnesium Sulfate) as a foliar spray for rapid absorption.
- Tip Burn: Found in leafy greens, this is caused by localized calcium deficiency during high transpiration. Fix-It: Increase airflow and ensure the root zone does not dry out completely.
Maintenance:
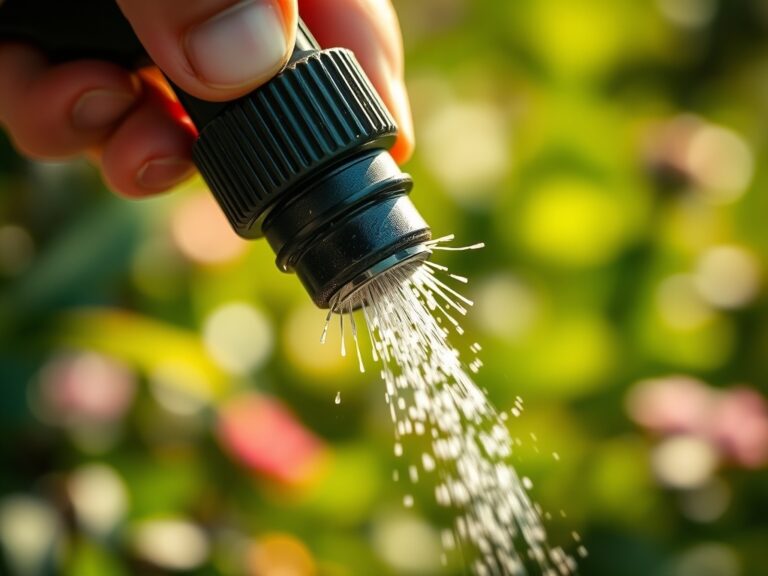
Precision irrigation is the heartbeat of the garden. Deliver 1.5 inches of water per week directly to the drip line. Avoid overhead irrigation, which increases leaf wetness duration and promotes fungal pathogens.
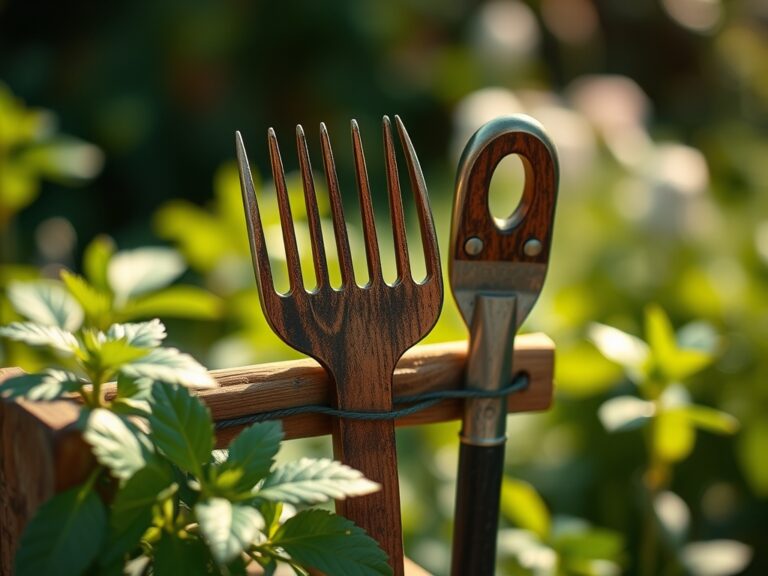
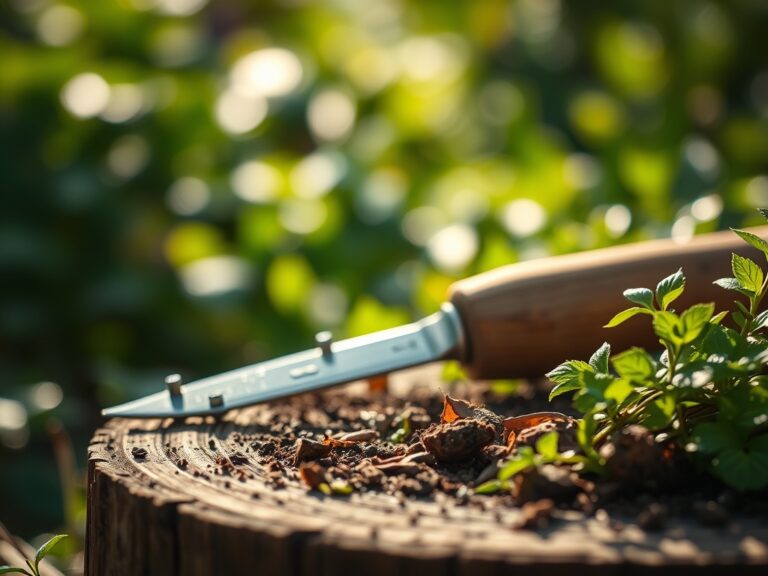
Tool hygiene is non-negotiable. After every use, wipe bypass pruners and hori-hori knives with a 70 percent isopropyl alcohol solution. This prevents the mechanical transmission of viruses. Once a month, check the tension on your pruner blades; a gap as small as 0.5 millimeters can cause the tool to tear rather than cut. Apply a thin coat of mineral oil to all carbon steel surfaces to prevent oxidation and pitting.
The Yield:
Harvesting is the final mechanical intervention. For most fruiting crops, harvest when the fruit reaches "breaker stage," or about 90 percent color saturation. Use sharp bypass pruners to leave a small portion of the pedicel attached; this prevents the entry of rot-inducing bacteria into the fruit body.
Post-harvest, immediately move produce to a shaded area to remove "field heat." For leafy greens, submerge in 40-degree Fahrenheit water to maintain cell turgidity. This rapid cooling slows down the plant's respiration rate, preserving sugars and extending shelf life.
FAQ:
How do I clean rusted garden tools?
Use a wire brush or 80-grit sandpaper to remove surface oxidation. For deep pitting, soak the metal in a 50/50 vinegar and water solution for 24 hours, then neutralize with baking soda and apply protective oil.
What is the best way to sharpen pruners?
Use a diamond whetstone or fine-grade file. Follow the factory bevel angle, typically 20 to 25 degrees. Work in one direction, moving away from the body, until a fine burr forms on the flat side, then lightly hone it off.
How often should I disinfect my tools?
Disinfect tools between every plant if disease is suspected. For routine maintenance, a thorough cleaning with 70 percent isopropyl alcohol at the end of each gardening session is sufficient to prevent the spread of soil-borne pathogens.
Why are my tool handles cracking?
Wooden handles lose moisture and shrink over time. To prevent splintering and structural failure, sand the wood lightly with 120-grit paper and rub in a generous coat of boiled linseed oil twice a year.