7 Steps to Clean a Garden Fork After Working in Heavy Soil
Heavy clay soil possesses a high Cation Exchange Capacity (CEC) that binds tightly to forged steel tines through sheer physical adhesion and electromagnetic attraction. When the turgor pressure of a plant remains high, the surrounding rhizosphere stays moist; this moisture creates a suction effect on the tool surface. Neglecting the essential steps for cleaning a garden fork after use leads to rapid oxidation and the degradation of the tool's structural integrity. A fork encrusted with anaerobic soil particles becomes a vector for soil-borne pathogens.
The smell of damp earth indicates active microbial respiration, but on a steel tool, it signals the start of corrosive pitting. Proper maintenance ensures that the tines can penetrate the soil profile without unnecessary resistance. Effective cleaning requires immediate action before the clay particles reach a state of permanent desiccation. A clean tool glides through the soil, preserving the delicate fungal hyphae and macro-pore spaces necessary for root respiration. By following a systematic decontamination protocol, you extend the life of your equipment and prevent the cross-contamination of diverse garden beds.
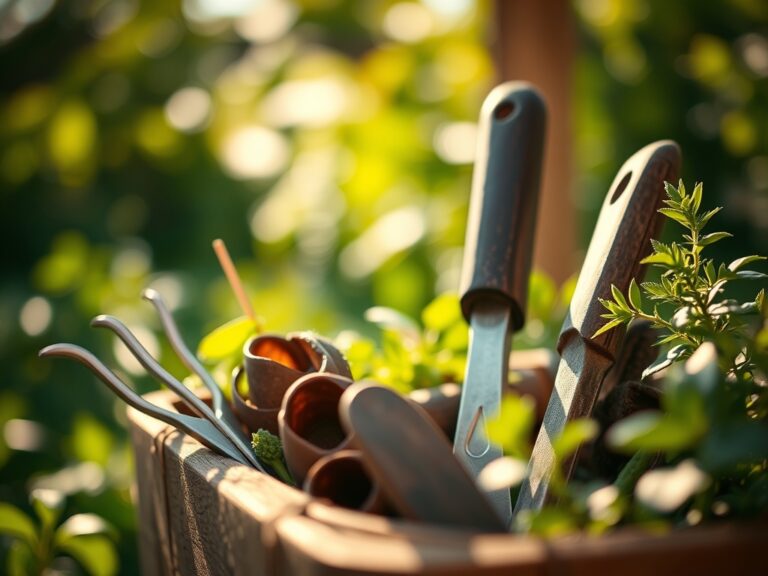
Materials:
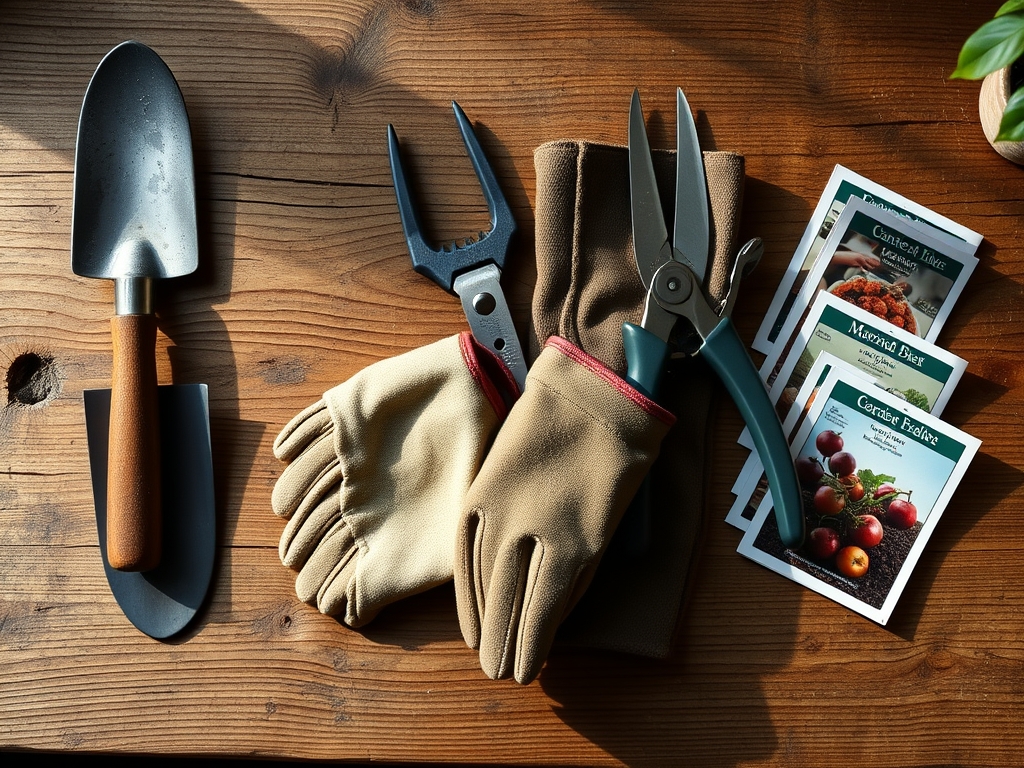
Working in heavy soil requires a substrate management mindset. Ideal garden soil is a friable loam with a **pH between 6.0 and 7.0**, containing roughly **40 percent sand, 40 percent silt, and 20 percent clay**. To manage the nutrient profile during the cleaning process, consider the NPK ratios of any organic matter being removed. High-nitrogen (N) organic debris can accelerate the rusting of low-carbon steel if left in contact for extended periods. You will need a stiff-bristled brush, a bucket of coarse builder’s sand mixed with **5 percent vegetable-based oil**, a clean rag, and a **70 percent isopropyl alcohol** solution for disinfection.
Timing:
Maintenance schedules must align with local Hardiness Zones. In Zones 3 through 6, tool maintenance is critical before the first hard frost, which typically occurs between October and November. As plants enter senescence and the biological clock shifts from reproductive stages to dormancy, the soil moisture levels often increase. This heightened moisture makes the soil more adhesive. Cleaning must occur within 30 minutes of use to prevent the clay from hardening into a cement-like crust. In warmer Zones 8 through 10, where the growing season is nearly year-round, tools face constant exposure to high humidity, necessitating a more frequent sterilization cycle to prevent the spread of fungal spores.
Phases:

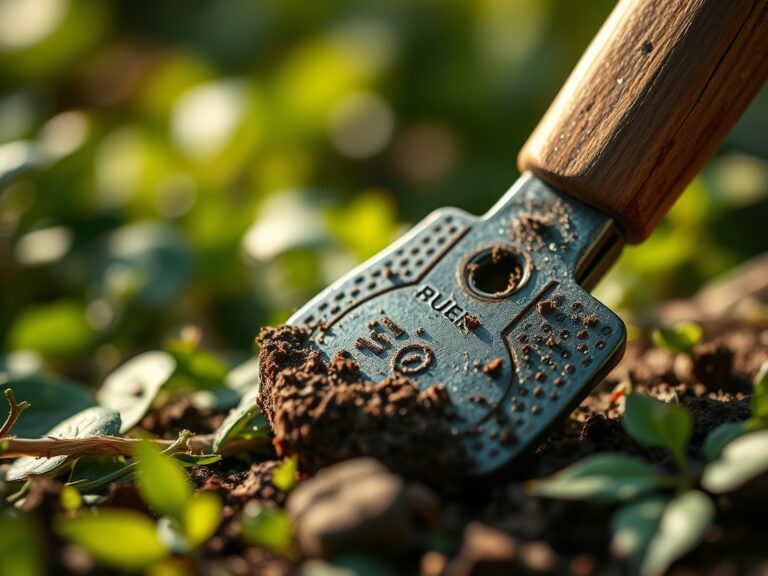
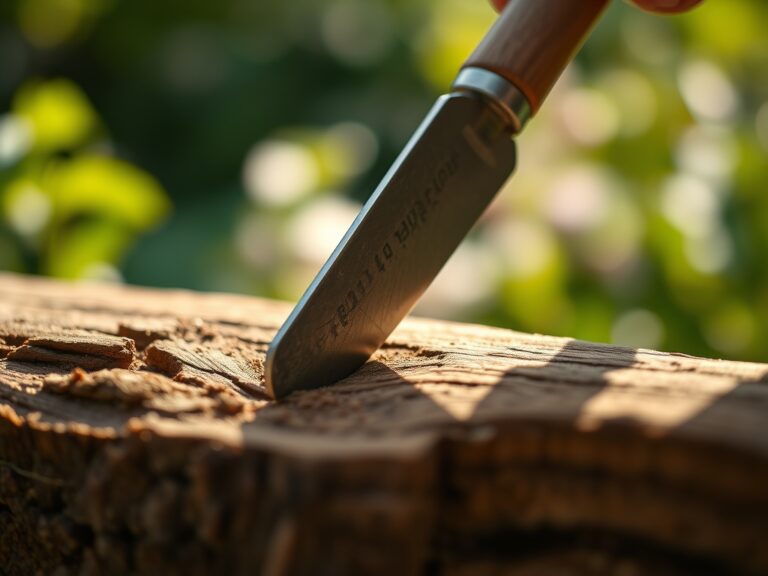
Sowing: The Mechanical Removal
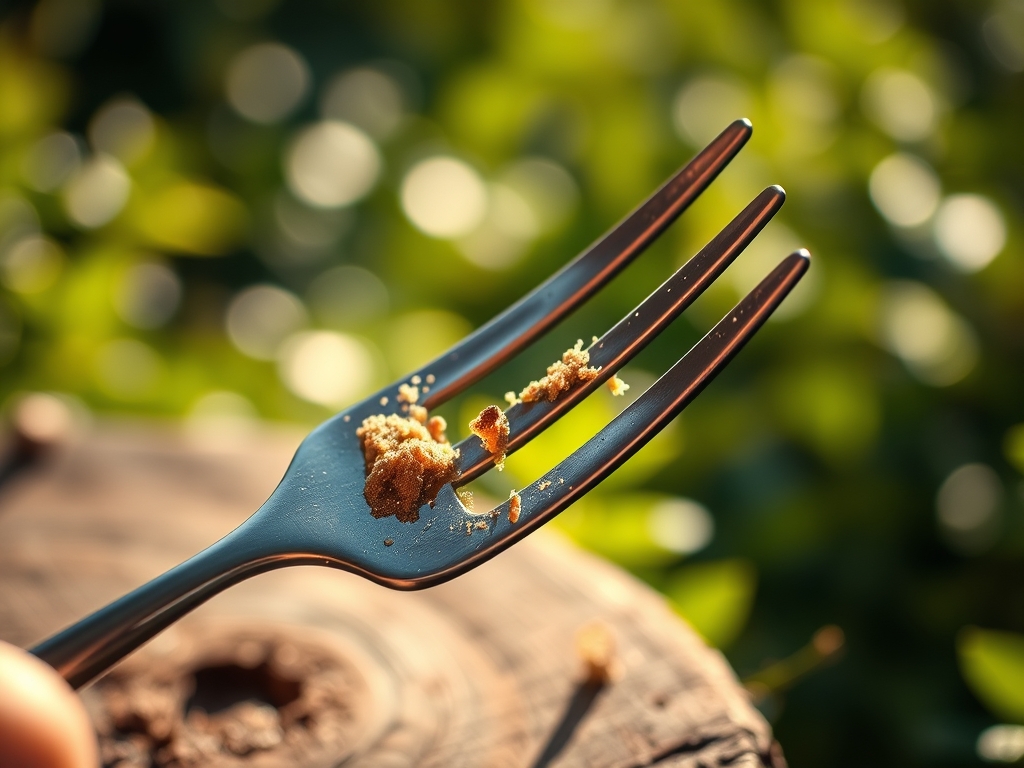
The first step involves the physical displacement of large soil clods. Use a wooden spatula or a dedicated scraping tool to remove the bulk of the material from the tines. Focus on the "shoulder" of the fork where the tines meet the handle socket, as this area traps the most moisture.
Pro-Tip: Removing soil immediately prevents the formation of an anaerobic micro-environment. This is vital because anaerobic bacteria can produce organic acids that etch the metal surface, compromising the tool's smoothness and increasing future friction.
Transplanting: The Deep Scrub
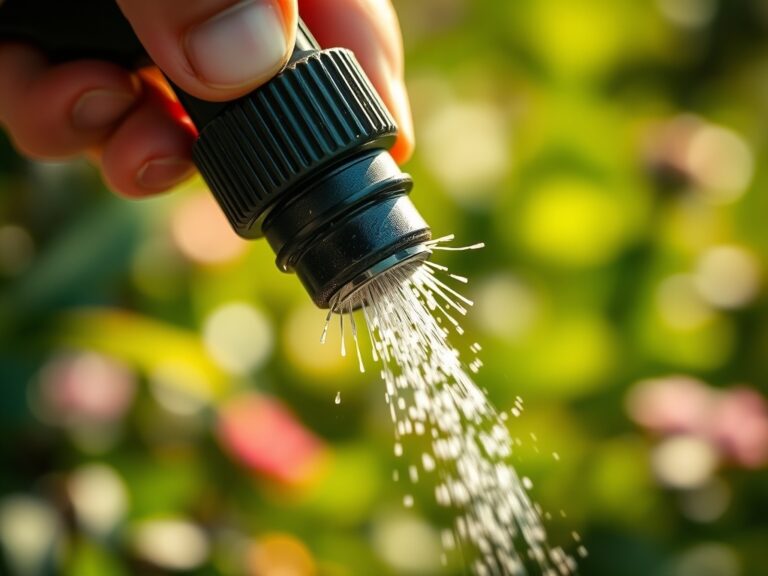
Submerge the fork tines in a bucket of water to soften remaining particulates. Use a stiff brush to scrub the metal until no visible residue remains. Pay close attention to the inner faces of the tines.
Pro-Tip: Scrubbing removes localized colonies of Phytophthora or Fusarium. This prevents the mechanical transport of pathogens from one garden plot to another, protecting the mycorrhizal symbiosis in your next planting site.
Establishing: Disinfection and Protection
Dry the tool thoroughly with a lint-free cloth. Once dry, wipe the metal surfaces with isopropyl alcohol to kill remaining microbes. Finally, plunge the tines into a bucket of oiled sand. This coats the steel in a hydrophobic layer, preventing oxygen from reaching the metal.
Pro-Tip: The oil coating acts as a barrier against oxidation. By preventing rust, you ensure the tines remain sharp, which reduces the physical force required for soil penetration and minimizes the disruption of soil aggregates during future use.
The Clinic:
Physiological disorders in tools often mimic plant symptoms. Observe your equipment for these specific signs of degradation.
- Symptom: Surface Pitting (Metal Chlorosis).
- Solution: This is caused by prolonged exposure to acidic soils (pH below 5.5). Use a fine-grit sandpaper to buff out the pits and re-apply a protective oil coating.
- Symptom: Handle Splitting (Desiccation).
- Solution: Wooden handles lose moisture and crack. Apply boiled linseed oil to the wood to restore flexibility and prevent splintering.
- Symptom: Tine Deformation.
- Solution: Excessive leverage in compacted clay can bend forged steel. Straighten the tine using a bench vise, but check for stress fractures that could lead to catastrophic failure.
Fix-It for Nutrient Deficiencies: If your plants show Nitrogen chlorosis (yellowing of older leaves), ensure your fork is clean before aerating the soil to incorporate a 10-10-10 balanced fertilizer or composted manure. A clean fork ensures even distribution without introducing pathogens into the root zone.
Maintenance:
Precision is the hallmark of a professional horticulturist. Your garden requires 1.5 inches of water per week delivered at the drip line to maintain optimal soil consistency. Use a soil moisture meter to verify that the water is penetrating to a depth of 6 to 8 inches. When maintaining your tools, use a hori-hori knife to clear debris from the crevices of your fork and bypass pruners to trim away any fibrous roots that have become entangled in the tines. Store the fork vertically in a dry, ventilated shed to prevent moisture accumulation in the handle socket.
The Yield:
While a garden fork does not produce a harvest directly, its condition dictates the quality of root crops like carrots or potatoes. For "day-one" freshness, harvest root vegetables when the soil is at 50 percent field capacity. Use a clean, sharp fork to lift the soil column from the side, avoiding direct contact with the vegetable. This prevents bruising the epidermis of the plant, which would otherwise trigger the release of ethylene and accelerate spoilage. Handle the produce gently to maintain the integrity of the cell walls and ensure a longer shelf life in cold storage.
FAQ:
How often should I oil my garden fork?
Plunge the fork into an oiled sand bucket after every use. For deep maintenance, apply a dedicated coat of linseed or mineral oil to the metal and wooden components at least twice per growing season to prevent oxidation and wood rot.
Can I use a pressure washer to clean my fork?
Yes, a pressure washer effectively removes stubborn clay. However, you must dry the tool immediately and apply a protective oil layer. Failure to dry the metal will result in flash rusting within hours due to the high oxygen exposure.
What is the best oil for tool maintenance?
Mineral oil or boiled linseed oil are the industry standards. Avoid using motor oil or used kitchen grease, as these can introduce heavy metals or attract pests into the rhizosphere when the tool is next inserted into the soil.
How do I remove existing rust from a fork?
Use a wire brush or 80-grit sandpaper to remove loose flakes. For deep corrosion, soak the tines in white vinegar for 12 to 24 hours, scrub with steel wool, rinse, dry thoroughly, and immediately apply a protective lubricant.