8 Tips: Using a Shovel for General Yard Design and Prep
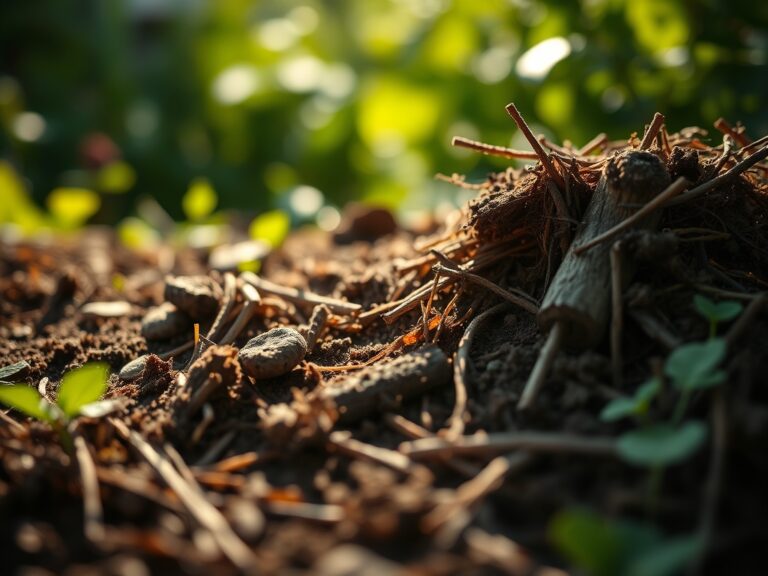
The smell of damp earth is the olfactory marker of a healthy rhizosphere where aerobic bacteria thrive. When you drive the blade of a spade into the ground, the resistance you feel is a direct measurement of soil compaction and bulk density. Successful landscaping begins with the mechanical manipulation of the substrate to ensure proper gas exchange and drainage. Using a shovel for yard design is not merely about moving mass; it is about surgical precision in altering the topography to manage water runoff and root penetration. A shovel acts as a probe into the Cation Exchange Capacity (CEC) of your land, revealing the structural integrity of the soil horizons. By understanding the physics of leverage and the biology of the soil food web, you can transform a stagnant lot into a high-performance ecosystem. This process requires a focus on soil porosity and the preservation of microbial life during the excavation phase.
Materials:

The foundation of any design is the substrate. For most ornamental and edible species, you must aim for a **friable loam** consisting of 40 percent sand, 40 percent silt, and 20 percent clay. This balance ensures a high CEC, allowing the soil to retain essential cations like calcium, magnesium, and potassium. The target soil pH should fall between **6.2 and 6.8** to maximize nutrient bioavailability.
When prepping beds with a shovel, incorporate organic matter to achieve a specific NPK ratio based on your goals. For vegetative growth and structural design, a ratio of 10-5-5 provides the necessary nitrogen for chlorophyll production. For establishing flowering perennials or woody shrubs, transition to a 5-10-10 blend to support root development and phosphorus uptake. Ensure the soil temperature is at least 55 degrees Fahrenheit before heavy amending to allow for microbial activation.
Timing:
Timing is dictated by the United States Department of Agriculture (USDA) Hardiness Zones. In Zones 5 through 7, the primary window for using a shovel for yard design opens in early spring, approximately two to three weeks before the last frost date. This period aligns with the "Biological Clock" of most temperate plants as they exit dormancy and enter the vegetative stage.
Excavation during the fall is also effective for "hardening off" new beds. As plants enter senescence, their metabolic rate slows, reducing the risk of transplant shock. Avoid digging when the soil is saturated; compressing wet soil collapses the macro-pores, leading to anaerobic conditions that kill beneficial fungi. Aim for a soil moisture level where a squeezed handful crumbles under light pressure.
Phases:

Sowing and Bed Preparation
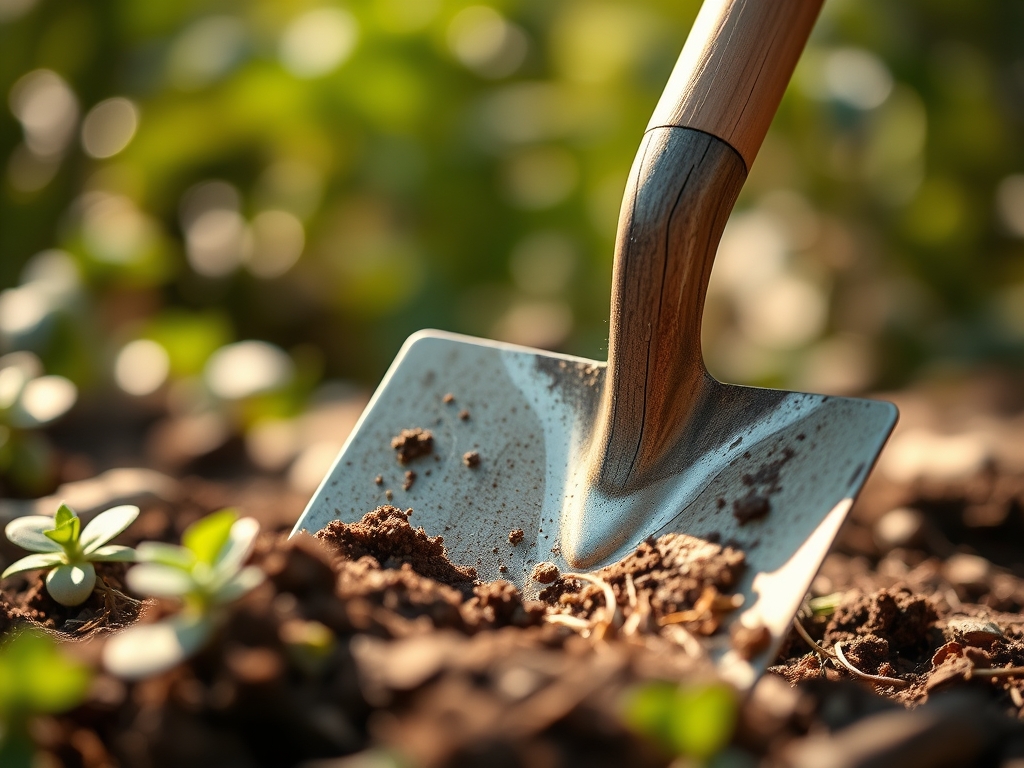
Bed preparation involves the removal of existing sod and the inversion of the top six inches of soil. Use a square-point shovel to cut clean edges, which prevents the encroachment of stoloniferous grasses. Ensure the bed is leveled to avoid "puddling," which can lead to root rot.
Pro-Tip: When turning the soil, avoid over-pulverizing. Maintaining small clods preserves mycorrhizal symbiosis, the fungal network that extends the root system's reach for phosphorus and water.
Transplanting
When moving established plants, the shovel must be used to excavate a root ball at least twice the width of the current container. The depth must be precise; burying the root flare (the point where the trunk meets the roots) leads to oxygen deprivation and eventual decay.
Pro-Tip: Orient the plant in its new hole to match its previous exposure to the sun. This respects the plant's phototropism, reducing the energy it must expend to reposition its leaves for maximum light interception.
Establishing and Grading
Grading involves using a shovel to create a 2 percent slope away from permanent structures. This prevents hydrostatic pressure against foundations and ensures that excess irrigation moves toward the lower soil horizons or designated drainage areas.
Pro-Tip: Use the back of the shovel to lightly firm the soil around new transplants. This eliminates large air pockets while maintaining enough porosity to prevent auxin suppression, ensuring the plant continues to signal for new root growth.
The Clinic:
Physiological disorders often manifest as visible changes in the foliage or stem. Using a shovel for yard design allows you to investigate the root cause beneath the surface.
- Nitrogen Chlorosis: Observed as a general yellowing of older leaves while veins remain green.
Fix-It: Incorporate blood meal or a high-nitrogen (20-0-0) fertilizer into the top three inches of soil using a hand spade. - Iron Deficiency: Interveinal chlorosis on new growth, often caused by high pH levels (above 7.5).
Fix-It: Apply elemental sulfur to lower the pH and increase the solubility of iron ions. - Root Rot (Phytophthora): Symptoms include wilting despite moist soil and a foul odor from the root zone.
Fix-It: Use a shovel to improve drainage by creating a "french drain" or elevating the planting mound by four to six inches. - Phosphorus Deficiency: Purplish tint on the underside of leaves and stunted root systems.
Fix-It: Amend the planting hole with bone meal or rock phosphate, ensuring it is placed directly in the rhizosphere for immediate uptake.
Maintenance:
Post-design maintenance requires consistent monitoring of environmental variables. Deliver 1.5 inches of water per week directly at the drip line, which is the outermost circumference of the plant's canopy. This encourages lateral root expansion.
Utilize a soil moisture meter to verify that the moisture has penetrated at least six inches deep. For precision pruning and cleaning of the design lines, a hori-hori knife is essential for removing deep-taproot weeds without disturbing the surrounding soil structure. Clean your shovel with a 10 percent bleach solution after working in diseased areas to prevent the spread of soil-borne pathogens like Fusarium or Verticillium.
The Yield:
For those designing with edible landscapes, the harvest is the final data point. Harvest leafy greens when turgor pressure is highest, typically in the early morning before the sun induces transpiration. Use sharp bypass pruners to make clean cuts at a 45-degree angle, which minimizes the surface area exposed to potential pathogens. For root crops, use a garden fork or shovel to gently lift the soil from the side, avoiding mechanical damage to the epidermis of the vegetable. Store produce at 35 to 40 degrees Fahrenheit with high humidity to maintain "day-one" crispness and prevent cellular collapse.
FAQ:
How deep should I dig for a new flower bed?
Dig to a depth of 8 to 12 inches. This accommodates the majority of fibrous root systems and allows for the incorporation of organic amendments to improve soil structure and nutrient holding capacity.
What is the best shovel for heavy clay soil?
A round-point shovel with a sharpened steel blade is best. The pointed tip concentrates force to penetrate compacted clay, while the curved bowl helps lift and turn the heavy material efficiently.
Can I use a shovel to edge my lawn?
Yes, a half-moon edger or a square-point shovel is ideal. Drive the blade vertically 3 to 4 inches into the turf to sever stolons and rhizomes, creating a clean physical barrier between grass and mulch.
How do I know if my soil is too wet to dig?
Squeeze a handful of soil into a ball. If it remains a solid, muddy mass and does not crumble when poked, it is too wet. Digging in these conditions causes permanent compaction and destroys soil aeration.