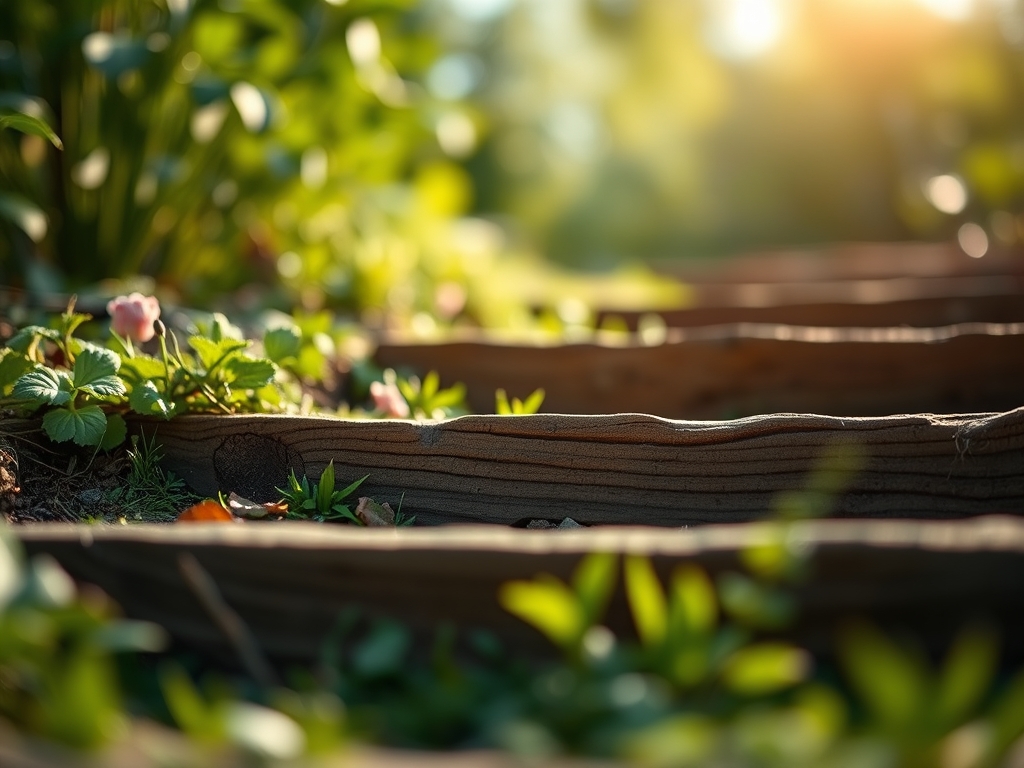
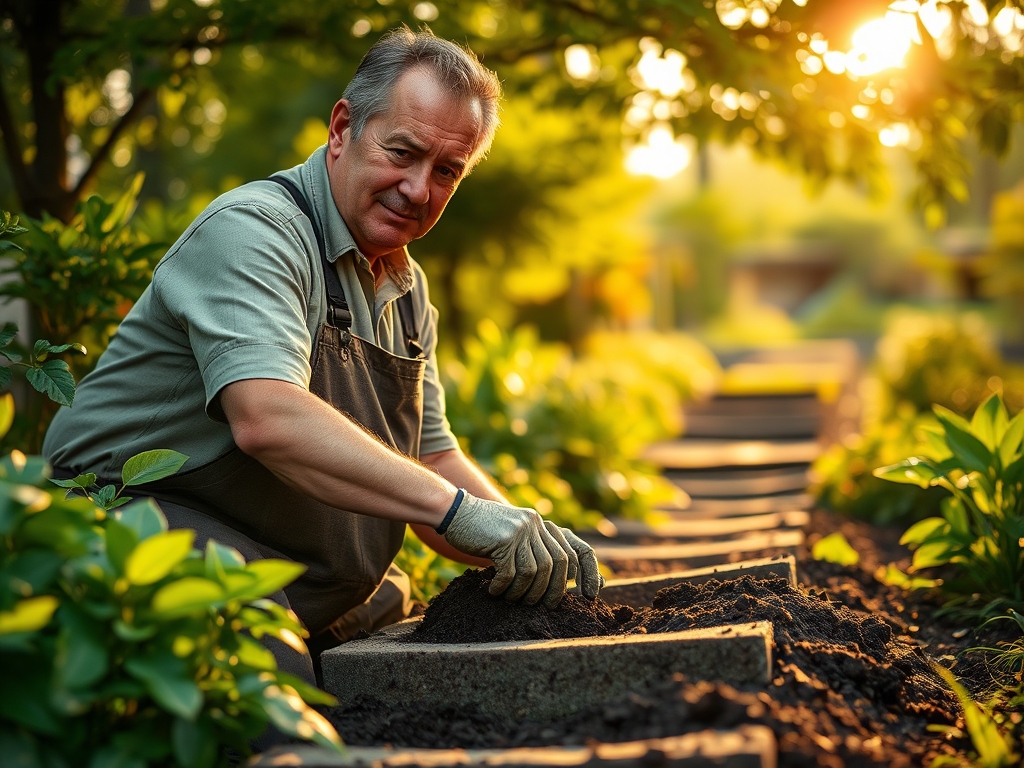
7 Steps to Build a Custom Yard Garden Path
The smell of damp earth after a saturation event signals the perfect moment for structural intervention. When soil reaches its field capacity, the turgor pressure within the surrounding vegetation is at its peak; this ensures that any root disturbance during excavation is met with maximum cellular resilience. Mastering the steps for building a garden path requires more than aesthetic placement. It demands a rigorous understanding of soil mechanics and hydrological runoff to ensure the walkway does not become a drainage canal. A successful path integrates with the rhizosphere rather than disrupting it. By calculating the slope and compaction requirements before the first shovel hits the dirt, you preserve the structural integrity of the surrounding landscape while providing a stable conduit for garden maintenance and observation. This process is a calculated engineering feat designed to minimize soil compaction in planting beds while maximizing accessibility across the property.
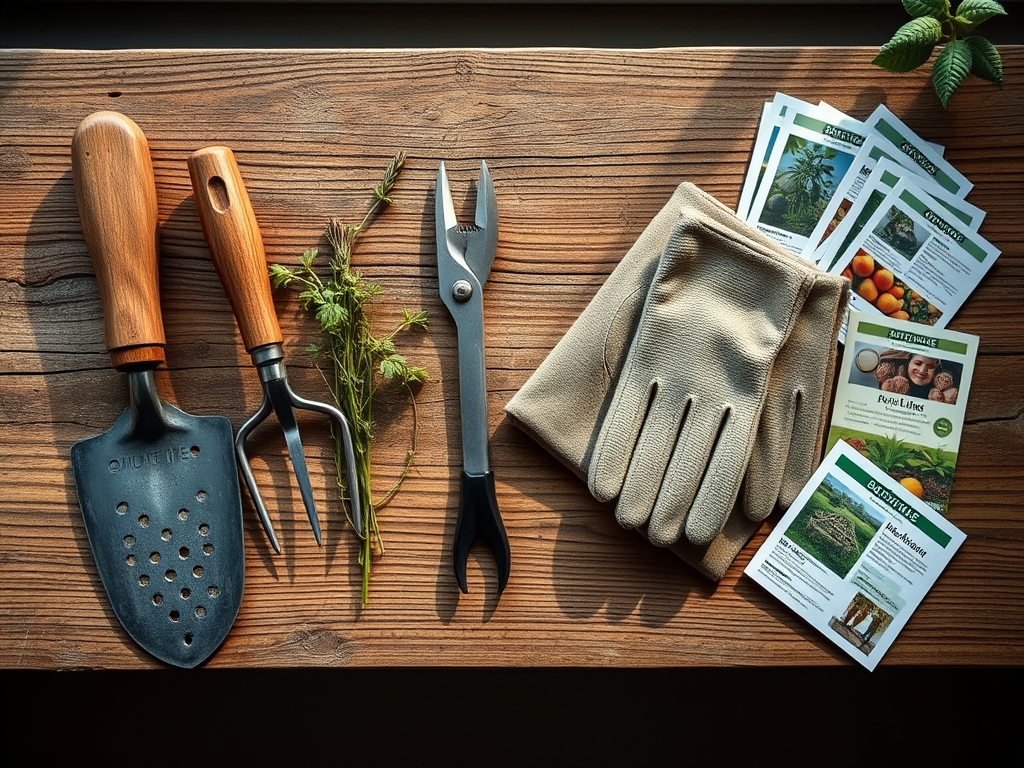
Materials:
The foundation of any path begins with the substrate. You must evaluate the **Cation Exchange Capacity (CEC)** of the existing soil to understand how it will react to heavy stone or gravel overlays. For paths flanking heavy feeders, the soil should maintain a **pH between 6.0 and 7.0**. The ideal substrate is a **friable loam** consisting of 40 percent sand, 40 percent silt, and 20 percent clay. This ratio prevents the “puddling” effect that leads to anaerobic conditions.
If you are planting groundcovers between pavers, incorporate a slow-release fertilizer with an NPK ratio of 5-10-5 into the base layer. This lower nitrogen content prevents excessive vegetative surge while the high phosphorus levels encourage the rapid root establishment necessary to withstand foot traffic. Avoid high-clay aggregates in the base layer; clay holds water, which leads to frost heaving in cold climates. Use a crushed 3/4-inch minus limestone for the sub-base to ensure a high degree of angular interlocking and superior drainage.
Timing:
The execution of these steps must align with your specific USDA Hardiness Zone. In Zones 4 through 6, construction should occur after the final spring frost but before the summer heat exceeds 85 degrees Fahrenheit. This window allows the biological clock of surrounding perennials to remain in the vegetative stage. If you excavate during the reproductive (flowering) stage, the plant diverts energy away from root repair to seed production, increasing the risk of transplant shock or peripheral dieback.
In warmer Zones 8 through 10, the ideal window is late autumn. This timing utilizes the natural dormancy period of most temperate species. By installing the path when the photoperiod is shortening, you reduce the evapotranspiration rates of nearby plants. This ensures that any incidental root pruning caused by the path's edge does not result in permanent vascular collapse or systemic senescence.
Phases:
Sowing the Foundation
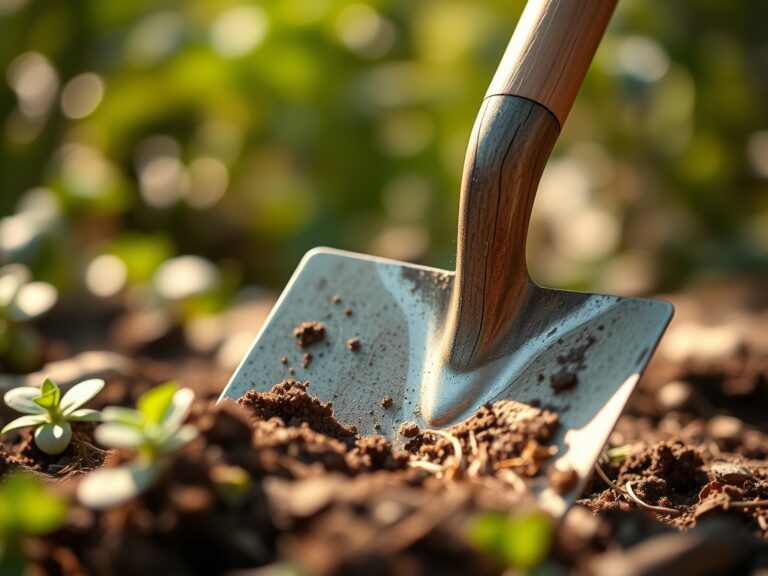
Excavate the path to a depth of 6 to 8 inches. This depth allows for a 4-inch compacted sub-base and a 2-inch leveling sand layer. Use a plate compactor to reach a 95 percent Proctor density. This prevents future settling which can create micro-climates for fungal pathogens in standing water.
Pro-Tip: Proper compaction manages mycorrhizal symbiosis. By creating a firm boundary, you encourage fungal networks to concentrate within the aerated planting beds rather than under the anaerobic conditions of a compacted stone path.
Transplanting Edging Plants
When placing "steppable" plants like Thymus praecox between stones, ensure the root ball is set 0.5 inches below the stone surface. This protects the crown from direct mechanical damage. Backfill with a mix of 70 percent sharp sand and 30 percent organic compost.
Pro-Tip: This depth adjustment utilizes auxin suppression. By shielding the crown, you prevent the mechanical stress that triggers ethylene production; this keeps the plant in a low-growth, high-density state suitable for foot traffic.
Establishing the Border
Install a permanent edging material, such as 14-gauge steel or heavy-duty recycled plastic, to prevent lateral migration of the base materials. The edging should sit 1 inch above the soil line to deflect weed seeds and prevent invasive rhizomes from encroaching on the path.
Pro-Tip: Edging creates a physical barrier that interrupts thigmotropism. When roots encounter this solid boundary, they are forced to grow downward or backward into the nutrient-rich rhizosphere of the garden bed rather than wasting energy under the path.
The Clinic:
Physiological disorders often manifest at the interface of the path and the garden bed due to altered drainage and heat retention.
- Symptom: Interveinal chlorosis (yellowing leaves with green veins) in nearby plants.
- Solution: Check soil pH. Limestone base materials can leach calcium carbonate, raising the pH and causing Iron or Manganese deficiency. Apply elemental sulfur to lower the pH to the 6.5 range.
- Symptom: Marginal leaf burn or necrosis.
- Solution: This is often "Heat Loading." Stone paths act as thermal sinks. Increase irrigation by 20 percent at the path edge to compensate for localized evaporation.
- Symptom: Stunting and blue-green leaf tint.
- Solution: This indicates Phosphorus deficiency caused by cold, wet soil at the path edge. Improve sub-surface drainage by adding a perforated 4-inch drain pipe beneath the path base.
Fix-It: For general Nitrogen chlorosis (entire leaf turning pale yellow), apply a liquid 10-0-0 fertilizer directly to the root zone. This provides immediate bioavailable nitrogen to restore chlorophyll production.
Maintenance:
Precision is required to maintain the path's integrity and the health of the surrounding flora. Use a soil moisture meter twice weekly to check the transition zone between the path and the bed. These areas dry out faster due to the "wicking" effect of the gravel base. Aim for a consistent moisture level that requires approximately 1.5 inches of water per week delivered at the drip line.
Keep a hori-hori knife sharpened for precise weeding between pavers; this tool allows you to extract the entire taproot without disturbing the leveling sand. Use bypass pruners to maintain a 2-inch clearance between overhanging foliage and the path surface. This gap ensures adequate airflow, reducing the humidity levels that encourage powdery mildew and other foliar pathogens.
The Yield:
For paths lined with edible herbs or cutting flowers, harvest timing is critical for cellular turgidity. Collect specimens in the early morning when turgor pressure is at its maximum and before the sun triggers the closure of stomata.
Use a sterilized blade to make a clean 45-degree cut, which maximizes the surface area for water uptake. For "day-one" freshness, immediately submerge the stems in 40-degree Fahrenheit water. This rapid cooling slows the metabolic rate and delays the onset of senescence, preserving the essential oils and volatile compounds within the plant tissue.
FAQ:
What is the best base for a garden path?
A compacted sub-base of 3/4-inch angular crushed stone is superior. It provides the necessary structural load-bearing capacity while allowing for vertical drainage. Avoid rounded pea gravel for the base as it does not lock together and will shift under pressure.
How do I prevent weeds from growing in my path?
Install a high-quality geotextile fabric between the soil and the stone base. This creates a physical barrier against dormant seeds in the seed bank while allowing water to permeate. Ensure the fabric overlaps by at least 6 inches at the seams.
How deep should I dig for a flagstone path?
Excavate to a total depth of 8 inches. This accommodates 4 inches of compacted gravel, 2 inches of leveling sand, and the thickness of the stone (usually 2 inches). This depth ensures the path remains flush with the surrounding grade.
Will a stone path hurt my tree roots?
Large structural roots within the top 12 inches of soil can be damaged by excavation. If you encounter roots larger than 2 inches in diameter, bridge over them with additional sand rather than cutting them to prevent systemic instability and fungal entry.