6 Sturdy Steps to Build a Garden Trellis for Indeterminate Tomatoes
Indeterminate tomato varieties reach heights exceeding 8 feet when properly supported, producing fruit from mid-summer until the first killing frost. Without adequate vertical structure, stems collapse under the weight of developing fruit, exposing lower foliage to soil-borne pathogens and reducing air circulation. The steps for building a vegetable garden trellis begin with understanding the load-bearing requirements of vining cultivars that can produce 40 to 60 pounds of fruit per plant over a 90-day harvest window.
Materials and Soil Preparation
The structural components require pressure-treated 4×4 posts rated for ground contact, cut to 8-foot lengths with 18 inches designated for below-grade installation. Horizontal crossbeams use 2×4 lumber in 8-foot sections. Galvanized fence staples (1.5 inches) secure concrete reinforcing wire mesh with 6-inch grid openings, which provides optimal spacing for lateral branch support and harvesting access.
Prior to trellis installation, amend the planting bed with compost aged 12 months or longer. Target soil pH between 6.2 and 6.8 for maximum calcium uptake, critical for preventing blossom-end rot in fruiting tomatoes. Incorporate a balanced organic fertilizer at 4-4-4 NPK ratio, applied at 2 pounds per 100 square feet. Mycorrhizal fungi inoculant (Glomus intraradices) introduced at transplant establishes symbiotic relationships that increase phosphorus availability by up to 40 percent. The cation exchange capacity of well-amended soil should measure 10 meq/100g or higher to buffer nutrient fluctuations during peak fruiting.
Timing and Regional Considerations
Construct the trellis 2 weeks before the last expected frost date in your hardiness zone. This allows soil to settle around posts and ensures structural stability before transplanting. Zone 5 gardeners should target May 15 to May 30. Zone 6 installations occur May 1 to May 15. Zone 7 and warmer regions can install trellises by mid-April.
Transplant seedlings outdoors when soil temperature reaches 60°F at 4-inch depth, measured at 8:00 AM for three consecutive days. Nighttime air temperatures should remain above 50°F consistently. Transplanting into cold soil below 55°F disrupts auxin distribution and causes transplant shock, delaying fruit set by 10 to 14 days.
Construction Phases
Phase One: Post Installation
Dig post holes 18 inches deep using a clamshell digger or power auger. Space posts 8 feet apart for standard trellis runs. Pour 4 inches of drainage gravel at the base of each hole. Set posts vertically, verified with a 4-foot level on two adjacent faces. Backfill with native soil tamped in 4-inch lifts. Posts installed in clay soils require a gravel collar extending 6 inches beyond the post perimeter to prevent frost heaving.
Pro-Tip: Drive posts at a 2-degree inward cant (approximately 0.25 inches of offset at the top) to counteract the outward pull of loaded vines at peak production.
Phase Two: Crossbeam and Wire Attachment
Mount horizontal 2×4 crossbeams 6 inches from the top of each post using 3.5-inch structural screws. Unroll concrete reinforcing wire along the post line. Secure wire to posts and crossbeams with galvanized fence staples every 12 inches. Pull wire taut before fastening. Loose wire allows excessive lateral movement during wind events, causing stem abrasion and creating entry points for bacterial canker.
Pro-Tip: Leave 12 inches of wire extending beyond end posts, then fold it back and weave through the grid pattern. This doubled edge prevents wire unraveling and provides reinforced tie-off points.
Phase Three: Transplanting and Training
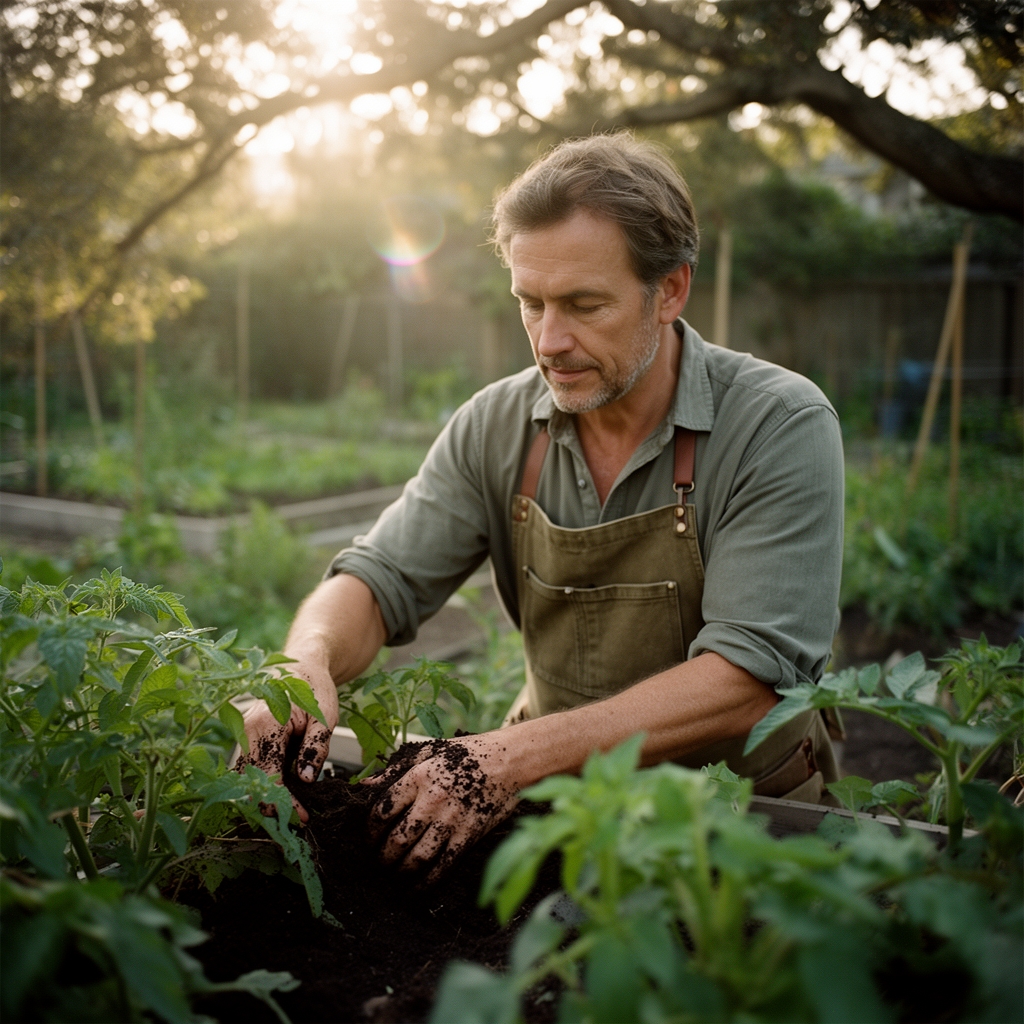
Set transplants 24 inches apart along the trellis base. Bury stems horizontally in a 4-inch trench, leaving only the top two leaf sets above soil level. Adventitious roots develop along buried stem tissue, increasing root mass by 30 to 50 percent compared to standard vertical planting. Water transplants with a starter solution containing phosphorus at 10-52-10 ratio, diluted to half-strength.
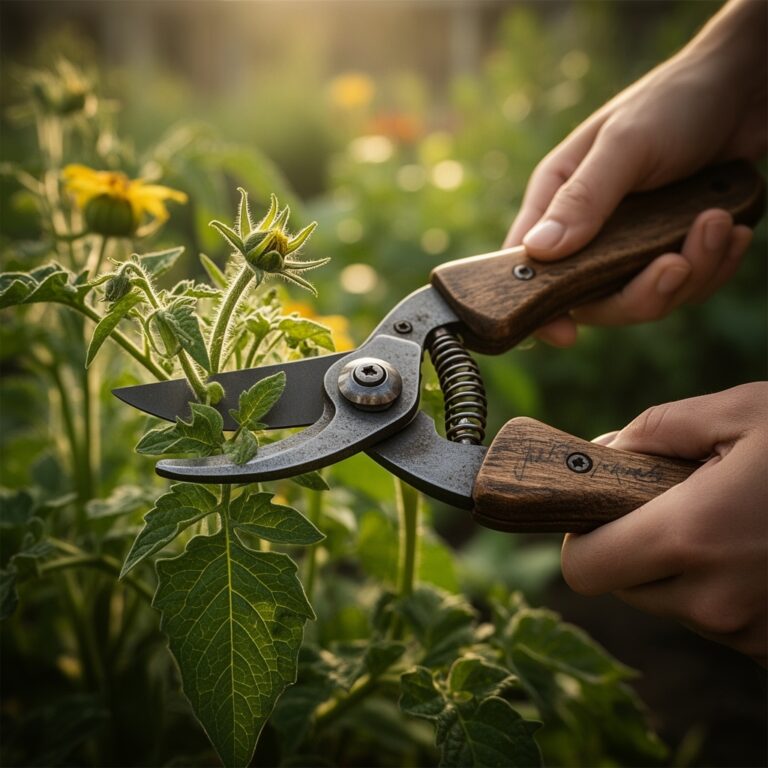
Begin training when plants reach 12 inches in height. Weave the main stem through wire grid openings in a spiral pattern. Remove suckers that emerge from leaf axils below the first flower cluster. Retain suckers above the first truss to increase photosynthetic capacity without compromising fruit size.
Pro-Tip: Train stems through the wire at a 60-degree angle rather than vertically. This angle optimizes auxin distribution, promoting more uniform fruit sizing across all trusses.
Troubleshooting Common Disorders
Symptom: Yellow lower leaves with brown margins, progressing upward.
Solution: Magnesium deficiency exacerbated by high potassium levels. Apply Epsom salt foliar spray at 1 tablespoon per gallon weekly until symptoms resolve.
Symptom: Stems snap at wire contact points during high winds.
Solution: Excessive nitrogen creates succulent, brittle tissue. Reduce nitrogen inputs by 30 percent and add silica supplement at 50 ppm to increase cell wall lignification.
Symptom: Dark, greasy lesions on stems near soil line.
Solution: Bacterial canker (Clavibacter michiganensis). Remove infected plants immediately. Disinfect pruning tools with 10-percent bleach solution between cuts. Apply copper hydroxide spray at 1.5 pounds per 100 gallons as preventative on remaining plants.
Symptom: Hornworm defoliation on upper growth.
Solution: Hand-pick larvae at dawn when they congregate on stem tips. Bacillus thuringiensis var. kurstaki applied at 0.5 to 1.0 pounds per acre provides biological control within 48 hours of ingestion.
Symptom: Fruit cracking in concentric rings around the stem scar.
Solution: Inconsistent soil moisture causes rapid cell expansion. Maintain soil moisture at 65 to 75 percent of field capacity measured with a tensiometer.
Maintenance Protocol
Apply 1 inch of water per week through drip irrigation, delivered in two 0.5-inch applications. Water in early morning to allow foliage to dry before nightfall, reducing foliar disease pressure. Side-dress with additional 4-4-4 fertilizer at 1 pound per 100 square feet when the first fruit reaches golf-ball size. Repeat every 3 weeks until 4 weeks before expected first frost.
Prune to maintain a single leader, removing all suckers weekly. Sanitize pruning shears between plants using quaternary ammonium disinfectant. Remove lower leaves up to the first fruiting cluster once fruit sets to improve air circulation and reduce early blight transmission.
Frequently Asked Questions
What is the minimum depth for trellis posts?
Posts must extend 18 inches below grade in stable soil, 24 inches in sandy soil prone to settling.
Can I use untreated lumber for cost savings?
Untreated posts rot within 2 to 3 seasons. Cedar naturally resists decay for 5 to 7 years without chemical treatment.
How many plants can one 8-foot trellis section support?
Four plants at 24-inch spacing fully utilizes the vertical growing space without excessive competition.
When should I stop training new growth?
Cease vertical training 6 weeks before the first expected frost date to redirect energy toward ripening existing fruit.
What wire gauge works best for heavy fruiting varieties?
Use 9-gauge welded wire grid. Lighter 12-gauge wire deforms under 40-pound fruit loads, creating uneven support and stem girdling.