7 Best Tool Sharpeners to Keep Garden Shears Sharp
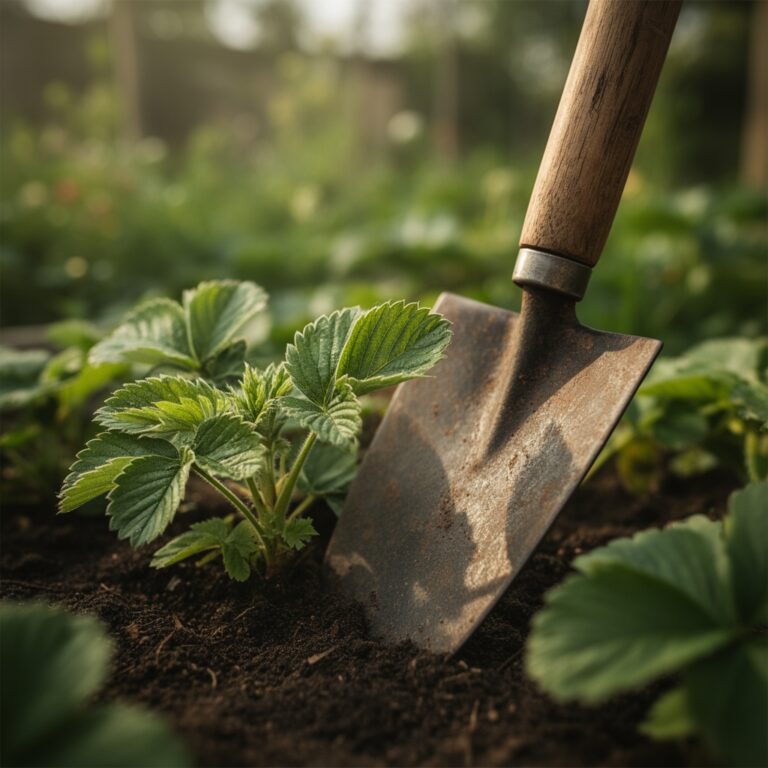
Dull shears tear plant tissue instead of slicing it cleanly, inviting disease and slowing recovery. A ragged cut on tomato stems or bean stalks creates entry points for fungal pathogens and bacterial wilt. Keeping edges sharp reduces mechanical stress on vascular tissue and preserves auxin distribution in actively growing terminals. Best vegetable garden tool sharpeners restore the precise bevel angles required for clean cuts through lignified stems and fibrous leaf petioles. Sharp tools also reduce hand fatigue during extended pruning sessions, allowing you to maintain proper cutting angles throughout the workday.
Materials
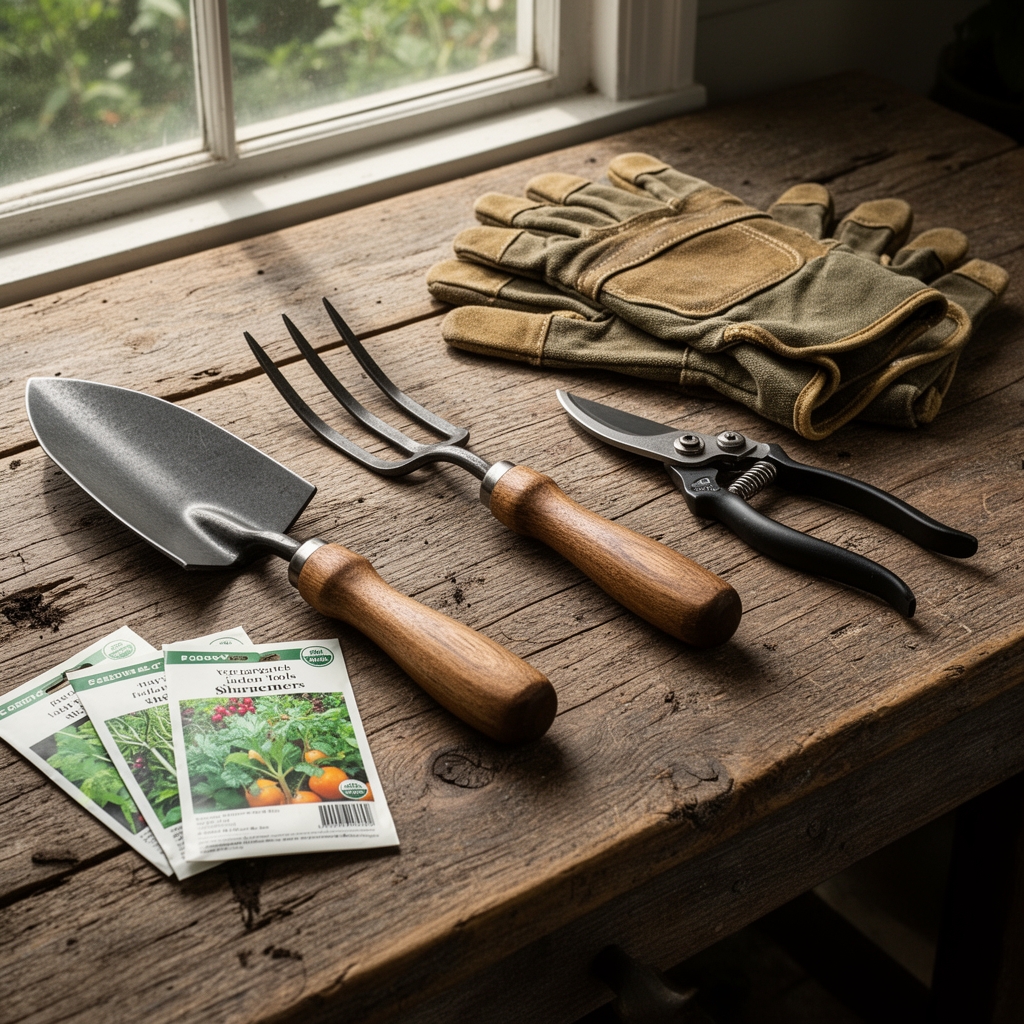
Diamond-coated sharpeners work across all steel types, from carbon to stainless alloys. They remove metal efficiently without clogging, unlike traditional whetstones that accumulate plant sap and oxidized particles. Ceramic rod sharpeners provide a finer polish for finishing edges after initial shaping. Their hardness rating (typically 9 on the Mohs scale) maintains consistent geometry through hundreds of sharpening cycles.
For soil-based analogies, think of coarse diamond grit (200-400) as the equivalent of incorporating coarse perlite to improve drainage structure. It removes material quickly but leaves a rougher surface. Fine grit (600-1000) acts like sifted compost, creating a smooth finish that reduces friction during cuts. Medium grit (400-600) bridges both functions, similar to a balanced 4-4-4 organic meal that provides immediate and slow-release nutrients.
Tungsten carbide sharpeners use intersecting carbide blades set at fixed angles. They work well for field sharpening but remove more metal than precision methods. Oil or water serves as a lubricant during sharpening, carrying away steel particles that would otherwise embed in the stone's surface and reduce its effectiveness. Food-grade mineral oil works best because it does not polymerize or turn rancid like vegetable oils.
Timing
Sharpen tools before each growing season begins, typically two weeks before your last frost date. In Zone 7, this falls between mid-March and early April. In Zone 4, wait until late April or early May. Pre-season sharpening ensures tools perform optimally when transplanting seedlings and pruning winter-damaged growth.
Mid-season maintenance occurs after 20-30 hours of active use. For intensive vegetable gardening, this usually means sharpening every 4-6 weeks during peak season. Heavy tasks like cutting woody brassica stems or pruning indeterminate tomatoes accelerate edge degradation. Test sharpness by cutting paper, if the blade tears rather than slices, it needs immediate attention.
Post-harvest sharpening prepares tools for winter storage. Clean all plant residue, sharpen edges, and apply a thin coat of oil to prevent oxidation. This timing prevents rust formation during dormant months and reduces the cation exchange capacity of metal surfaces exposed to moisture.
Phases

Initial Sharpening: Inspect the blade under direct light to identify nicks and rolled edges. Secure the tool in a vise or clamp to maintain consistent angles. For bypass pruners, sharpen only the beveled edge, maintaining the factory angle (typically 20-25 degrees). Make 10-15 strokes with coarse grit, applying light pressure on the push stroke and no pressure on the return. Check progress frequently to avoid over-sharpening.
Pro-Tip: Mark the bevel edge with a permanent marker before sharpening. The ink wears away only where metal contact occurs, revealing whether you are maintaining the correct angle.
Refining the Edge: Switch to medium grit and reduce stroke count to 5-7 passes. The goal is removing the burr created by coarse sharpening while preserving the apex geometry. Finish with fine grit using 3-5 light strokes. The edge should reflect light uniformly along its length without dark spots indicating rounded sections.
Pro-Tip: Strop the finished edge on leather charged with fine abrasive compound. This aligns microscopic teeth in the steel, similar to how mycorrhizal fungi align nutrient exchange channels in root zones.
Testing and Adjustment: Cut through a ripe tomato without applying downward pressure. The weight of the blade alone should penetrate the skin. If it slips or crushes tissue, the edge lacks sufficient sharpness or the bevel angle is too obtuse. Repeat the refining phase with slightly increased pressure on the fine grit passes.
Pro-Tip: Keep a test branch from hardwood prunings (oak or hickory). If your shears cut cleanly through 3/8-inch diameter hardwood, they will handle any vegetable garden stem.
Troubleshooting
Symptom: Edge dulls rapidly after sharpening (within 2-3 hours of use).
Solution: The bevel angle is too acute (below 15 degrees) or steel temper is compromised. Increase the sharpening angle to 22-25 degrees. If dulling persists, the blade requires professional heat treatment or replacement.
Symptom: Shears crush stems instead of cutting cleanly even with sharp edges.
Solution: Blade gap exceeds 1/32 inch or pivot bolt has loosened. Adjust the tension screw until blades barely contact when closed. Apply one drop of machine oil to the pivot point after adjustment.
Symptom: Burr remains on edge after multiple sharpening sessions.
Solution: Alternate stroke direction every 3-4 passes. Finish by honing the flat (non-beveled) side with 2-3 light strokes using fine grit to remove persistent burr material.
Symptom: Visible scratches or grooves appear perpendicular to the cutting edge.
Solution: Sharpening stone contains embedded debris. Clean the stone thoroughly with water or oil depending on type. Replace the stone if contamination persists, as scratches compromise cutting performance similar to how compacted soil restricts root penetration.
Maintenance
Wipe blades with an oiled cloth after each use session. Apply 2-3 drops of light machine oil to pivot points and spring mechanisms weekly during active season. Store tools in a dry location with relative humidity below 50% to prevent oxidation. Inspect cutting edges before each use by running your thumb perpendicular to the blade (never along it). A sharp edge catches slightly on skin oils without cutting.
Disassemble pivot assemblies annually and clean accumulated plant sap with isopropyl alcohol. Replace springs showing permanent compression or cracking. Touch up edges with 10-12 strokes of fine grit every fifth use session, even if performance seems adequate. This prevents minor dulling from accumulating into geometry loss requiring extensive reshaping.
FAQ
How often should I sharpen vegetable garden shears?
Sharpen before each season and after every 20-30 hours of active cutting. Heavy use requires more frequent maintenance.
Can I use the same sharpener for all garden tools?
Diamond or ceramic sharpeners work across tool types. Match grit progression to the tool's cutting task. Coarse grit for hoes and spades, fine grit for precision pruners.
What angle should I maintain when sharpening?
Most bypass pruners use 20-25 degrees. Anvil-style pruners may use slightly steeper angles (25-30 degrees). Match the factory bevel.
Do I sharpen both blade edges on bypass pruners?
No. Sharpen only the beveled cutting edge. The flat side should remain untouched except for burr removal.
How do I know when to replace rather than sharpen?
Replace blades when metal thickness at the cutting edge drops below 1/16 inch or when visible cracks appear near the pivot point.