6 Steps to Prepare a Level Backyard Garden Deck Site
Damp earth releases a sharp, metallic scent of geosmin as the spade breaks the surface tension of the soil. A healthy plant maintains high turgor pressure; its cells are rigid and hydrated; but a deck site requires the opposite environment: a stabilized, dormant substrate that prevents vegetative upheaval. Learning how to prepare a site for a garden deck requires an understanding of soil mechanics and drainage. You are not merely clearing land; you are managing the rhizosphere to ensure structural integrity. Failure to address the biological activity beneath the boards leads to fungal rot and shifting foundations.
Proper site preparation begins with an assessment of the soil profile. Most backyard plots consist of a thin layer of organic matter over mineral-heavy subsoil. To prevent the deck from heaving during freeze-thaw cycles, you must strip the vegetation and manage the water table. This process involves precise excavation, the application of geofabrics, and the installation of a drainage layer that redirects moisture away from the support posts. By the time the first pier is poured, the ground should be a compacted, inert platform that resists the natural urge of the earth to reclaim the space through root expansion and microbial decomposition.
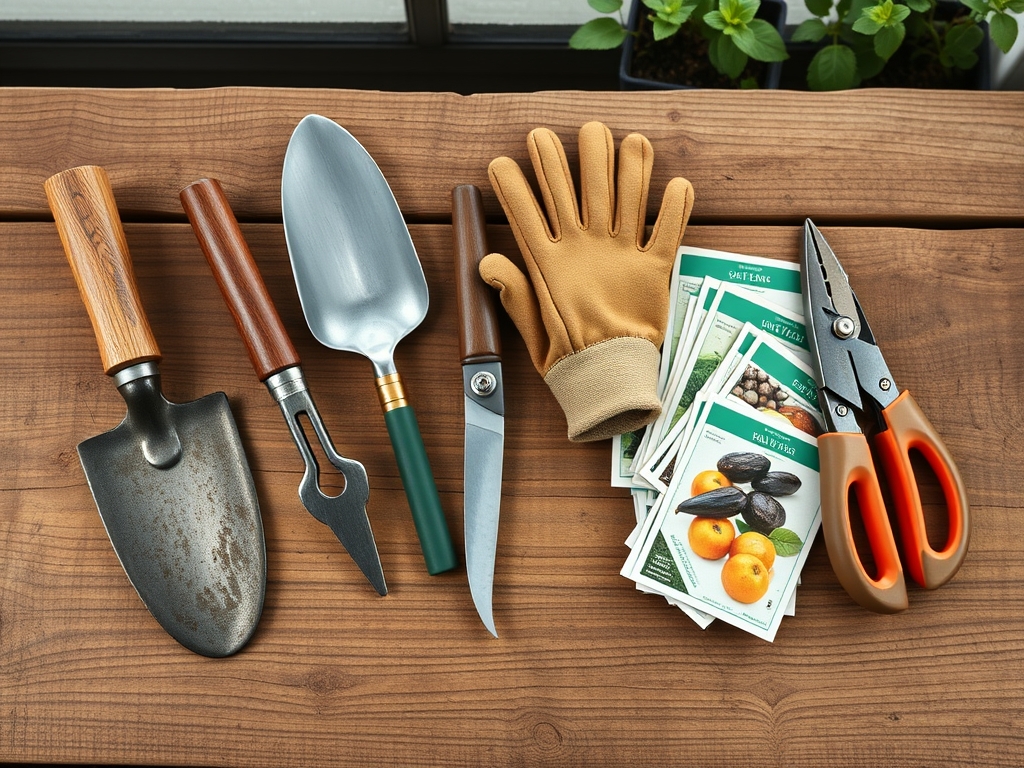
Materials:
The ideal substrate for a deck perimeter is a **friable loam** with a **pH between 6.0 and 7.0**, though for the actual footprint of the deck, you want to eliminate organic life. If you are planting around the deck, use a balanced **10-10-10 NPK ratio** to establish a baseline for ornamental shrubs. For the site itself, you require **non-woven geotextile fabric** and **crushed angular stone (3/4 inch minus)**. The Cation Exchange Capacity (CEC) of the surrounding soil should be high (above 15 meq/100g) to retain nutrients for your perimeter plants, but the area directly under the deck must be rendered biologically inactive to prevent the growth of wood-destroying fungi.
Timing:
Preparation must occur when the soil is workable and not saturated. In Hardiness Zones 4 through 7, the ideal window is late spring after the final frost date, when soil moisture levels have stabilized. Working wet soil destroys its structure, leading to massive compaction that prevents lateral drainage. Observe the biological clock of your local flora; you want to excavate before the spring surge of vegetative growth. In Zones 8 through 10, site prep can occur in the fall to avoid the extreme heat that accelerates the senescence of any perimeter plantings you intend to keep. Aim for a soil temperature of at least 55 degrees Fahrenheit to ensure any necessary seed germination for the surrounding landscape occurs rapidly.
Phases:

Sowing the Perimeter
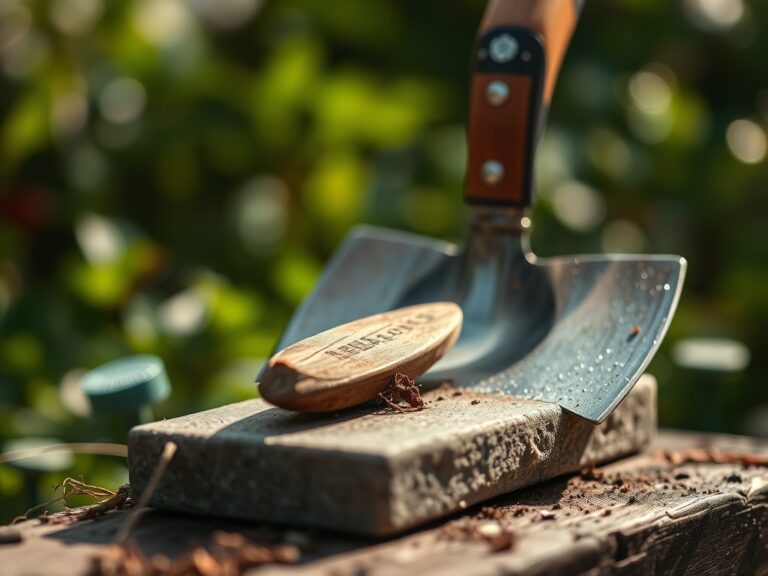
Establish a boundary of low-maintenance groundcover or shrubs around the planned deck site. Use a hori-hori knife to cut through existing turf and plant specimens at a depth of twice their root ball diameter. Ensure the crown of the plant is level with the soil surface to avoid stem rot.
Pro-Tip: Maintain a 12-inch gap between the deck frame and the foliage. This prevents auxin suppression in the plants due to physical contact and ensures adequate airflow to prevent powdery mildew.
Transplanting and Leveling
Excavate the site to a depth of 4 to 6 inches. Remove all organic debris, including roots and large stones. Use a laser level or string line to ensure the grade slopes away from the house at a rate of 1/4 inch per foot. This prevents hydrostatic pressure from building up against your foundation.
Pro-Tip: When transplanting existing perennials from the site, keep the root ball moist and intact to preserve the mycorrhizal symbiosis. These fungal networks are essential for nutrient uptake and water transport in the new location.
Establishing the Base
Lay down the geotextile fabric, overlapping seams by 12 inches. Cover with a 3-inch layer of gravel. This creates a physical barrier that prevents weed seeds from reaching the soil and blocks sunlight, effectively halting photosynthesis for any dormant seeds in the seed bank.
Pro-Tip: The gravel layer disrupts phototropism in emerging weeds. Without light, the seedlings cannot orient themselves toward the surface and will exhaust their carbohydrate reserves before breaching the stone.
The Clinic:
Physiological disorders in the surrounding landscape often occur during construction due to soil disruption.
- Symptom: Yellowing of older leaves with green veins (Interveinal Chlorosis).
- Solution: This indicates a Magnesium deficiency or high pH locking out micronutrients. Apply chelated iron or magnesium sulfate (Epsom salts) to the root zone.
- Symptom: Wilting despite moist soil.
- Solution: This is likely Root Asphyxiation caused by soil compaction from heavy foot traffic. Use a broadfork to aerate the soil without overturning the profile.
- Symptom: Stunted growth and purple-tinted foliage.
- Solution: Phosphorus deficiency often occurs in cold, wet soils. Increase the soil temperature with mulch and apply a high-phosphate starter fertilizer (5-20-10).
Fix-It for Nitrogen Chlorosis: If plants show uniform pale green or yellow leaves, they lack Nitrogen. Apply a quick-release ammonium nitrate fertilizer at a rate of 1 pound per 100 square feet to restore chlorophyll production.
Maintenance:
A stabilized deck site requires monitoring the surrounding soil health. Use a soil moisture meter to ensure the perimeter receives exactly 1.5 inches of water per week at the drip line. Avoid overhead watering; use a soaker hose to deliver water directly to the rhizosphere. This prevents the spread of fungal spores. Keep your bypass pruners sharp and disinfected with 70 percent isopropyl alcohol to prevent the transmission of pathogens when trimming back growth that encroaches on the deck. Check the gravel base annually for sediment buildup; if soil accumulates in the gravel, it creates a medium for weed growth.
The Yield:
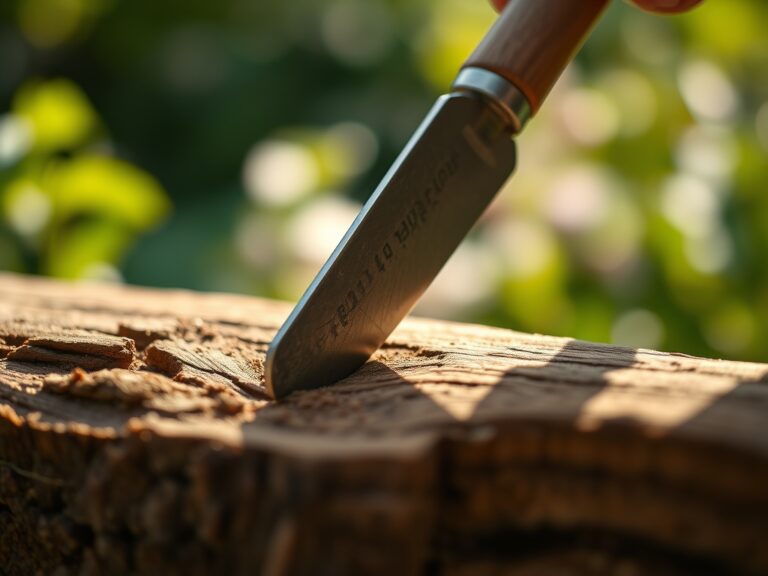
If your deck site includes integrated planters for herbs or flowers, harvest during the early morning when turgor pressure is at its peak. Use a sharp knife to make clean cuts, preventing tissue crushing. For herbs like basil or mint, harvest just before the plant enters the reproductive stage (flowering) to ensure the highest concentration of essential oils. Place harvested stems immediately in cool water to maintain "day-one" freshness and prevent the onset of senescence, which is the biological aging process triggered by ethylene gas.
FAQ:
How deep should I dig for a deck site?
Excavate 4 to 6 inches of topsoil. This removes the "O" and "A" soil horizons where most weed seeds and organic matter reside. Replace this volume with inorganic fill like crushed stone to ensure a stable, well-draining base.
Do I need a weed barrier under my deck?
Yes. Use a professional-grade geotextile fabric. This prevents soil from mixing with your gravel layer and blocks sunlight. It stops the biological process of photosynthesis, ensuring that no vegetation can survive in the dark environment beneath the deck boards.
What is the best way to level the ground?
Use a straight 2×4 board with a carpenter's level or a laser level. Clear the area of all hummocks and hollows. Ensure a 2 percent slope away from any permanent structures to manage runoff and prevent soil saturation.
Can I leave grass under my deck?
No. Grass will undergo senescence and rot in the absence of light. This decomposition releases moisture and nitrogen, which creates a high-humidity environment that attracts wood-boring insects and accelerates the decay of your deck's wooden structural members.