9 Tips: Using a Spade for Professional Backyard Projects
The scent of anaerobic decomposition signifies a soil profile lacking oxygen; whereas the metallic, sweet aroma of damp humus indicates a thriving microbial community. Professional horticulture begins with the physical manipulation of this substrate. Successful execution depends on the precision of your tool edge and the structural integrity of the soil aggregates. Using a spade for backyard design requires an understanding of soil compaction and the mechanical force needed to sever root systems without shattering the puddled clay structure. When the spade blade enters the earth, it must displace the soil while maintaining the distinct horizons of the profile. A sharp, forged steel head allows for clean vertical cuts that preserve the capillary action within the rhizosphere. This process ensures that the turgor pressure of established plants remains constant during the structural overhaul of a landscape.
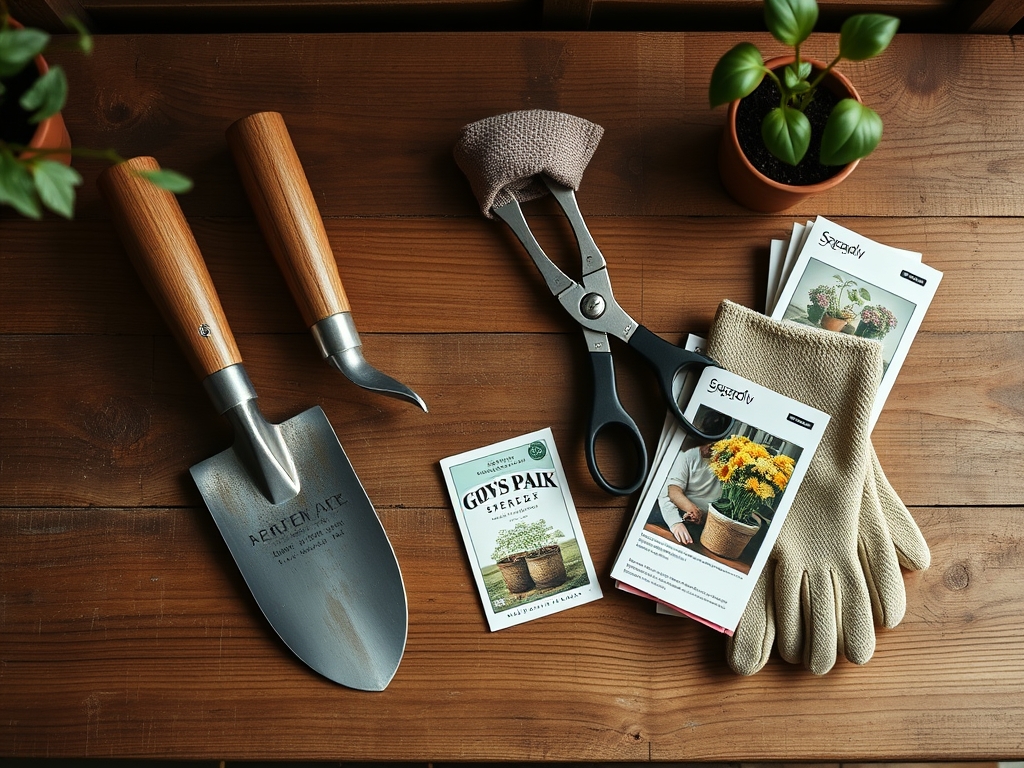
Materials:
Professional backyard design necessitates a substrate with a high Cation Exchange Capacity (CEC), typically found in a **friable loam** consisting of 40 percent sand, 40 percent silt, and 20 percent clay. The ideal soil pH for a versatile landscape ranges from **6.2 to 6.8**, which optimizes the bioavailability of macronutrients. Before using a spade for backyard design, amend the target area based on specific NPK requirements. For vegetative growth and structural establishment, the soil should test for a **10-5-5 NPK ratio**. High nitrogen levels support the synthesis of chlorophyll and protein. If you are preparing a site for flowering perennials, transition to a **5-10-10 NPK ratio** to prioritize phosphorus for root development and potassium for cellular water regulation. Ensure the organic matter content is at least **5 percent** to support the hydraulic conductivity of the soil.
Timing:
The window for major earthmoving and spade work is dictated by the frost-date calendar and USDA Hardiness Zones. In Zones 5 through 7, the primary window for structural digging opens when soil temperatures reach a consistent 45 degrees Fahrenheit. This temperature threshold ensures that the soil is no longer frozen, preventing "clodding" and structural damage to the soil peds. The biological clock of the plant determines the success of the project. Perform heavy spade work during the dormant stage or the very early vegetative phase. This timing minimizes the transpiration stress on the plant. Avoid using a spade for backyard design during the reproductive stage; the plant's energy is diverted to flowering or seed production, leaving little metabolic reserve for root regeneration.
Phases:
Sowing and Bed Preparation
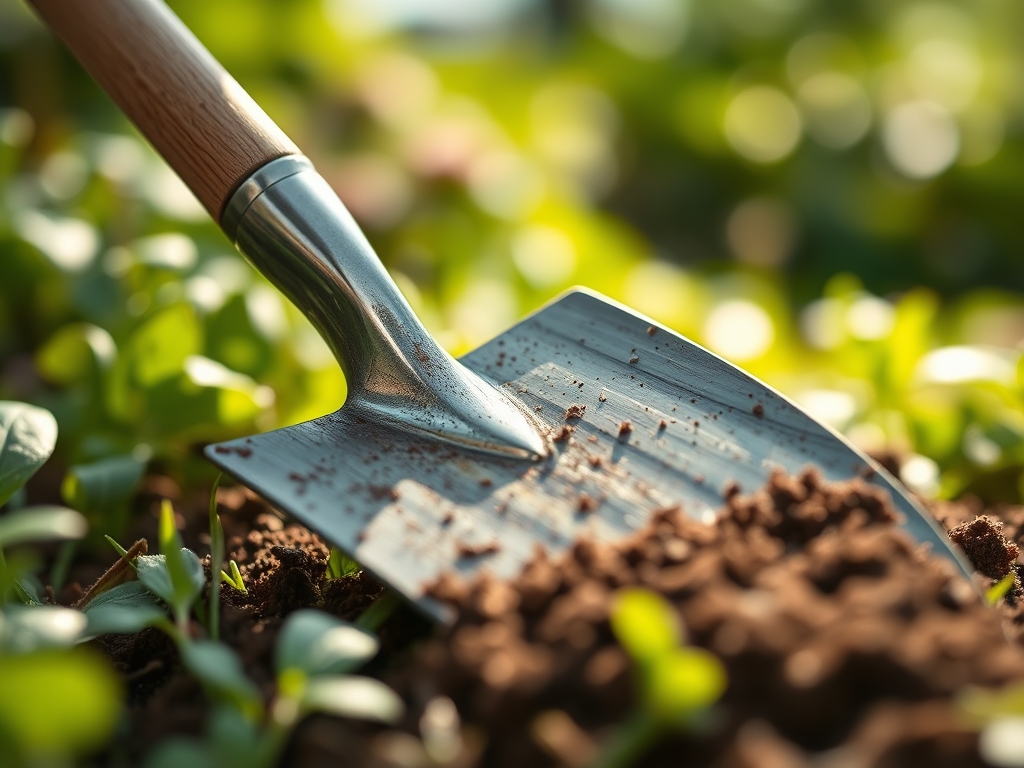
Bed preparation involves the mechanical inversion of the top 8 to 12 inches of soil. Use the spade to create a "V" shaped trench, ensuring the walls are smooth to prevent air pockets. This depth aligns with the primary root zone of most herbaceous plants.
Pro-Tip: Maintain soil aeration to support mycorrhizal symbiosis. These fungi extend the root system's reach; over-tilling destroys the hyphal networks that facilitate phosphorus uptake.
Transplanting
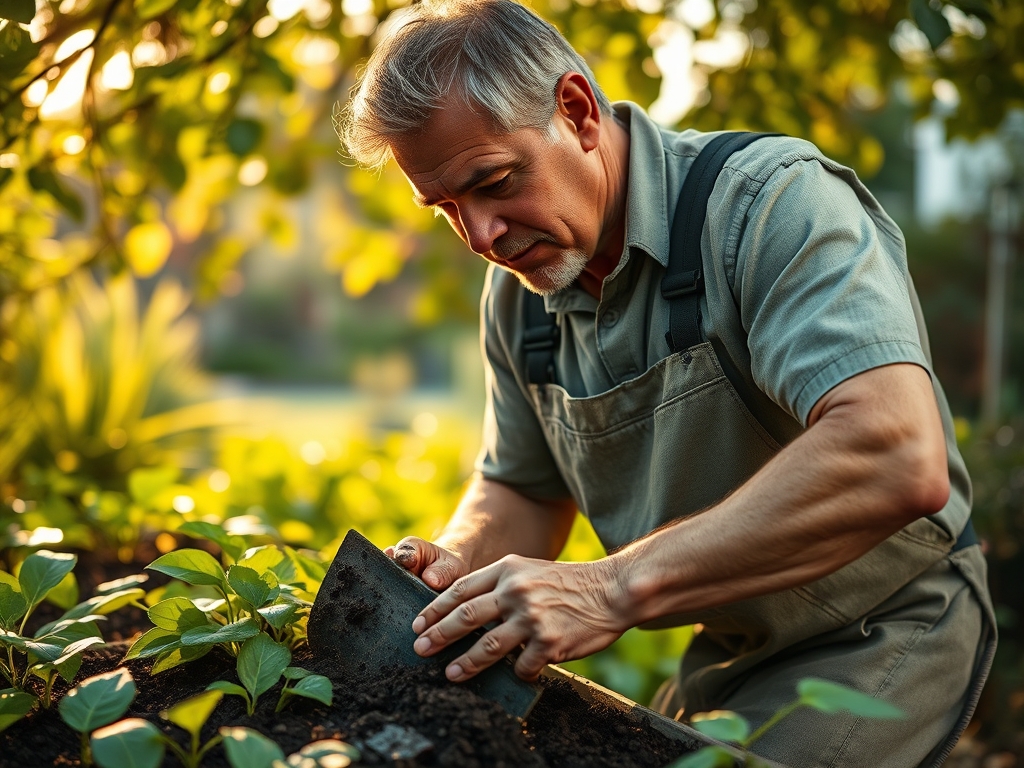
When moving established specimens, use the spade to cut a circular radius at least 12 inches wider than the canopy drip line. This preserves the lateral feeder roots. The spade should be driven vertically to avoid "crowning" the root ball, which can lead to desiccation.
Pro-Tip: Keep the root ball intact to prevent auxin suppression. When root tips are severed, the plant stops producing auxins, which are hormones that signal the terminal buds to continue growing.
Establishing
After placing the plant, backfill the hole using the spade to gently tamp the soil. This eliminates large macropores while maintaining the micropores necessary for water retention. The goal is a soil density of approximately 1.33 grams per cubic centimeter.
Pro-Tip: Proper spacing prevents phototropism issues. If plants are too close, they will grow elongated and weak as they compete for light, a phenomenon driven by the plant's search for the blue light spectrum.
The Clinic:
Physiological disorders often stem from improper soil management or mechanical damage during the digging phase.
- Symptom: Interveinal Chlorosis. The leaves turn yellow while the veins remain green.
- Solution: This indicates a micronutrient deficiency, often Iron or Manganese, caused by a high pH. Lower the pH to 6.5 using elemental sulfur.
- Symptom: Leaf Curl and Wilt. The plant loses turgidity despite moist soil.
- Solution: This is often "Transplant Shock" caused by root hair destruction. Apply a seaweed-based root stimulant to encourage new apical meristem growth.
- Symptom: Stunted Growth with Purple Foliage.
- Solution: This is a Phosphorus deficiency. In cold, compacted soils, phosphorus becomes immobile. Use your spade to aerate the soil and incorporate bone meal at a rate of 2 pounds per 100 square feet.
Fix-It: For Nitrogen chlorosis (general yellowing of older leaves), apply a quick-release urea-based fertilizer with a 46-0-0 NPK rating, but only if the soil temperature is above 50 degrees Fahrenheit.
Maintenance:
Precision maintenance requires monitoring the abiotic factors of the environment. Deliver 1.5 inches of water per week at the drip line, ensuring the moisture penetrates 6 inches deep. Use a soil moisture meter to verify that the tension remains between 10 and 30 centibars. For fine-tuning the edges of your spade-cut beds, utilize a hori-hori knife to remove deep-rooted perennial weeds without disturbing the primary root architecture of your ornamental plants. Use bypass pruners to remove any dead or senescing wood, making cuts at a 45-degree angle to prevent water pooling on the wound. Clean all tools with a 10 percent bleach solution after use to prevent the transmission of soil-borne pathogens like Phytophthora.
The Yield:
For projects involving flowering shrubs or herbaceous perennials, the yield is measured in biomass and bloom density. Harvest flowers in the early morning when turgor pressure is at its peak. Use a sharp blade to make a clean cut above a node to stimulate lateral branching. For "day-one" freshness, immediately submerge the stems in 110-degree Fahrenheit water to break any air embolisms in the xylem. Store the cuttings in a cool environment at 35 to 40 degrees Fahrenheit to slow the rate of respiration and delay senescence.
FAQ:
How deep should I dig for a new garden bed?
Target a depth of 8 to 12 inches. This encompasses the majority of the rhizosphere where nutrient exchange occurs. Digging deeper can disturb the subsoil and bring dormant weed seeds to the surface.
When is the best time to use a spade for transplanting?
Transplant during the early spring or late autumn. During these windows, the plant is in a state of low metabolic activity. This reduces the demand for water and allows the root system to recover before heat stress occurs.
How do I prevent the spade from sticking in clay soil?
Keep the blade polished and apply a thin layer of silicone spray or linseed oil. Ensure the soil moisture is at "field capacity." If the soil is too wet, it will smear and lose its structural porosity.
What is the difference between a spade and a shovel?
A spade has a flat, rectangular blade and a short handle, designed for precision cutting and edging. A shovel has a curved, pointed blade meant for moving loose material. Spades are the primary tool for structural backyard design.