7 Steps to Build a Professional Backyard Garden Patio
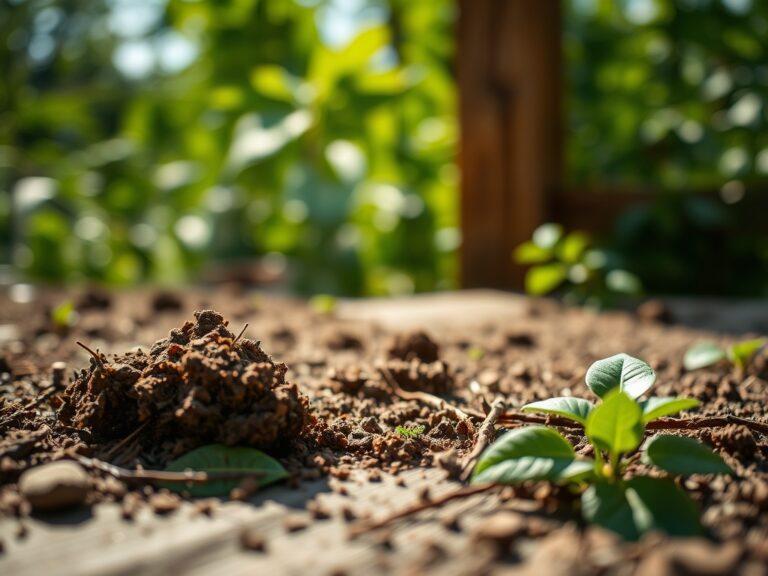
The smell of damp earth after a heavy rain indicates the release of geosmin; this chemical signature signals a soil environment ready for manipulation. Achieving the correct turgor pressure in surrounding flora depends on the structural integrity of the ground beneath them. When executing the steps for building a garden patio, the objective is to harmonize hardscaping with the biological needs of the rhizosphere. A professional installation prevents soil compaction that would otherwise suffocate aerobic microbes and stall root respiration.
Materials:
Construction begins with the substrate. For areas bordering the patio, the soil must be a **friable loam** with a **sand-to-clay ratio of 40-40-20**. The target **soil pH is 6.5** to ensure maximum bioavailability of micronutrients. Before laying stone, amend the perimeter soil with a slow-release fertilizer featuring an **NPK ratio of 5-10-5**. High phosphorus levels at the base encourage robust root architecture. The base layer of the patio itself requires **crushed limestone (0.75-inch minus)** to provide a stable Cation Exchange Capacity (CEC) buffer for any runoff. This material prevents the leaching of salts into the surrounding planting beds, which can disrupt osmotic potential.
Timing:
Successful installation is dictated by the United States Department of Agriculture (USDA) Hardiness Zones. In Zones 5 through 7, the window for ground disturbance opens when the soil temperature consistently hits 50 degrees Fahrenheit. At this thermal threshold, microbial activity accelerates, and the biological clock of the garden shifts from dormancy to the vegetative stage. Avoid construction during the "frost heave" period of early spring; the expansion and contraction of ice crystals will compromise the leveling of your pavers. Aim for a window at least three weeks before the first autumn frost to allow the surrounding vegetation to recover from transplant shock and re-establish root-to-soil contact.
Phases:

Sowing the Perimeter
Establish a vegetative buffer using seeds with high germination rates. Clear all competitive weeds to ensure that emerging seedlings do not face light competition. Maintain a consistent moisture level in the top 0.5 inches of soil until the first true leaves appear.
Pro-Tip: Monitor for phototropism; if seedlings lean aggressively toward the patio surface, it indicates heat reflection from the stone is creating a localized microclimate. Rotate or shade young plants to prevent lopsided growth.
Transplanting Mature Specimens
When integrating established plants into the patio border, dig a hole twice the width of the root ball. Ensure the crown sits exactly at the soil line to prevent stem rot. Backfill with native soil mixed with 10 percent organic compost.
Pro-Tip: Inoculate the root zone with mycorrhizal fungi. This symbiosis extends the root surface area by up to 1,000 percent, allowing the plant to scavenge for phosphorus and water more efficiently in the disturbed soil.
Establishing the Hardscape
Excavate to a depth of 8 inches. Lay 4 inches of compacted gravel, followed by 2 inches of leveling sand. Set your pavers with a 1 percent slope away from your home to manage hydraulic pressure.
Pro-Tip: Use auxin suppression techniques by pruning terminal buds on surrounding shrubs after the patio is set. This redirects the plant's energy toward lateral branching, creating a denser, more architectural screen around the new structure.
The Clinic:
Physiological disorders often manifest after the heavy machinery and foot traffic of patio construction.
- Symptom: Interveinal chlorosis (yellowing between green veins) on new leaves.
- Solution: This indicates an iron deficiency, often caused by high pH from concrete runoff. Apply chelated iron and elemental sulfur to lower the pH to 6.2.
- Symptom: Marginal leaf burn or scorching.
- Solution: This is typically a sign of salt accumulation or potassium deficiency. Flush the soil with 2 inches of water and apply a 0-0-50 potassium sulfate amendment.
- Symptom: Wilting despite moist soil.
- Solution: This suggests root asphyxiation from soil compaction. Use a core aerator to improve gas exchange in the rhizosphere.
Fix-It for Nitrogen Chlorosis: If older leaves turn uniformly pale yellow, the plant is scavenging nitrogen for new growth. Apply a quick-release liquid fertilizer (10-0-0) to restore chlorophyll density within 48 hours.
Maintenance:
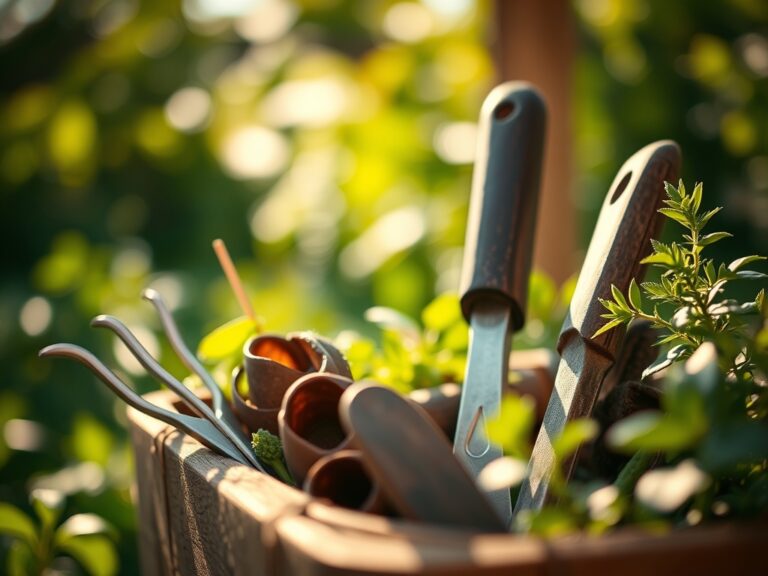
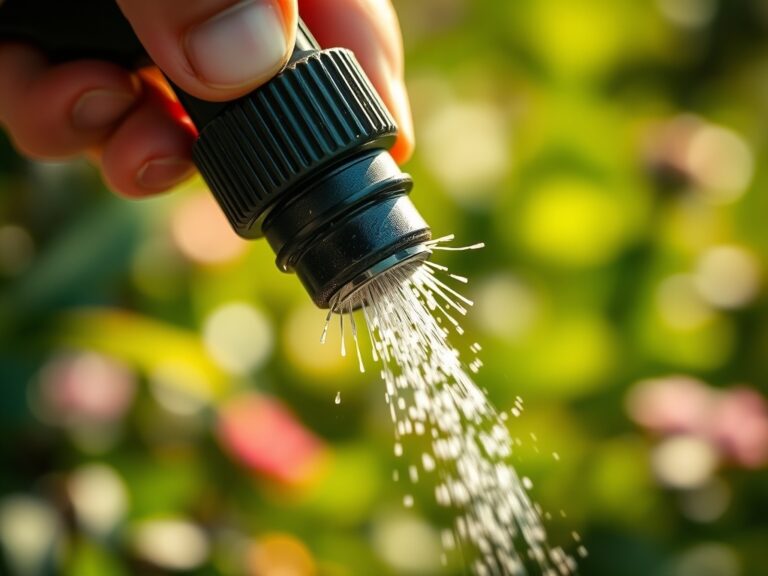
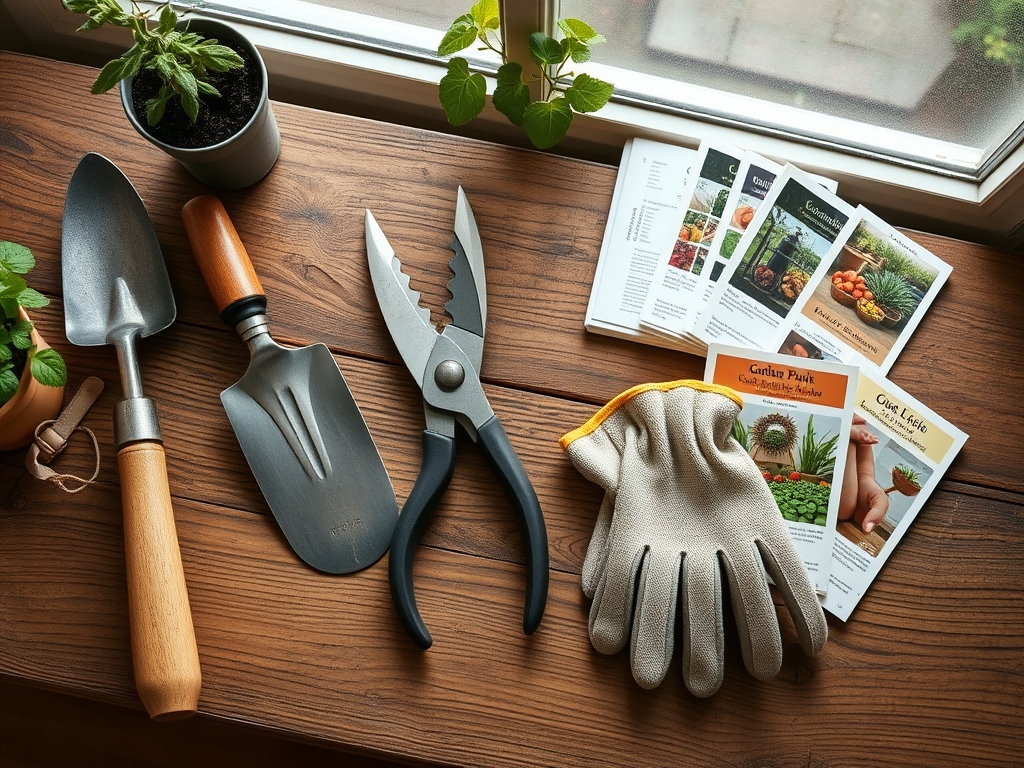
Precision is the difference between a surviving garden and a thriving one. Deliver exactly 1.5 inches of water per week at the drip line; do not spray the foliage, as this invites fungal pathogens. Use a soil moisture meter daily for the first month to calibrate your irrigation timing. When pruning encroaching limbs, use bypass pruners for clean vascular cuts that heal rapidly. For removing deep-rooted weeds near paver joints, a hori-hori knife allows for surgical extraction without disturbing the leveling sand. Every autumn, top-dress the surrounding beds with 2 inches of arborist wood chips to maintain soil structure and thermal stability.
The Yield:
For gardens featuring edible borders or cut flowers, harvest timing is a matter of cellular chemistry. Harvest herbs and flowers in the early morning when turgor pressure is at its peak. This prevents wilting caused by midday transpiration. For woody perennials, use a sharp blade to cut at a 45-degree angle just above a node. To maintain "day-one" freshness, immediately submerge stems in 40-degree Fahrenheit water to slow the rate of senescence and preserve essential oils.
FAQ:
How deep should I dig for a patio base?
Excavate to a minimum of 8 inches. This allows for 4 inches of sub-base gravel, 2 inches of bedding sand, and the thickness of your chosen paver. Proper depth prevents shifting during freeze-thaw cycles.
Why is soil pH important near a patio?
Concrete and stone can leach lime, raising soil pH. Most garden plants require a pH of 6.0 to 7.0. High alkalinity locks out essential nutrients like iron and manganese, causing stunted growth and chlorosis.
Can I build a patio over tree roots?
Avoid it. Covering more than 20 percent of a tree's root zone with impermeable pavers causes root suffocation. Use permeable pavers or a raised deck to ensure oxygen reaches the rhizosphere and maintains tree health.
What is the best sand for paver joints?
Use polymeric sand. It contains additives that bind the grains together when wetted. This prevents weed seeds from germinating in the joints and stops ants from undermining the structural integrity of the sand bed.