9 Steps to Prepare Your Backyard for a New Lighting System
The smell of damp earth after a deep tilling session signals the release of geosmin; this organic compound marks the beginning of a structural overhaul. When you learn how to prepare a garden for a light, you are not merely placing fixtures; you are managing the intersection of electrical infrastructure and the living rhizosphere. Success depends on maintaining the turgor pressure of your specimens while disturbing the soil matrix. A healthy leaf should feel firm and hydrated, indicating that the vascular system is functioning at peak efficiency before you begin trenching. Disrupting the root zone requires a surgical approach to ensure that the introduction of low voltage wiring does not lead to localized desiccation or mechanical root necrosis. You must balance the physical requirements of conduit placement with the biological needs of the soil biota. This process demands a technical understanding of how light placement affects the photoperiod and subsequent growth cycles of your specific cultivars.
Materials:
Preparing the substrate requires a friable loam with a **Cation Exchange Capacity (CEC) between 15 and 25**. This range ensures the soil can hold the necessary nutrients as you disturb the earth for wiring. You must stabilize the area with a balanced **10-10-10 NPK ratio** if the soil has been depleted by previous seasons. If you are working with acid-loving shrubs near your light focal points, aim for a **pH of 5.5 to 6.5**. For general turf and perennials, a **pH of 6.5 to 7.0** is optimal. Use a high-quality organic compost to improve soil structure; the goal is to achieve a texture that crumbles easily in the hand but retains enough moisture to support microbial life. Avoid heavy clays that compact around wires or sandy soils that leach nutrients too quickly.
Timing:
The ideal window for installation is during the dormant season or early spring before the transition from vegetative to reproductive stages begins. In Hardiness Zones 5 through 7, this typically falls between the last hard frost and the first bud break. Monitoring the biological clock of your plants is essential. Installing lights during the peak of the summer heat increases the risk of transplant shock and water loss through transpiration. You must complete all trenching at least two weeks before the local frost-free date to allow the soil to settle and the root systems to recover. Aim for soil temperatures consistently above 50 degrees Fahrenheit to ensure that any root repair happens quickly through active cellular division.
Phases:

Sowing and Site Mapping
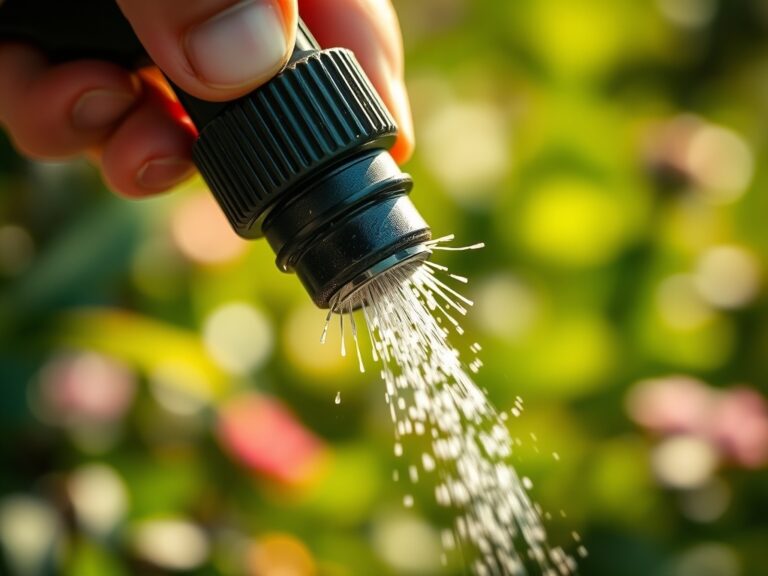
Before digging, map the root spreads of all established woody perennials. Use a soil moisture meter to ensure the ground is at 25 percent to 30 percent moisture content. This level of hydration prevents the soil from collapsing into the trenches. Mark the locations where the light will intersect with the foliage.
Pro-Tip: Understanding phototropism is vital here. Plants will grow toward the strongest light source; placing a light too close to one side of a shrub can cause asymmetrical growth as the plant reallocates auxins to the shaded side, causing cells on the dark side to elongate and lean the plant toward the fixture.
Transplanting and Trenching
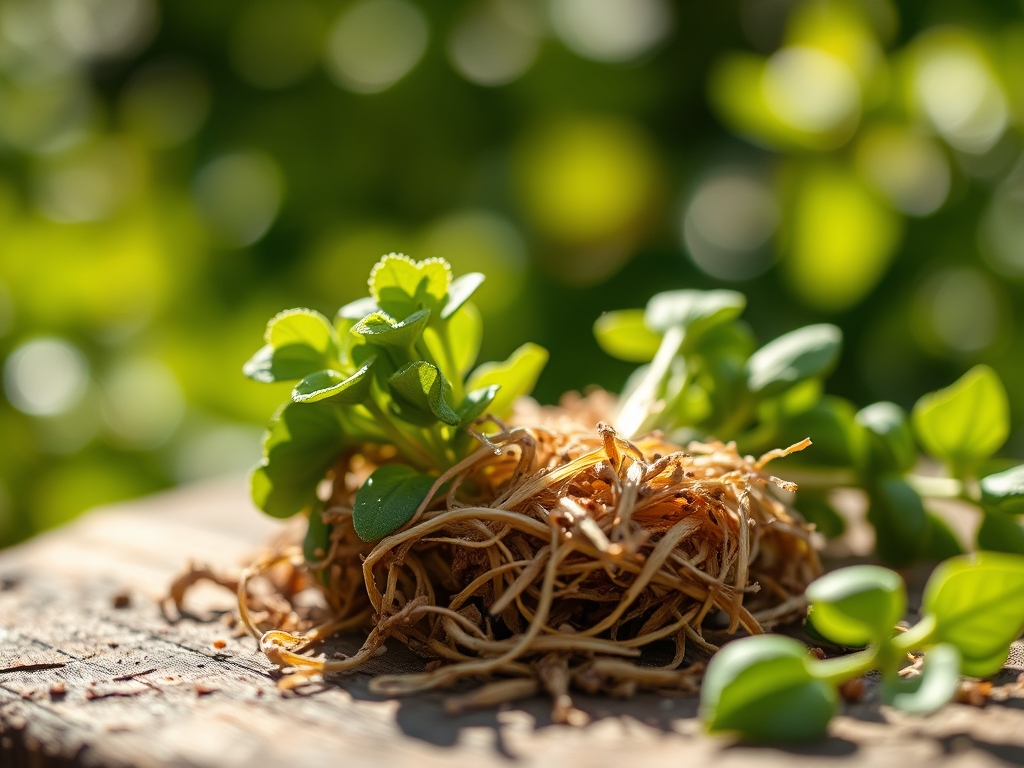
When you must move a plant to accommodate a light fixture, preserve the root ball at a diameter of at least 12 inches for every inch of trunk caliper. Dig trenches for the 12/2 or 14/2 low-voltage cable at a depth of 6 to 8 inches to avoid future damage from aeration or edging tools.
Pro-Tip: Maintaining mycorrhizal symbiosis is critical during this phase. When you disrupt the soil, apply a granular mycorrhizal inoculant to the trench. This fungus forms a mutualistic relationship with the roots, increasing the surface area for water absorption and helping the plant recover from the mechanical stress of the installation.
Establishing and Backfilling
Once the wires are laid and the fixtures are positioned, backfill the trenches with the original soil, ensuring no large air pockets remain. Compress the soil lightly to achieve a bulk density of approximately 1.3 to 1.4 grams per cubic centimeter. Water the area immediately to settle the particles around the roots.
Pro-Tip: Minimize auxin suppression by avoiding heavy pruning immediately after installation. The plant needs its terminal buds to produce the hormones that signal root growth. If you prune too heavily while the roots are recovering from trenching, you stall the plant's ability to repair itself.
The Clinic:
Physiological disorders often arise after the soil is disturbed for lighting projects. Monitor your plants for these specific symptoms:
-
Symptom: Interveinal chlorosis (yellowing between leaf veins).
Solution: This indicates a Manganese or Iron deficiency often caused by a pH spike after digging.
Fix-It: Apply a chelated iron drench to the root zone to restore chlorophyll production. -
Symptom: Marginal leaf burn or necrosis.
Solution: This is typically a sign of localized drought stress where roots were severed.
Fix-It: Increase irrigation frequency in the specific zone for 14 days using a soaker hose to ensure deep penetration. -
Symptom: Early leaf senescence (premature dropping of leaves).
Solution: This is a stress response to radical changes in the photoperiod or root trauma.
Fix-It: Apply a high-phosphorus "starter" fertilizer with a 5-15-5 NPK ratio to encourage rapid root regeneration.
Maintenance:
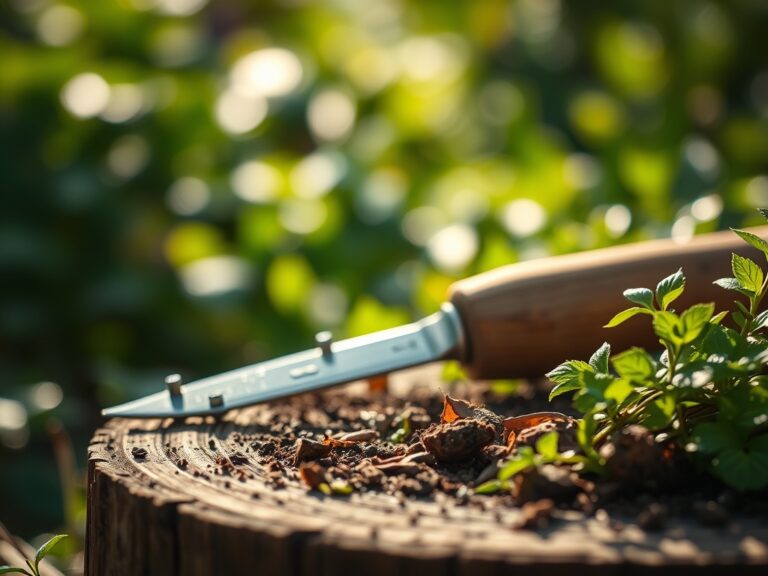
Post-installation care requires precision. Provide exactly 1.5 inches of water per week at the drip line of any affected plants. Use a hori-hori knife to check for soil compaction around the new fixtures once a month. If the soil feels like concrete, use a hand aerator to break the surface tension. Keep a pair of bypass pruners sharp to remove any branches that begin to grow directly into the heat of a lamp, which can cause localized tissue death. Use a soil moisture meter every three days during the first month to ensure the backfilled trenches are not drying out faster than the surrounding undisturbed earth.
The Yield:
For those integrating lighting into a kitchen garden or flower bed, timing the harvest around the new light cycle is key. Artificial light can extend the perceived day length, potentially delaying the flowering of short-day plants like certain chrysanthemums or accelerating the bolting of lettuce. Harvest leafy greens in the early morning when turgor pressure is at its highest. Use a sharp blade to make a clean cut, then immediately submerge the stems in 40-degree Fahrenheit water. This rapid cooling preserves the cellular structure and maintains "day-one" freshness by slowing down the metabolic rate of the harvested tissue.
FAQ:
How deep should I dig the trenches for garden lights?
Dig trenches to a depth of 6 to 8 inches for low-voltage wiring. This depth protects the cable from standard gardening tools like edgers or aerators while remaining above the deep root systems of most established perennials.
Can artificial lights interfere with plant growth?
Yes. High-intensity lights can disrupt the photoperiod, causing some plants to delay flowering or enter a state of perpetual vegetative growth. Use timers to ensure plants receive a necessary period of total darkness for cellular respiration.
What is the best soil for filling around new fixtures?
Use a friable loam with a balanced 10-10-10 NPK ratio. Ensure the soil pH matches the existing garden bed, typically between 6.0 and 7.0, to prevent nutrient lockout or osmotic shock to the surrounding root systems.
Should I fertilize immediately after installing garden lights?
Wait until you see new vegetative growth. Applying high-nitrogen fertilizer to a stressed root system can cause "burn." Use a phosphorus-heavy 5-15-5 ratio initially to support root repair before pushing for top-growth with nitrogen.