6 Steps to Sharpen a Traditional Garden Spade with a Metal File
The smell of damp earth after a spring thaw signals the beginning of the primary cultivation cycle. A gardener relies on the turgor pressure of healthy cellular structures to maintain plant uprightness; however, a dull blade compromises the integrity of the soil profile. Forcing a blunt edge through a heavy clay loam causes unnecessary compaction and structural damage to the rhizosphere. Learning the precise steps for sharpening a garden spade with a file ensures that every cut into the substrate is surgical and efficient. This mechanical maintenance reduces the physical exertion required for deep tillage while protecting the delicate root systems of dormant perennials. A sharp edge allows for a clean slice through fibrous roots and compacted organic matter without tearing the vascular tissue of the plant. By maintaining a 20 to 45 degree bevel on the spade, you ensure the tool functions as a precision instrument rather than a blunt force object. Proper edge geometry is the foundation of efficient soil management and long term tool durability.
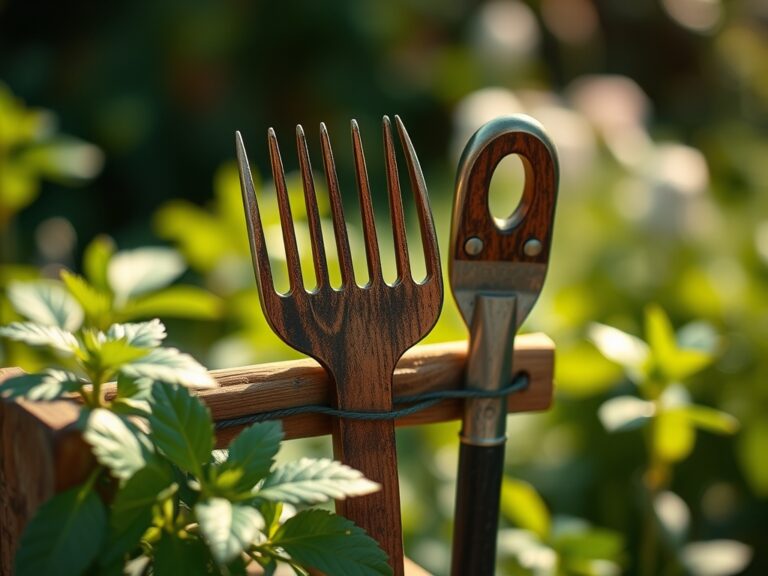
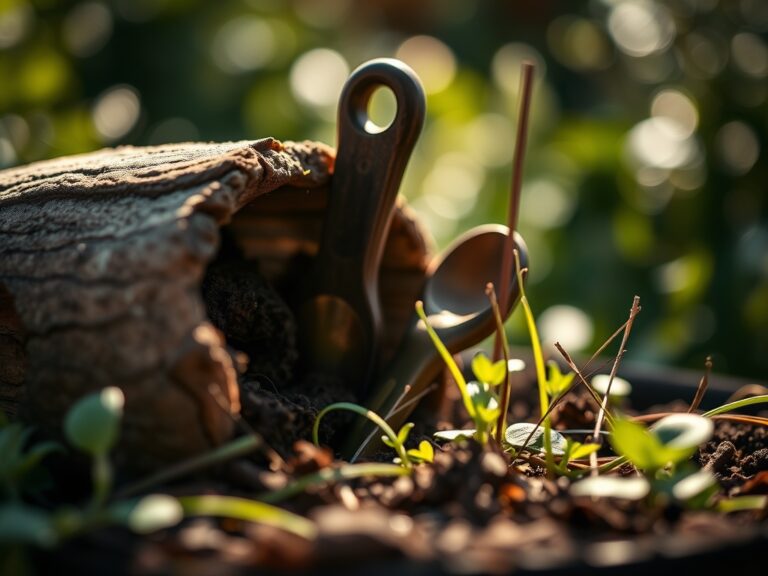
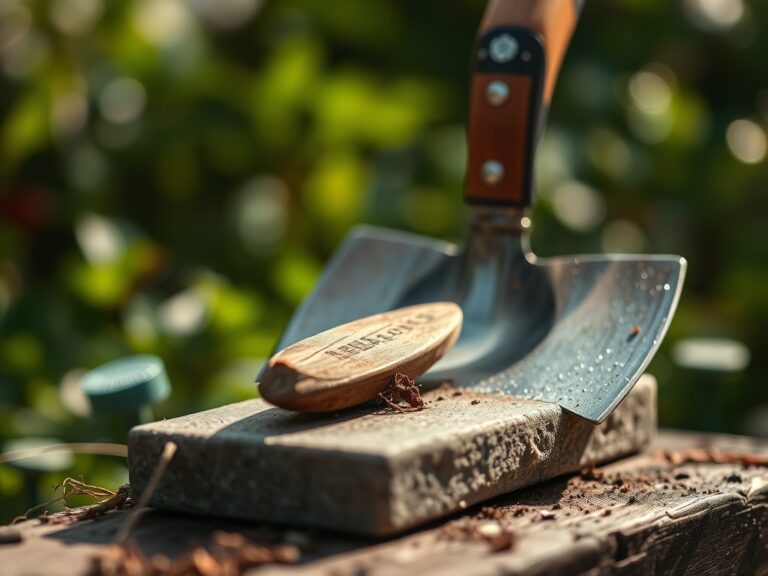
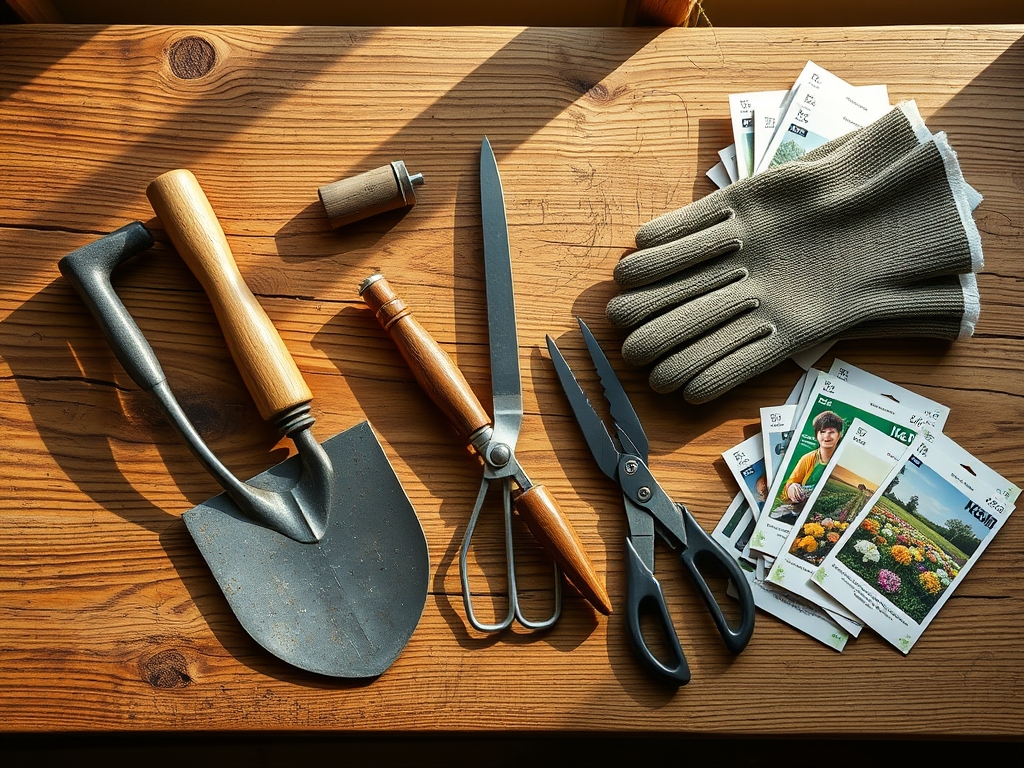
Materials:
Before addressing the tool, understand the substrate it must penetrate. An ideal friable loam consists of roughly 40 percent sand, 40 percent silt, and 20 percent clay. This texture provides a high Cation Exchange Capacity (CEC) of 15 to 25 meq/100g, allowing for optimal nutrient retention. When preparing a bed for heavy feeders, aim for a soil pH of 6.2 to 6.8 and an NPK ratio of 10-10-10 for general establishment or 5-10-10 for root crops. You will need a 10 inch mill bastard file, a bench vise, 80-grit sandpaper, and a rag saturated with linseed oil or a dry lubricant to prevent oxidation of the newly exposed carbon steel.
Timing:
Sharpening should occur during the transition from the dormant phase to the vegetative stage. In Hardiness Zones 5 through 7, this window typically opens between late February and early April, before the first frost-free date. The biological clock of the garden dictates that tools must be ready before the soil temperature reaches a consistent 50 degrees Fahrenheit, which triggers the germination of cool-season annuals. Executing these steps for sharpening a garden spade with a file during this window prevents the delay of critical early-season transplanting. Proper maintenance ensures the tool is ready when the photoperiod extends beyond 12 hours, signaling the plant to shift from root establishment to rapid foliage production.
Phases:
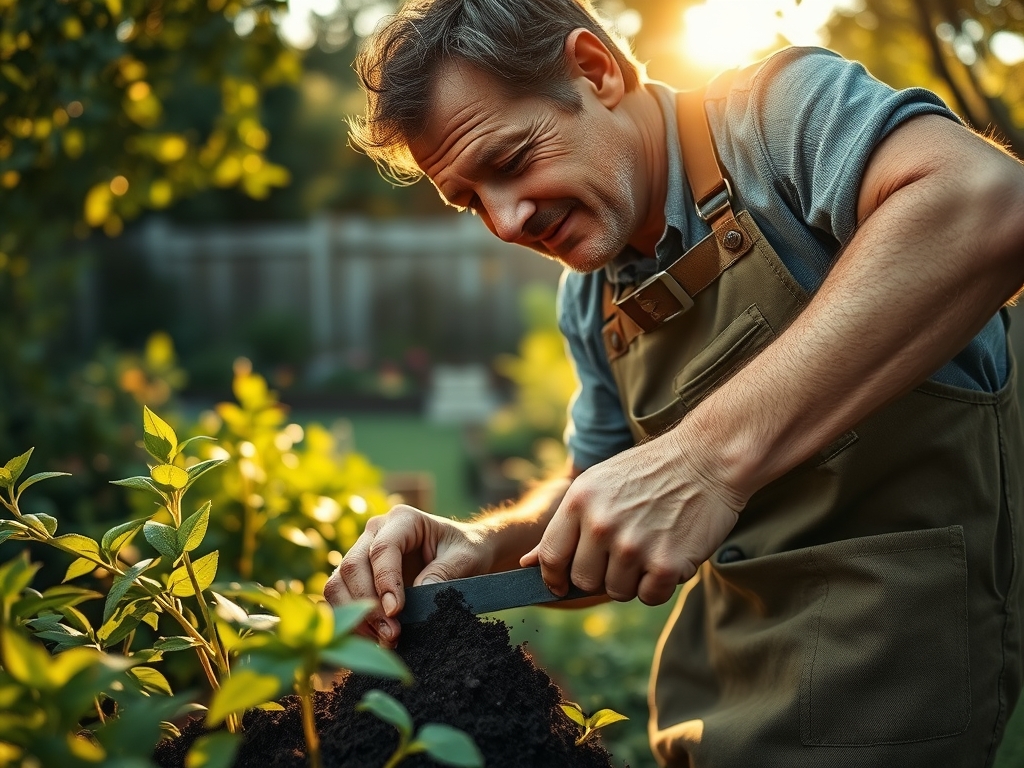
Phase 1: Stabilization and Cleaning
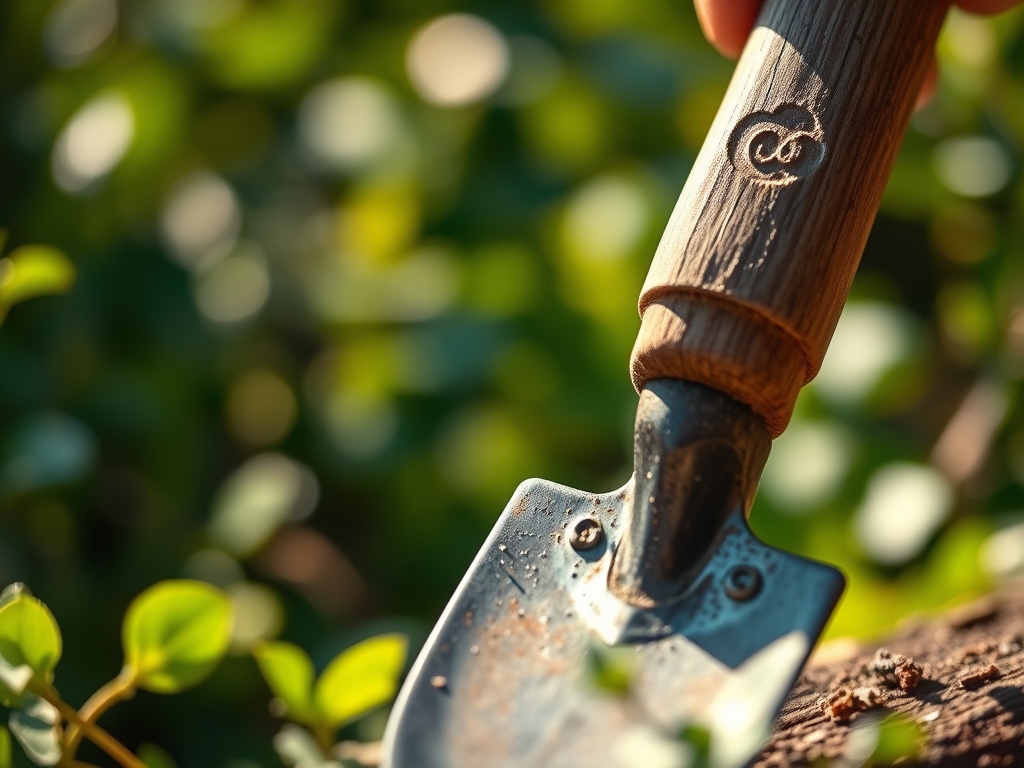
Secure the spade in a bench vise with the blade facing upward. Use a wire brush to remove desiccated organic matter and mineral deposits. If the metal shows signs of pitting, use 80-grit sandpaper to smooth the surface. A clean surface is required to prevent the file from skipping, which can result in an uneven bevel and reduced cutting efficiency.
Pro-Tip: Removing old soil prevents the transfer of soil-borne pathogens like Fusarium oxysporum. This practice protects the rhizosphere from cross-contamination during the initial spring tillage.
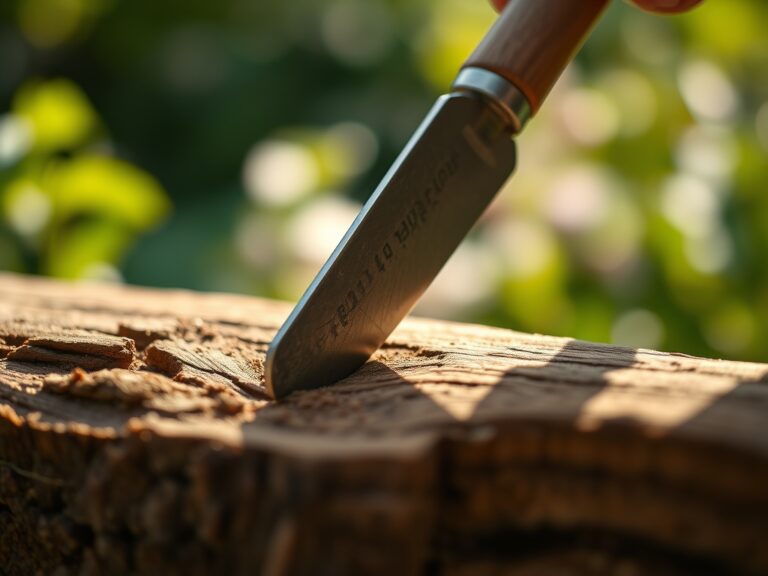
Phase 2: Establishing the Bevel
Hold the mill bastard file at a 30 degree angle against the outside edge of the spade. Push the file away from your body in long, single strokes. Do not use a sawing motion. Focus on the front cutting edge and the bottom two inches of the side flanges. Repeat this process until a bright, shiny strip of steel appears uniformly across the edge.
Pro-Tip: Maintaining a consistent angle ensures the blade can slice through lateral roots cleanly. Clean cuts promote rapid wound healing in plants by minimizing the surface area exposed to opportunistic fungi.
Phase 3: Removing the Burrs
After sharpening the primary bevel, flip the spade over. Run the file flat against the back side of the blade once or twice to remove the "wire edge" or burr. This ensures the spade enters the soil with minimal resistance and does not drag debris into the planting hole. Finish by applying a thin layer of oil to the steel to inhibit rust.
Pro-Tip: A smooth, burr-free edge reduces friction. Lower friction during digging prevents the localized compaction of soil particles, which maintains the macropores necessary for oxygen diffusion to the roots.
The Clinic:
Physiological disorders in the garden often stem from poor tool maintenance or soil imbalances. Observe the following symptoms and apply the necessary scientific corrections.
Symptom: Interveinal chlorosis in young leaves.
Solution: This typically indicates an Iron deficiency or high pH levels. Apply chelated iron and verify that the soil pH has not drifted above 7.0, which restricts micronutrient availability.
Symptom: Blossom end rot in Solanaceae species.
Solution: This is a calcium transport issue often caused by inconsistent moisture. Maintain steady turgor pressure by regulating irrigation and ensure the soil has sufficient calcium carbonate.
Symptom: Purpling of older foliage.
Solution: This signifies Phosphorus deficiency. Check soil temperatures; if the substrate is below 55 degrees Fahrenheit, phosphorus uptake is biologically restricted regardless of soil concentrations.
Fix-It for Nitrogen Chlorosis: If lower leaves turn uniform pale yellow, apply a high-nitrogen fertilizer with a 21-0-0 ratio (Ammonium Sulfate) to immediately boost chlorophyll synthesis and vegetative growth.
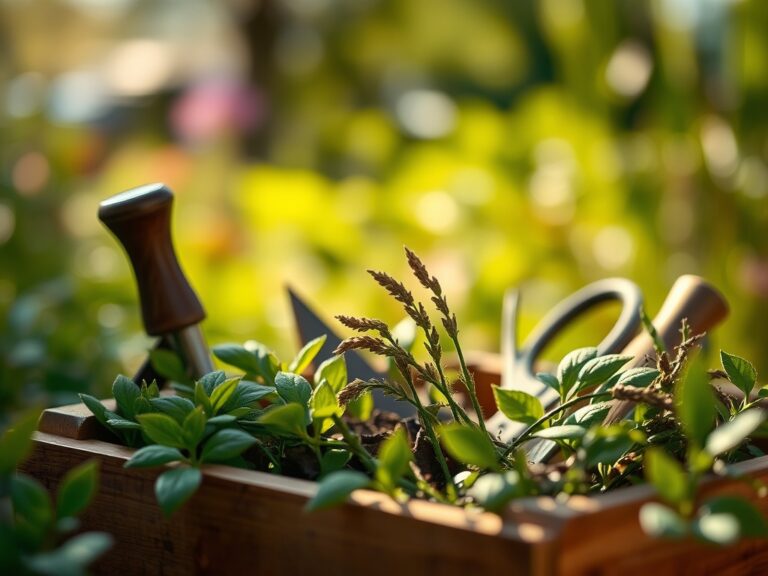
Maintenance:
Post-sharpening maintenance is a daily requirement. After every use, wipe the spade clean and dry it completely. For established garden beds, provide 1.5 inches of water per week at the drip line, monitored by a soil moisture meter to ensure the water penetrates 6 to 8 inches deep. Use a hori-hori knife for precise weeding near the root crown to avoid disturbing the mycorrhizal symbiosis. When pruning woody perennials, use sharp bypass pruners to make clean 45 degree cuts just above a lateral bud. Check the spade edge weekly; if you encounter rocky soil, use a pocket whetstone to touch up the bevel and maintain the tool's mechanical advantage.
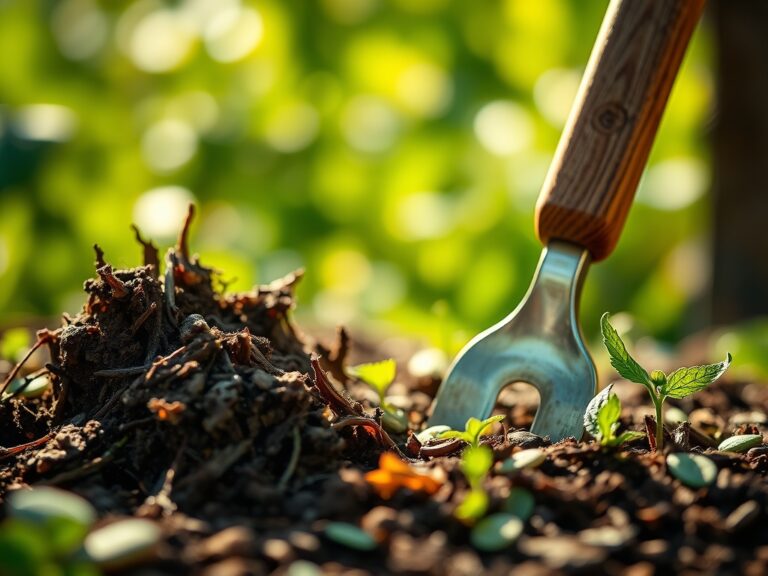
The Yield:
Harvesting is the culmination of the reproductive cycle. For leafy greens, harvest in the early morning when turgor pressure is at its peak. This ensures the vacuoles are fully distended with water, providing maximum crispness. For root crops, use your sharpened spade to loosen the soil four inches away from the plant base to avoid mechanical scarring. Post-harvest, hydro-cool the produce by submerging it in 40 degree Fahrenheit water to remove field heat. This process slows down the rate of senescence and respiration, preserving the nutrient density and structural integrity of the harvest for extended storage.
FAQ:
How often should I sharpen my garden spade?
Sharpen the spade at the start of every season and after every 10 hours of heavy use. If you hit rocks or work in highly abrasive sandy soil, inspect the edge for nicks and touch it up more frequently.
What is the best angle for a spade edge?
A 30 to 45 degree bevel is ideal for general gardening. A shallower angle provides a sharper edge for cutting sod but is more prone to chipping in rocky or compacted soil conditions.
Can I use a power grinder instead of a file?
While faster, a power grinder can overheat the carbon steel, ruining the temper and making the metal brittle. A manual mill bastard file provides better control and preserves the structural integrity of the tool's metallurgy.
Why is my spade rusting after I sharpen it?
Sharpening removes the protective patina or paint, exposing raw steel to oxygen and moisture. Always apply a thin coat of linseed oil or silicone spray to the blade after sharpening to prevent oxidation.