8 Steps to Prepare for a Professional Garden Tool Upgrade
The scent of damp humus and the high turgor pressure of a hydrated leaf indicate a garden ready for precision management. Transitioning from consumer-grade equipment to professional-grade implements requires a systematic assessment of the landscape. Understanding how to prepare a garden for a tool upgrade involves more than clearing debris; it requires a deep audit of soil density and plant architecture. Professional tools exert greater mechanical force and require refined substrates to operate without damaging the delicate rhizosphere.
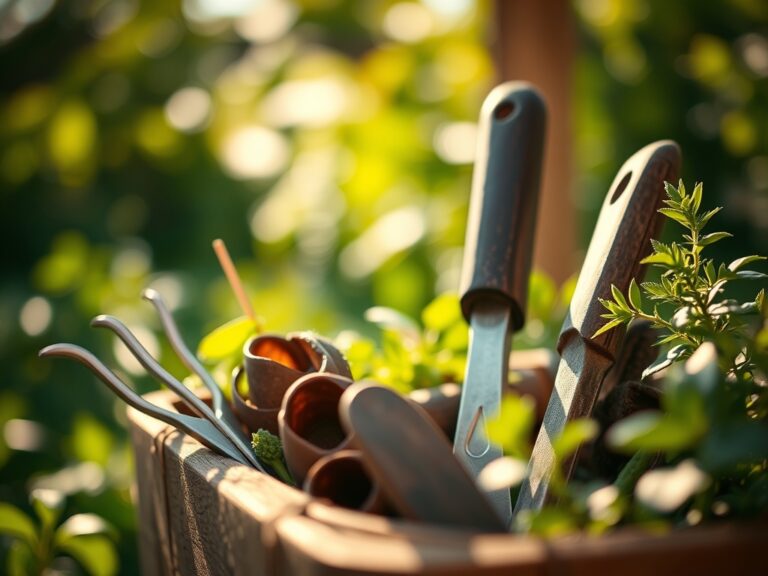
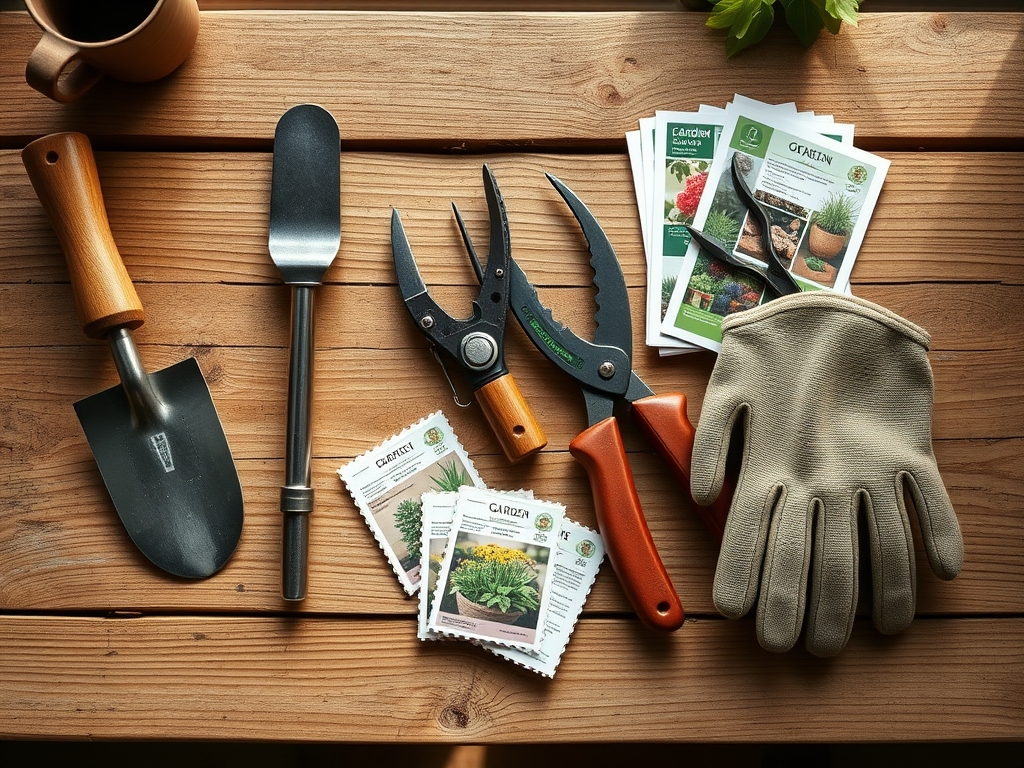
Materials:
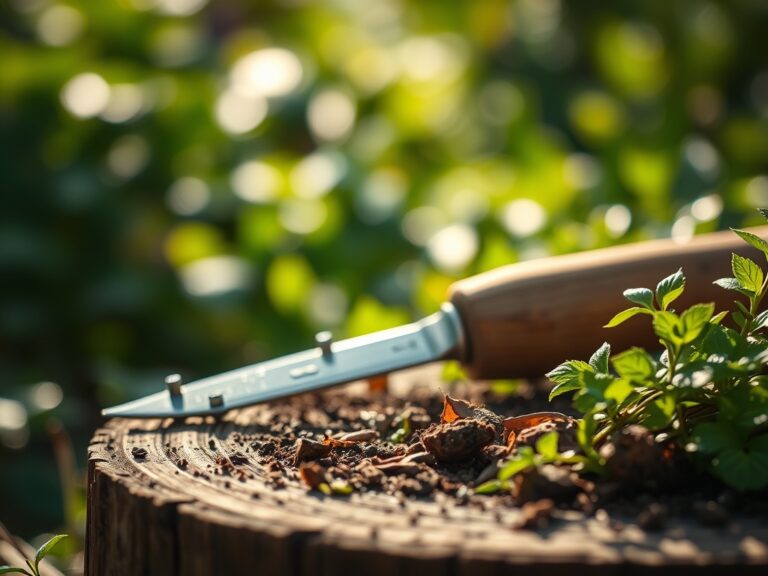
Professional tools perform best in a **friable loam** with a Cation Exchange Capacity (CEC) between **15 and 25 meq/100g**. This texture allows for clean penetration of a **hori-hori knife** or a stainless steel spade. Before upgrading, verify your soil pH falls within the **6.2 to 6.8 range** to ensure nutrient availability.
Specific NPK ratios must be tailored to the crop. For vegetative growth, maintain a 3-1-2 ratio to support nitrogen-heavy leaf development. During the reproductive phase, transition to a 1-2-2 or 1-3-3 ratio to bolster root strength and flowering. High phosphorus levels are essential when using professional transplanters to reduce transplant shock and encourage rapid mycorrhizal colonization.
Timing:
Timing is dictated by the United States Department of Agriculture (USDA) Hardiness Zones. In Zones 5 through 7, the window for structural garden preparation begins 4 to 6 weeks before the average last frost date. This period aligns with the biological clock of the plant as it exits dormancy.
Monitoring the photoperiod is critical. As daylight exceeds 12 hours, plants transition from slow winter respiration to active vegetative growth. Upgrading tools during this transition allows for precise pruning before sap flow reaches its peak. Avoid heavy soil manipulation when the ground temperature is below 45 degrees Fahrenheit, as this can lead to compaction that even professional-grade broadforks cannot easily remediate.
Phases:
Sowing
Prepare seedbeds by removing all stones larger than 0.5 inches in diameter. This ensures that precision seeders can maintain a consistent depth of 0.25 to 0.75 inches.
Pro-Tip: Maintain consistent soil moisture to trigger imbibition. This is the biological process where the seed coat absorbs water, activating enzymes that begin the metabolic process.
Transplanting
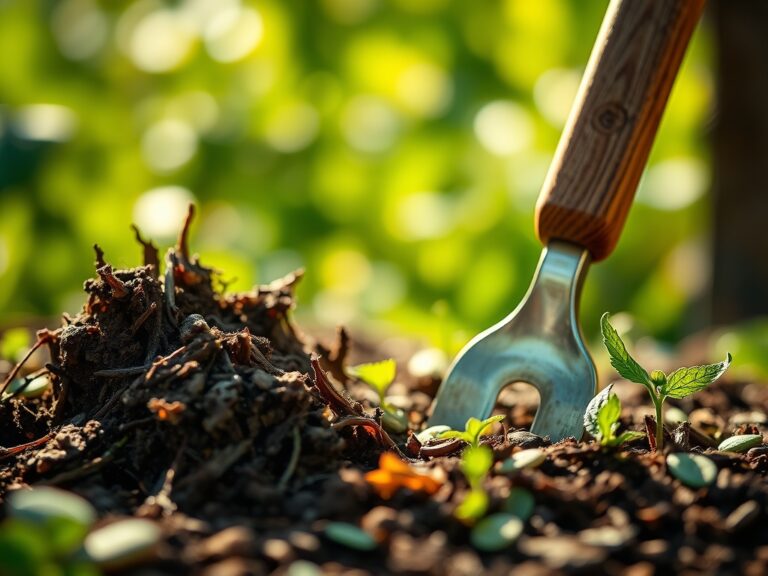
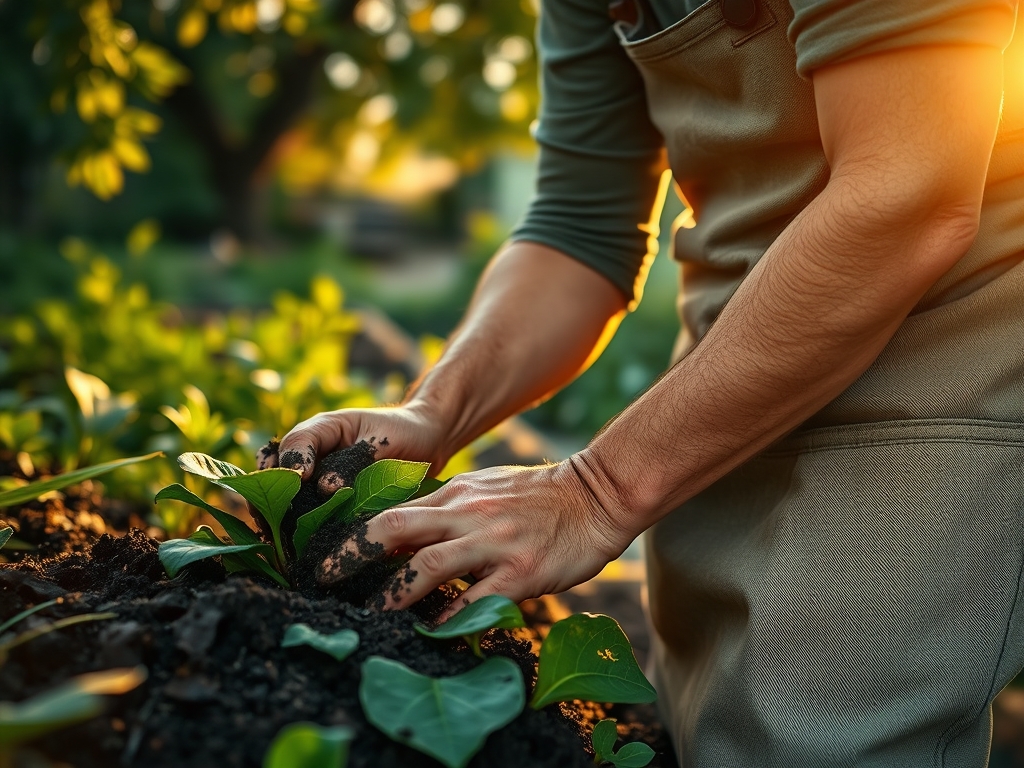
When moving seedlings from flats to the field, ensure the root ball is saturated. Use a professional transplanter to create a hole twice the width of the root mass.
Pro-Tip: Minimize exposure to air to prevent root hair desiccation. Mycorrhizal symbiosis is most effective when the fungi are placed in direct contact with the living root tissue during this phase.
Establishing
Once the plant is in the ground, focus on structural integrity. Use bypass pruners to remove any damaged or necrotic tissue.
Pro-Tip: Remove the apical bud on certain species to stimulate lateral branching. This is known as auxin suppression; by removing the primary source of the hormone auxin at the tip, you encourage the growth of axillary buds.
The Clinic:
Physiological disorders often mimic disease but are frequently related to environmental stress or nutrient imbalances.
- Symptom: Interveinal chlorosis on young leaves.
Solution: This indicates an Iron deficiency. Check soil pH immediately; if pH is above 7.0, iron becomes insoluble. Lower pH using elemental sulfur. - Symptom: Blossom end rot in solanaceous crops.
Solution: This is a Calcium transport issue. It is often caused by inconsistent moisture levels rather than a lack of calcium in the soil. Maintain steady irrigation. - Symptom: Purpling of older foliage.
Solution: This is a classic Phosphorus deficiency. Apply a high-phosphorus fertilizer with an NPK of 5-20-10 to the root zone. - Symptom: Marginal leaf burn or scorching.
Solution: Potassium deficiency. Potassium regulates stomatal opening; a lack of it leads to poor water management and tissue death at the leaf edges.
Maintenance:
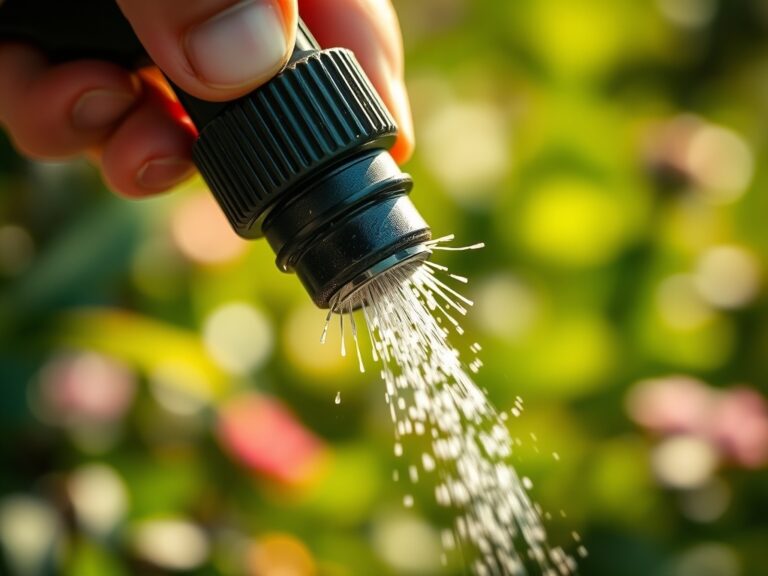
Professional garden management requires data-driven irrigation. Apply 1.5 inches of water per week at the drip line. Use a soil moisture meter to ensure the water reaches a depth of 6 to 8 inches, where the majority of the feeder roots reside.
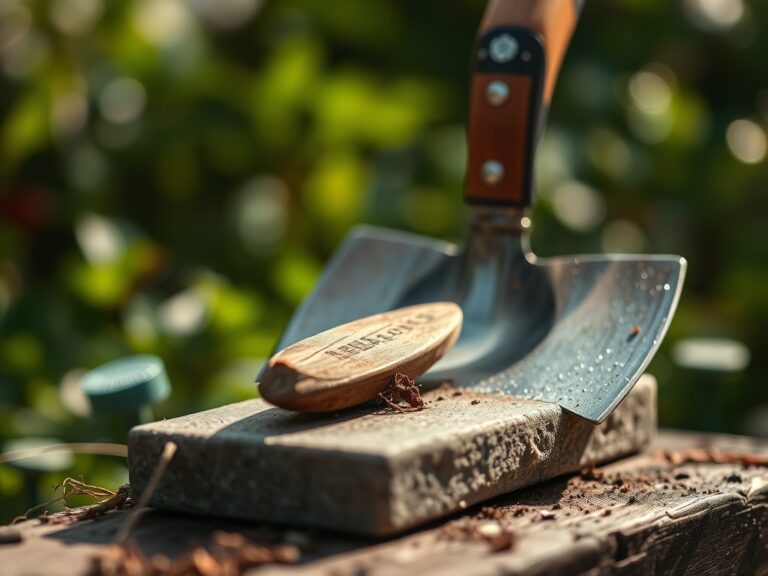
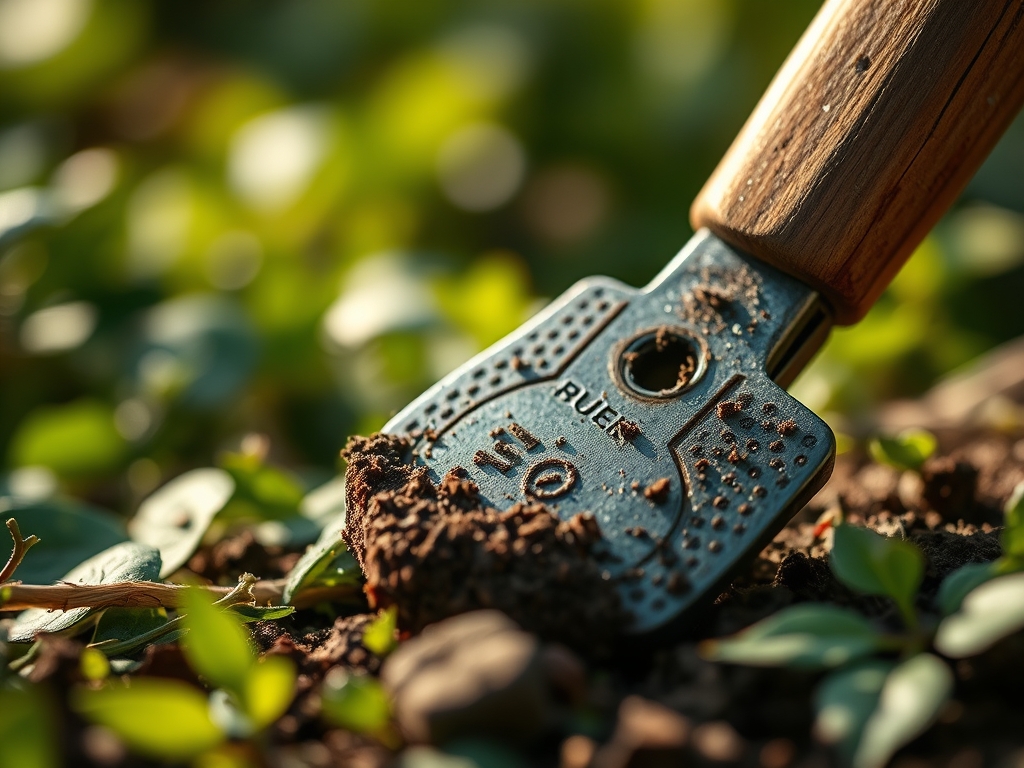
Clean your bypass pruners and hori-hori knife with a 70 percent isopropyl alcohol solution after every use to prevent the cross-contamination of pathogens. Sharpen blades at a 20-degree angle using a diamond whetstone to ensure clean cuts that heal quickly. Ragged edges from dull tools increase the surface area for fungal infections to take hold.
The Yield:
Harvesting should occur during the "cool of the day," typically between 5:00 AM and 8:00 AM. At this time, plant tissues have the highest turgor pressure and the lowest respiration rates. Use a sharpened harvest knife to make a single, clean cut.
Post-harvest, immediately move produce to a shaded area and reduce the "field heat." For most leafy greens, a rapid dip in 34 to 40 degree Fahrenheit water will halt senescence and preserve crispness. For fruiting crops, maintain a storage temperature of 50 to 55 degrees Fahrenheit to prevent chilling injury while slowing the ripening process.
FAQ:
How do I know if my soil is ready for a professional spade?
Perform a squeeze test. If the soil forms a ball that crumbles under light pressure, the moisture content is ideal. If it smears, it is too wet; if it fails to hold shape, it is too dry.
What is the benefit of a hori-hori knife over a trowel?
The hori-hori knife features a serrated edge and a carbon steel blade. It allows for precise weeding, deep bulb planting, and cutting through thick root mats that would bend or break a standard consumer-grade aluminum trowel.
Why is soil pH important for tool performance?
While pH does not affect the metal tool directly, it dictates soil structure. Acidic soils can become overly compacted, while alkaline soils may become powdery. Proper pH ensures a friable texture that reduces physical wear on your equipment.
When should I calibrate my soil moisture meter?
Calibrate your meter at the start of every season using a distilled water and salt solution or a known saturated soil sample. Accurate readings are essential to prevent over-irrigation, which leads to anaerobic conditions in the rhizosphere.