6 Tips: Using an Adjustable Wrench for Equipment Maintenance
The smell of pulverized basalt and damp clay rises from the floor as a heavy mist settles over the orchard. A plant maintains its structural integrity through turgor pressure; however, the mechanical tools required to manage that growth require equal structural stability. Using a wrench for garden equipment adjustment ensures that the torque applied to mower blades or tiller tines remains within the manufacturer's specified foot-pounds. This prevents mechanical failure during peak vegetative growth when every hour of sunlight is critical for photosynthesis.
Maintaining equipment is not a secondary task. It is a fundamental component of horticultural engineering. A dull blade or a loose bolt on a seed drill results in uneven soil penetration, which directly affects the rhizosphere. When the mechanical interface between the tool and the soil is compromised, the plant's ability to establish a robust root system diminishes. Precise calibration of your machinery ensures that the soil density remains conducive to oxygen exchange.
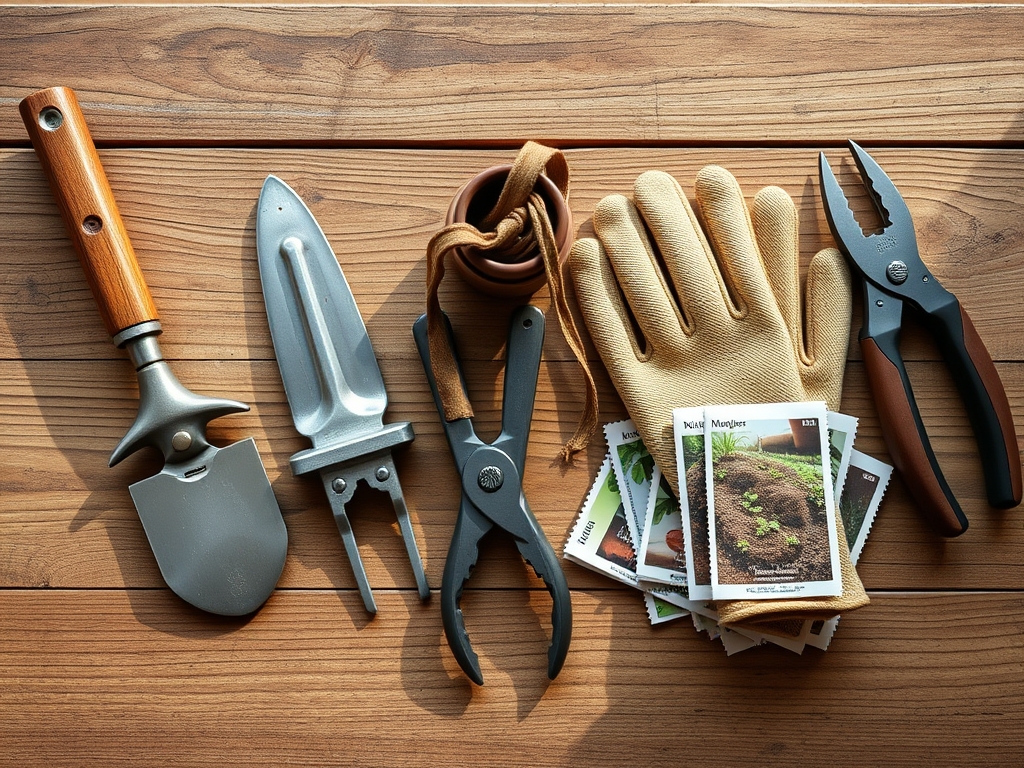
Materials:
The success of any planting cycle depends on the substrate. For high-demand crops, a friable loam with a **pH of 6.2 to 6.8** is the gold standard. This texture allows for rapid root elongation while maintaining a high Cation Exchange Capacity (CEC). A CEC rating above **15 meq/100g** indicates the soil can effectively hold and trade nutrients like Potassium and Magnesium.
Nutrient management requires specific NPK ratios. For the vegetative stage, an NPK of 10-5-5 provides the necessary Nitrogen for chlorophyll production. During the reproductive phase, transition to a 5-10-10 ratio to prioritize phosphorus for flower and fruit development. If the soil feels gritty, it contains too much sand, leading to rapid leaching. If it feels slick and sticky, the clay content is too high, which may lead to anaerobic conditions and root rot.
Timing:
Successful cultivation is governed by the USDA Hardiness Zones. In Zones 5 through 7, the window for spring planting typically opens between April 15 and May 15, once the soil temperature consistently reaches 55 degrees Fahrenheit. This temperature threshold is the biological trigger for seed germination and microbial activity in the soil.
The biological clock of a plant moves from the vegetative stage to the reproductive stage based on the photoperiod. Long-day plants require more than 12 hours of light to initiate flowering. Monitoring the frost-date windows is essential; a late-season frost can cause ice crystals to form within the plant cells, leading to cell wall rupture and systemic necrosis. Equipment must be calibrated and ready at least two weeks before these windows open to ensure timely soil preparation.
Phases:

Sowing
Ensure the seed drill or hand-seeder is adjusted for the correct depth. Most small seeds require a depth of 0.25 inches, while larger seeds like legumes need 1 to 1.5 inches. Using a wrench for garden equipment adjustment allows you to lock the depth gauge, preventing shallow sowing which leads to desiccation.
Pro-Tip: Proper sowing depth maximizes mycorrhizal symbiosis. When the seed is placed at the correct depth, it encounters the optimal concentration of beneficial fungi that extend the root system's reach for phosphorus.
Transplanting
When moving a seedling from a tray to the field, maintain the integrity of the root ball. Use a hori-hori knife to slice through any circling roots to prevent girdling. The hole should be twice as wide as the root mass to allow for easy expansion into the surrounding friable loam.
Pro-Tip: Transplanting during the late afternoon reduces transpiration stress. This allows the plant to recover turgor pressure overnight before facing the high evaporative demand of the midday sun.
Establishing
During the first 14 to 21 days, the plant focuses on root architecture. Consistent moisture is vital. Use a soil moisture meter to ensure the root zone remains at 60 percent field capacity. Avoid over-saturation, which displaces oxygen and halts cellular respiration.
Pro-Tip: Pinching off early flower buds during this phase redirects energy back to the roots. This is known as auxin suppression; by removing the apical dominance of the flower, the plant allocates carbohydrates to lateral root development.
The Clinic:
Physiological disorders often mimic nutrient deficiencies. Distinguishing between them requires a clinical approach.
- Symptom: Interveinal chlorosis on young leaves.
Solution: This indicates an Iron deficiency, often caused by a pH above 7.0. Lower the pH using elemental sulfur to increase iron bioavailability.
- Symptom: Blossom end rot in solanaceous crops.
Solution: This is a Calcium transport issue. Ensure consistent irrigation, as Calcium moves through the plant via the transpiration stream. Maintain 1.5 inches of water per week.
- Symptom: Purpling of older foliage.
Solution: This is a classic sign of Phosphorus deficiency. Check soil temperatures; if the soil is below 50 degrees Fahrenheit, Phosphorus becomes chemically locked and unavailable to the plant.
- Symptom: Marginal leaf burn on mature leaves.
Solution: This suggests Potassium deficiency or salt accumulation. Flush the rhizosphere with clean water and adjust your NPK ratio to a higher K value.
Maintenance:
Precision maintenance extends the life of both the plant and the tool. Irrigation must be targeted; apply 1.5 inches of water per week directly at the drip line using a soaker hose to prevent foliar diseases. Avoid overhead watering, which increases humidity in the canopy and invites fungal pathogens.
Keep your bypass pruners sterilized with a 10 percent bleach solution between every cut to prevent the transmission of systemic pathogens. When using a wrench for garden equipment adjustment, check the tension on all moving parts every 25 hours of operation. A loose belt on a power tiller causes slippage, resulting in uneven soil aeration and increased physical strain on the operator.
The Yield:
Harvesting is the culmination of the biological cycle. For leafy greens, harvest in the early morning when turgor pressure is at its peak. For fruiting crops, look for "breaker stage" color changes. Use sharp bypass pruners to make clean cuts; ragged tears create entry points for decay organisms.
Post-harvest handling is critical for maintaining "day-one" freshness. Immediately reduce the field heat by placing harvested produce in a shaded, cool environment. For high-respiration crops like sweet corn or broccoli, hydro-cooling in 40-degree water slows down the metabolic rate and prevents the conversion of sugars into starches, preserving the flavor profile.
FAQ:
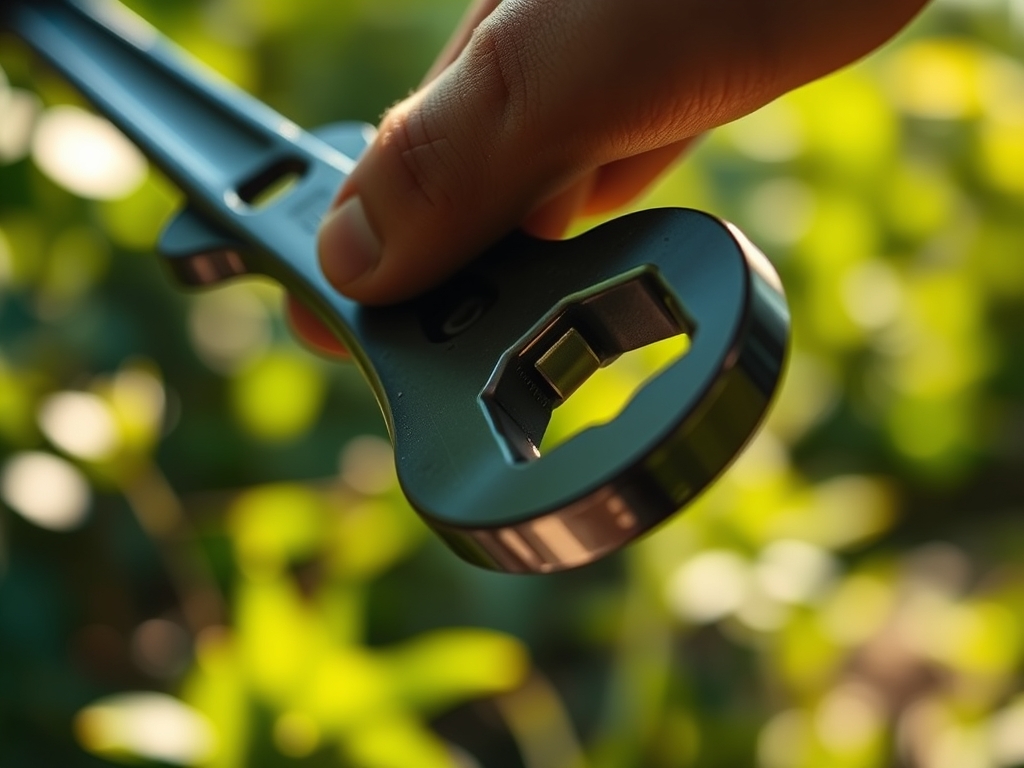
How do I know if my wrench is the right size?
The wrench must fit the bolt head with zero play. Use a digital caliper to measure the bolt. A loose fit rounds the edges of the fastener, making future adjustments impossible without specialized extraction tools.
When should I adjust my mower blade height?
Adjust the height based on the growth rate and heat stress. In mid-summer, raise the blade to 3.5 inches. This provides shade to the soil surface, reducing evaporation and protecting the crown of the grass from thermal shock.
Can I use an adjustable wrench for all garden repairs?
While versatile, an adjustable wrench is for low-torque applications. For critical engine components or high-vibration areas like tiller blades, use a fixed box-end wrench or a socket to ensure the specific foot-pounds of torque are met accurately.
Why is my equipment vibrating excessively?
Vibration usually indicates a mechanical imbalance or a loose fastener. Use a wrench to check the mounting bolts on the engine and the blade. If the vibration persists, the shaft may be bent, requiring professional machining or replacement.