6 Steps to Prepare a Daily Garden Tool Care Routine
The scent of damp earth and the crisp turgor of a healthy leaf define the success of a high-functioning garden. When cellular walls are rigid with hydration, the plant is at its peak; however, the bridge between a thriving rhizosphere and a successful harvest is the integrity of your equipment. Learning how to prepare a garden for a tool care routine ensures that pathogenic transfer is minimized and mechanical efficiency is maximized. Precision in maintenance prevents the jagged tearing of vascular tissue during pruning, which otherwise invites opportunistic fungi. A systematic approach to tool hygiene is not a secondary task; it is a primary horticultural requirement for maintaining systemic plant health and structural stability.
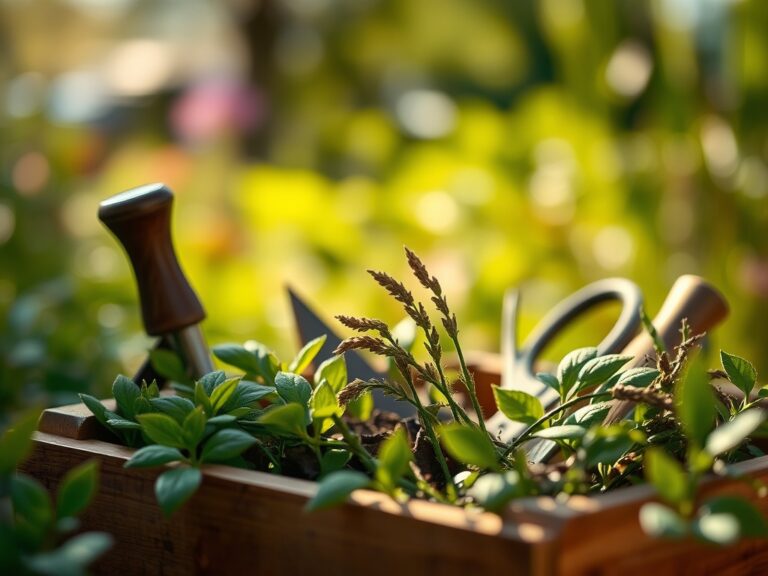
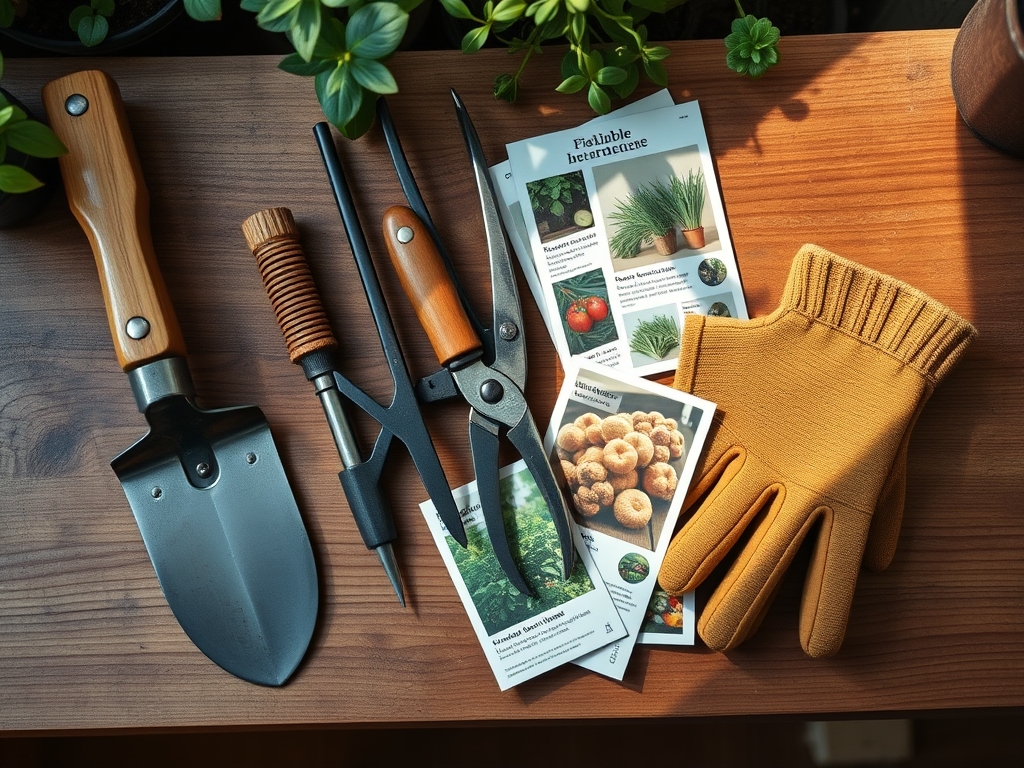
Materials:
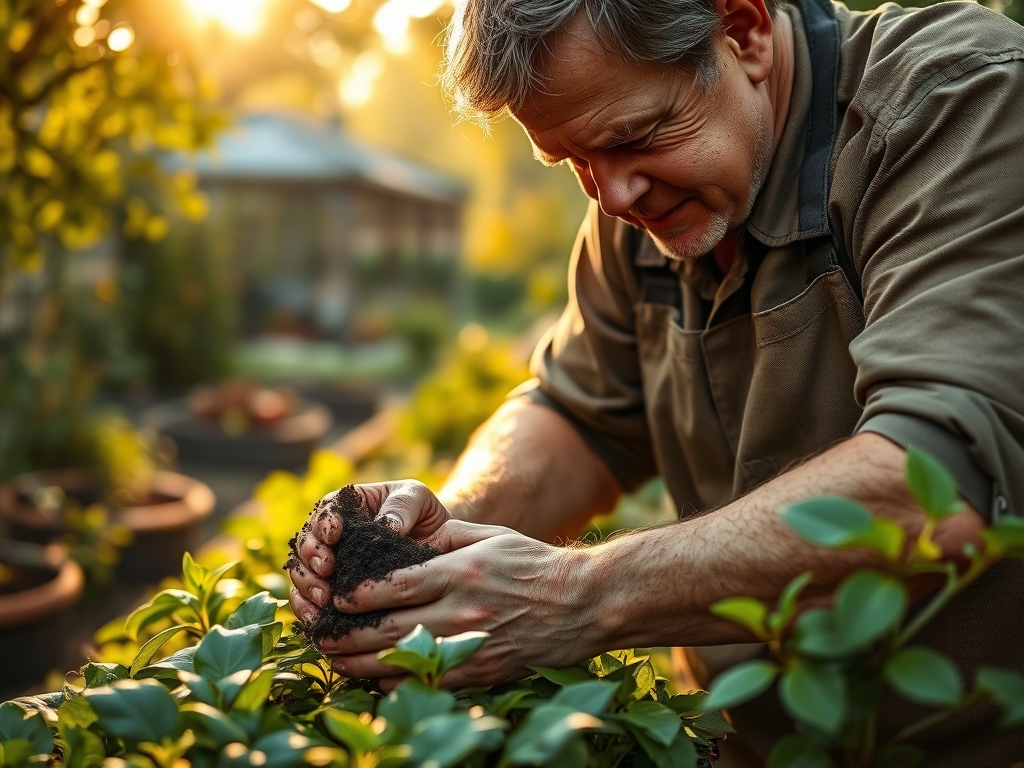
A successful garden starts with a **friable loam** substrate. This ideal soil texture consists of approximately **40 percent sand, 40 percent silt, and 20 percent clay**. This balance ensures a high Cation Exchange Capacity (CEC), allowing the soil to retain essential nutrients like ammonium, calcium, and magnesium. To support vigorous growth, maintain a soil pH between **6.2 and 6.8**.
Nutrient requirements vary by growth stage. During the initial vegetative phase, utilize an NPK ratio of 10-5-5 to prioritize nitrogen for chlorophyll production. As plants transition to the reproductive stage, shift to a 5-10-10 ratio to provide the phosphorus and potassium necessary for fruit and flower development. High-quality organic matter should be integrated at a rate of 3 inches per topsoil foot to facilitate microbial activity and improve drainage.
Timing:
Timing is dictated by the Hardiness Zones and the biological clock of the species. In Zones 5 through 7, the window for spring preparation begins when soil temperatures consistently reach 50 degrees Fahrenheit. Use a soil thermometer to verify this; planting in cold, anaerobic soil leads to root rot and poor nutrient uptake.
The biological clock of a plant moves from the vegetative stage (leaf and stem growth) to the reproductive stage (flowering and seeding) based on the photoperiod. Long-day plants require more than 12 hours of light to trigger flowering, while short-day plants require extended periods of darkness. Understanding these transitions allows the gardener to time pruning and maintenance routines to avoid interrupting the plant's hormonal shifts, such as the surge of gibberellins during the bolting phase.
Phases:
Sowing
Direct sow seeds at a depth approximately three times the diameter of the seed. Ensure the seedbed is finely raked to provide maximum seed-to-soil contact. For species requiring light for germination, surface sow and press firmly into the substrate.
Pro-Tip: Monitor for phototropism immediately after emergence. If seedlings lean toward a light source, rotate the trays or adjust supplemental lighting to prevent weak, elongated stems caused by the uneven distribution of auxins in the plant tissue.
Transplanting
Transplant when the second set of true leaves appears. Dig a hole twice the width of the root ball to allow for easy lateral root expansion. Maintain the same soil level as the original container to prevent stem rot.
Pro-Tip: Inoculate the root zone with mycorrhizal fungi during this phase. This symbiotic relationship increases the surface area of the root system, significantly enhancing the uptake of water and phosphorus through a network of hyphae.
Establishing
The establishment phase requires consistent moisture to prevent plasmolysis, where the cell membrane pulls away from the cell wall due to water loss. Mulch with 2 inches of straw or wood chips to regulate soil temperature and reduce evaporation.
Pro-Tip: Practice auxin suppression by pinching off the apical meristem (the growing tip) on specific crops. This disrupts apical dominance and forces the plant to redirect energy to lateral buds, resulting in a bushier, more productive structure.
The Clinic:
Physiological disorders often stem from environmental stress or nutrient imbalances rather than pathogens.
- Symptom: Blossom End Rot. Sunken, leathery black spots on the bottom of fruit.
- Solution: This is caused by a calcium deficiency often triggered by inconsistent watering. Maintain even soil moisture to ensure calcium remains mobile within the xylem.
- Symptom: Interveinal Chlorosis. Yellowing of leaves while the veins remain green.
- Solution: This indicates an iron or magnesium deficiency. Check the pH first; if the pH is above 7.0, iron becomes chemically unavailable to the plant.
- Symptom: Leaf Curl. Upward curling of leaf margins without discoloration.
- Solution: This is typically a response to high transpiration rates or excessive heat. Provide temporary shade or increase irrigation to restore turgor pressure.
Fix-It for Nitrogen Chlorosis: If older leaves turn pale yellow and growth stunts, apply a quick-release high-nitrogen fertilizer (NPK 20-0-0) at the base of the plant. Follow immediately with 0.5 inches of water to move the nitrates into the root zone.
Maintenance:
Precision maintenance is the hallmark of a professional garden. Deliver 1.5 inches of water per week directly at the drip line. Avoid overhead irrigation to prevent the spread of foliar diseases like powdery mildew. Use a soil moisture meter to verify that the moisture has penetrated 6 to 8 inches deep.
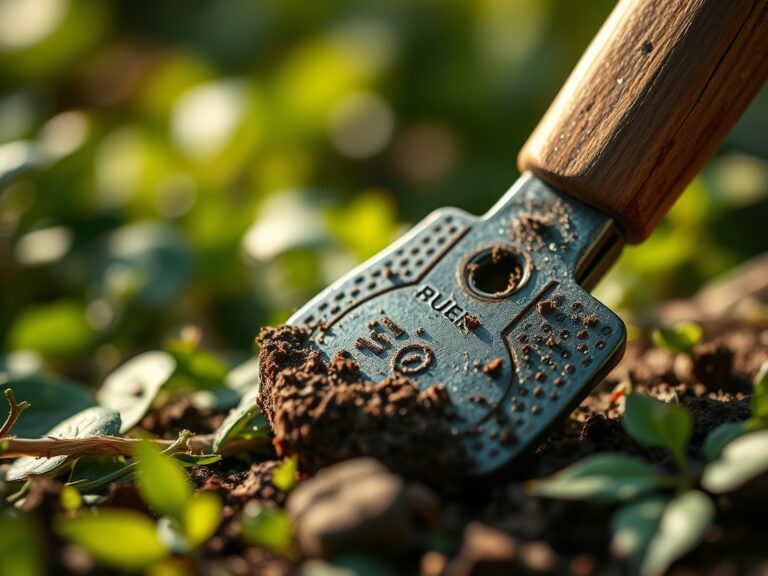
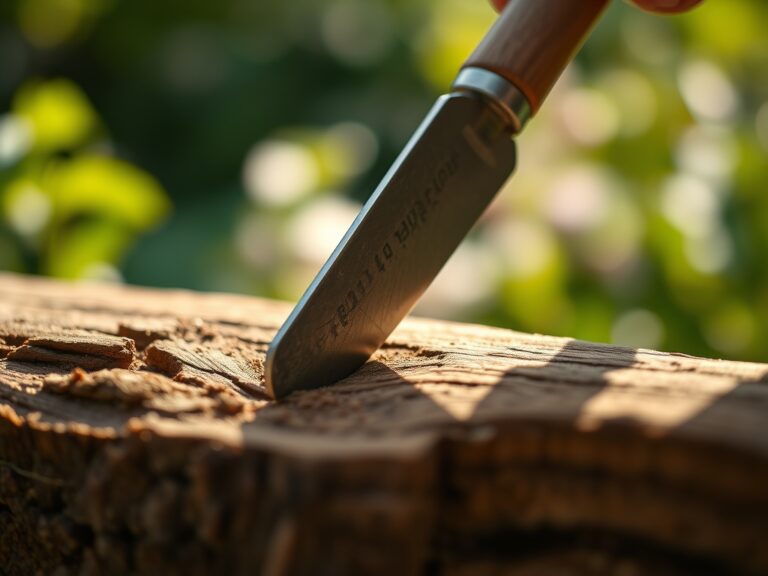
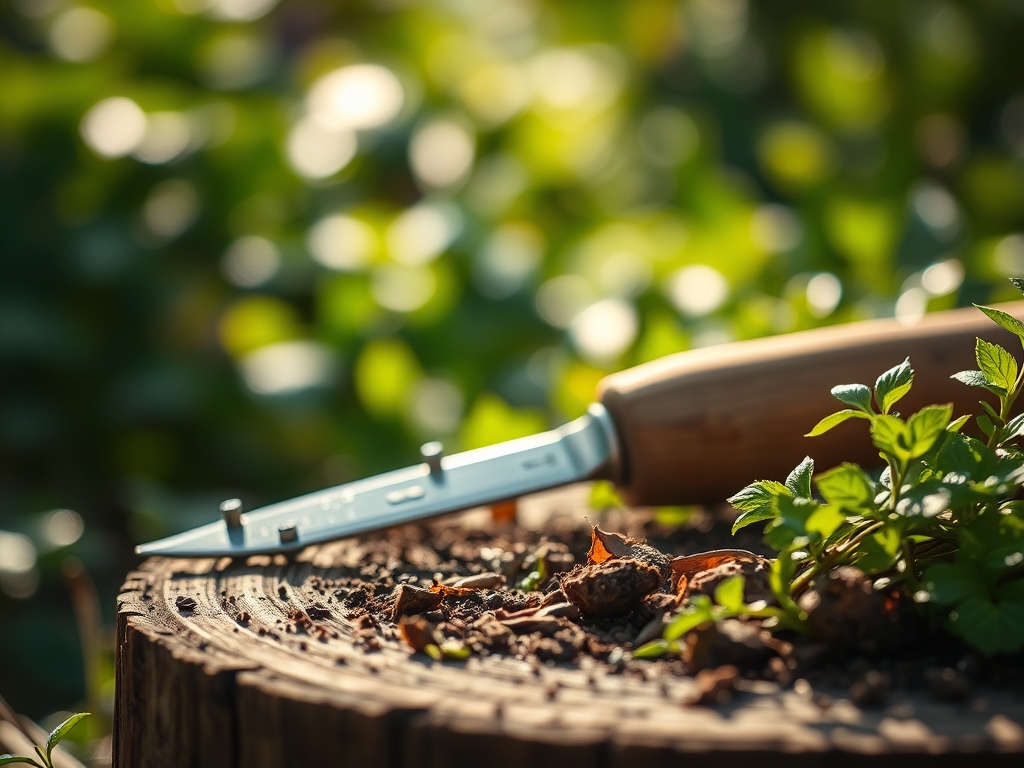
Keep your bypass pruners sharp to ensure clean cuts that heal quickly. For weeding in tight spaces, the hori-hori knife is the standard for extracting deep taproots without disturbing the surrounding rhizosphere. After every use, wipe tools with 70 percent isopropyl alcohol to sterilize the blades. This prevents the mechanical transmission of viral loads between plants.
The Yield:
Harvesting is a matter of cellular timing. For most leafy greens, harvest in the early morning when turgor pressure is at its highest and the plant is cool. Use a sharp, sterilized blade to make a clean cut, leaving the crown intact for "cut and come again" varieties.
For fruiting crops, look for abscission, the point where the fruit naturally begins to separate from the stem. Post-harvest, move produce immediately to a cool, shaded environment to slow the rate of senescence. Rapid cooling preserves the sugars and prevents the degradation of cellular structures, ensuring the highest nutritional density and flavor profile.
FAQ:
How do I prevent rust on my garden tools?
Clean all soil from metal surfaces after use. Apply a thin layer of mineral oil or silicone spray to the blades. Store tools in a dry, ventilated area or a bucket filled with sand and motor oil.
What is the best way to sanitize pruning shears?
Dip the blades in a solution of 70 percent isopropyl alcohol or a 10 percent bleach solution for 30 seconds between plants. This kills bacteria, fungi, and viruses that cause systemic infections like fire blight or tobacco mosaic virus.
Why are my plants wilting despite wet soil?
This indicates root asphyxiation or "drowning." Excess water fills the pore spaces in the soil, removing oxygen. Without oxygen, roots cannot perform cellular respiration, leading to root death and a subsequent loss of turgor pressure in the foliage.
When is the best time to sharpen garden tools?
Sharpen tools at the end of every heavy use cycle or at least once per month during the growing season. Use a whetstone or a fine-tooth file, following the factory bevel angle of the blade for maximum cutting efficiency.