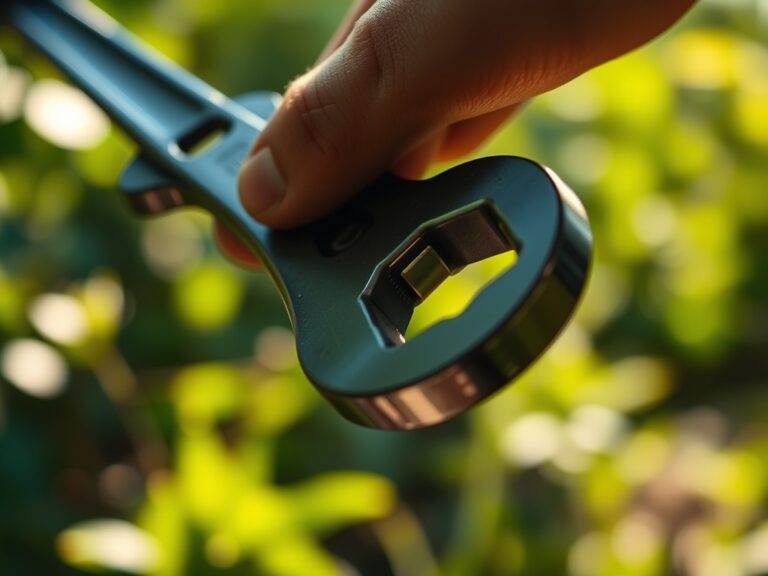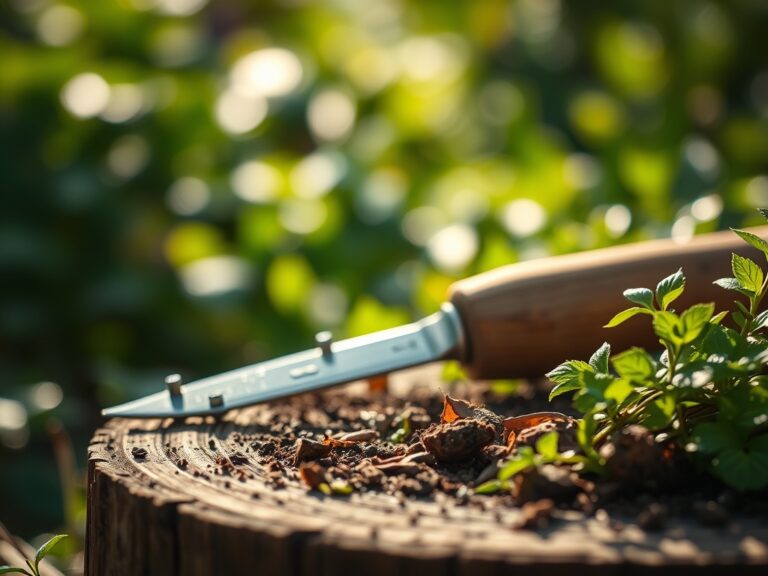
8 Tips: Using a Wood Chisel for Custom Garden Repairs
The smell of damp earth after a spring thaw signals the beginning of the structural maintenance season. When the soil reaches a consistent 55 degrees Fahrenheit, the turgor pressure in perennial stems rises and the gardener must address the infrastructure supporting this growth. Using a chisel for garden woodwork is not a task of finesse but one of structural integrity. A sharp 1 inch bevel edge chisel allows for the precise removal of rot from cedar raised beds or the carving of lap joints in a custom trellis. This tool bridges the gap between rough carpentry and fine horticulture. It ensures that the wooden skeletons of the garden do not succumb to fungal pathogens or structural collapse under the weight of ripening fruit. Precision in the woodshop translates directly to longevity in the field. When a mortise is cut cleanly, it prevents the accumulation of moisture that leads to anaerobic conditions and wood decay. Every strike of the mallet must be intentional. Every paring cut must be clean to ensure the structural stability of the growing environment.
Materials:
The success of any garden structure depends on the substrate it inhabits. For permanent wooden fixtures, the soil must be a **friable loam** with a **Cation Exchange Capacity (CEC) between 15 and 25**. This indicates a high capacity for the soil to hold onto essential nutrients like calcium and magnesium, which prevent the premature degradation of wood-to-soil contact points. The soil pH should be maintained between **6.2 and 6.8** to optimize nutrient availability. If the pH drops below **5.5**, aluminum toxicity can occur, which not only stunts root development but also accelerates the chemical breakdown of certain wood preservatives. When installing posts, incorporate a slow-release fertilizer with an **NPK ratio of 5-10-10** into the backfill. The lower nitrogen content prevents excessive vegetative “flush” in nearby plants while the higher phosphorus levels encourage the robust root systems necessary to anchor the new woodwork against wind shear.
Timing:
Structural repairs and custom woodwork should be executed within USDA Hardiness Zones 4 through 8 during the dormant season or the early spring window before the "Biological Clock" shifts. This shift occurs when the photoperiod exceeds 12 hours of daylight, triggering the transition from the vegetative stage to the reproductive stage in many cultivars. In Zone 6, this window typically opens between March 15 and April 15. Performing woodwork during this period ensures that the installation of trellises or cold frames is complete before the soil temperature reaches the 65 degree Fahrenheit threshold required for rapid microbial activity in the rhizosphere. Avoid heavy construction during the peak of the reproductive phase; the physical disturbance can cause flower abscission or interrupt the pollination cycle of high-value crops.
Phases:

Sowing the Foundation
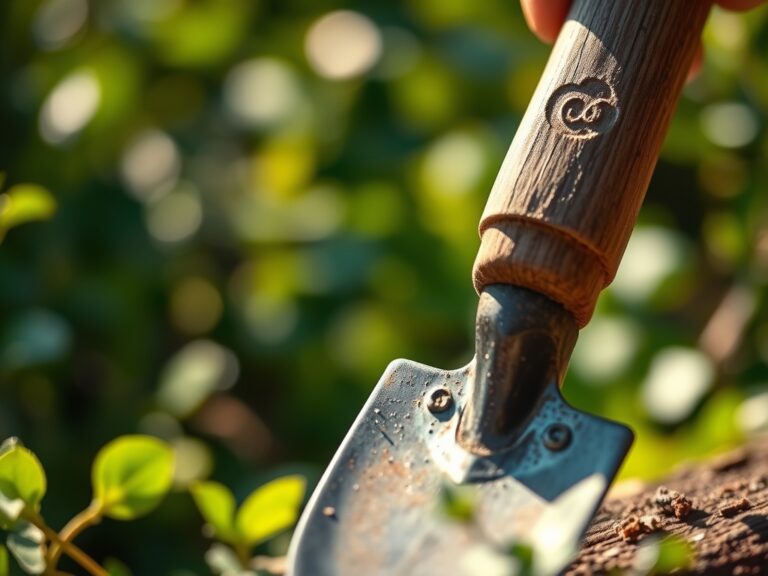
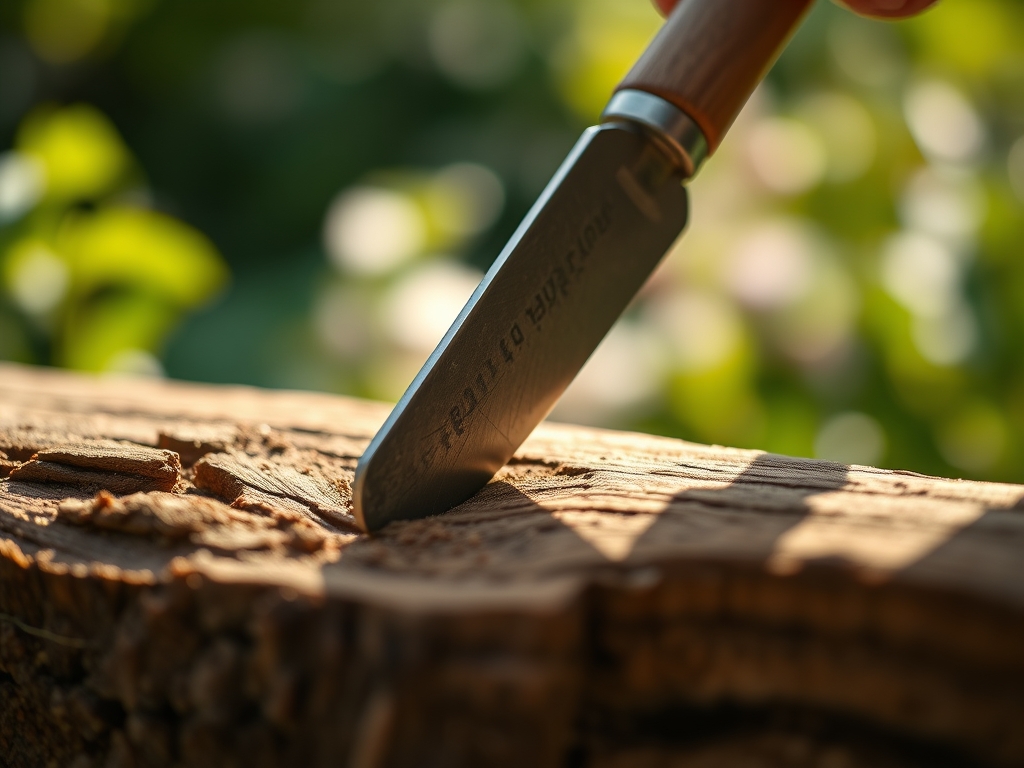
Before any wood is cut, the site must be prepared to prevent future subsidence. Dig a footing at least 12 inches deep and backfill with 3 inches of crushed stone to facilitate drainage. Using a chisel for garden woodwork at this stage involves squaring off the ends of support posts to ensure they sit flush against the drainage layer. This prevents "wicking" where end-grain fibers pull moisture into the heartwood.
Pro-Tip: Proper drainage prevents the development of Phytophthora root rot. By ensuring the wood does not sit in standing water, you maintain the oxygen levels in the soil pores, which is essential for aerobic respiration in the root zone.
Transplanting Structures
When moving a trellis or a raised bed frame into its permanent position, use a chisel to create "notches" for cross-members. This mechanical connection is superior to screws alone. A 1/2 inch deep housing joint provides significant lateral stability. Ensure all cuts are treated with a copper-based preservative to repel fungal hyphae.
Pro-Tip: Minimizing the use of heavy hardware prevents the leaching of excess zinc into the soil. High zinc levels can interfere with a plant's ability to uptake iron, leading to interveinal chlorosis.
Establishing the Joint
The final phase involves paring the wood to a tight fit. A chisel allows for the removal of "high spots" that prevent a flush seal. In the garden, a tight joint is a dry joint. Use a mallet to drive the pieces together, ensuring there are no gaps larger than 1/32 of an inch. This prevents insects from nesting within the structure and introducing pathogens.
Pro-Tip: Tight joinery utilizes the principle of hygroscopic expansion. As the wood absorbs ambient moisture, the fibers swell and lock the joint together, creating a rigid support system that can withstand the weight of heavy vines like Wisteria or indeterminate tomatoes.
The Clinic:
Garden structures, like plants, exhibit symptoms of environmental stress. Identifying these early prevents total system failure.
Symptom: Soft, darkened wood at the soil line (Basal Rot).
Solution: Use a chisel to remove all necrotic tissue until you reach sound wood. Treat the area with a borate-based fungicide and backfill with coarse sand to improve aeration.
Symptom: Splitting along the grain (Desiccation).
Solution: This occurs when wood dries too rapidly in low-humidity environments. Apply a UV-rated linseed oil coating. For structural splits, chisel a "butterfly" key across the grain to mechanically arrest the crack.
Symptom: Yellowing of nearby foliage (Nitrogen Chlorosis).
Fix-It: This often happens when fresh wood mulch or untreated lumber begins to decompose, "locking up" nitrogen. Apply a high-nitrogen fertilizer with an NPK of 21-0-0 (Ammonium Sulfate) at a rate of 0.5 pounds per 100 square feet to restore the nitrogen balance in the rhizosphere.
Maintenance:
A well-constructed garden feature requires ongoing monitoring. Use a soil moisture meter to ensure that the area around wooden posts does not remain saturated; aim for a consistent moisture level of 25% to 35%. During the heat of summer, plants near wooden structures may require 1.5 inches of water per week delivered at the drip line to compensate for the heat reflected off the wood surface. Use a hori-hori knife to weed the perimeter of the woodwork, as tall weeds trap moisture against the grain. Annually inspect joints with bypass pruners in hand to clear away any encroaching vine growth that might pry the joinery apart. If a joint loosens, use a chisel to create a small shim from cedar scraps and drive it into the gap to restore tension.
The Yield:
When your custom-built trellises and supports are functioning correctly, the harvest yield increases significantly due to improved airflow and light penetration. For indeterminate tomatoes, harvest when the fruit reaches the "breaker stage" (about 50% color) to avoid skin cracking. For timber-supported legumes, harvest when the pods are firm but before the seeds bulge significantly. Post-harvest, clean all wooden surfaces with a 10% bleach solution to kill lingering spores. This ensures that the structure is sanitized for the next rotation, maintaining a healthy growing environment for years to come.
FAQ:
How do I sharpen a chisel for garden use?
Use a 1000-grit whetstone followed by a 6000-grit finishing stone. Maintain a 25-degree primary bevel. A sharp edge reduces the force required, preventing the crushing of wood fibers and ensuring a cleaner, more rot-resistant cut.
Can I use pressure-treated wood for raised beds?
Modern pressure-treated wood uses Alkaline Copper Quaternary (ACQ), which is generally considered safe. However, for organic standards, use naturally rot-resistant species like Eastern Red Cedar or Black Locust. Always chisel away factory stamps before installation.
Why is my chisel rusting after garden use?
The high humidity and acidic nature of many soils (pH below 6.0) accelerate oxidation. After each use, wipe the blade with mineral oil. Store tools in a dry shed with a desiccant pack to maintain a relative humidity below 40%.
What is the best joint for a garden gate?
A mortise and tenon joint is the gold standard. It provides maximum surface area for friction and glue, resisting the sagging forces caused by gravity. Use a chisel to square the mortise for a precise, structural fit.