9 Steps to Prepare Your Site for a New Tool Storage Build
The smell of damp earth after a heavy rain indicates more than just moisture; it signals the activation of microbial life within the rhizosphere. When you compress a handful of soil, it should hold its shape briefly before crumbling under slight pressure, a sign of ideal turgor and structure. Understanding how to prepare a garden for a tool storage build requires a technical assessment of the land to ensure structural stability without compromising the surrounding ecosystem. A successful build starts with calculating load-bearing capacity and managing soil compaction to prevent drainage failure.
Materials:
Site preparation requires a substrate that balances drainage with structural integrity. For the area surrounding the build, aim for a **friable loam** consisting of 40 percent sand, 40 percent silt, and 20 percent clay. The soil pH must be stabilized between **6.0 and 7.0** to prevent the corrosion of metal anchors or the degradation of wooden skids.
If you are establishing a perimeter of stabilizing vegetation, the NPK ratios must be specific. A 10-10-10 balanced fertilizer is standard for general site recovery, but for rapid root establishment in disturbed soils, a high-phosphorus starter like 5-20-10 is superior. This encourages the Cation Exchange Capacity (CEC) to remain high, allowing the soil to hold onto essential nutrients like calcium and magnesium which are often leached during heavy construction or excavation.
Timing:
The execution of a storage build is dictated by the hardiness zones and the biological clock of the local flora. In Zones 4 through 7, site preparation should occur during the dormant season or the window between the last spring frost and the onset of high summer heat. This prevents excessive stress on the root systems of nearby perennials.
The biological clock of the garden transitions from vegetative growth to reproductive stages as the photoperiod shifts. You must complete heavy grading and foundation work before the "grand growth phase" of spring. Soil temperature should be at least 55 degrees Fahrenheit before you attempt to re-seed or transplant any vegetation displaced by the shed. Working frozen soil destroys the pore space necessary for oxygen exchange, leading to anaerobic conditions that kill beneficial microbes.
Phases:

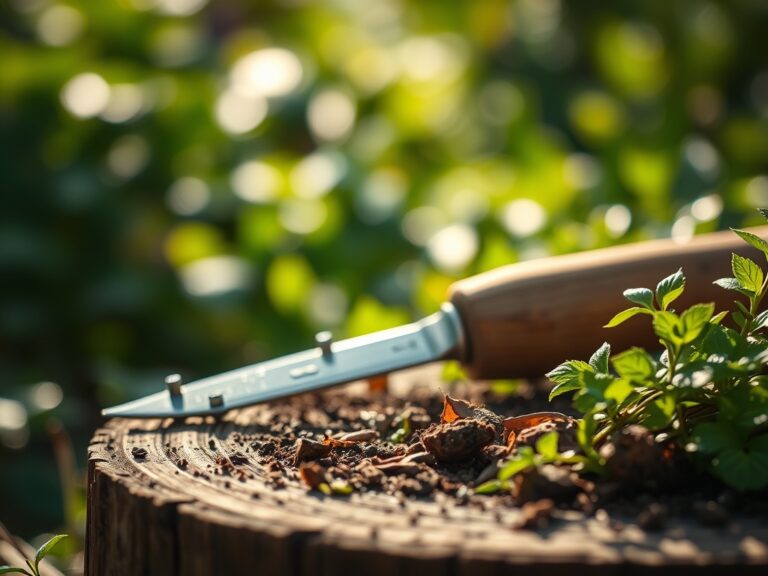
Sowing and Site Leveling
Clear all organic debris from the footprint. Use a transit level to ensure a slope of 1/4 inch per foot away from the structure to prevent hydrostatic pressure against the foundation. If you are sowing grass to stabilize the perimeter, ensure seed-to-soil contact is maximized.
Pro-Tip: Utilize a weighted roller after sowing. The biological why involves thigmotropism; certain seeds and roots respond to physical contact and pressure by triggering stronger cellular walls, ensuring the new growth can withstand the foot traffic associated with tool retrieval.
Transplanting Peripheral Flora
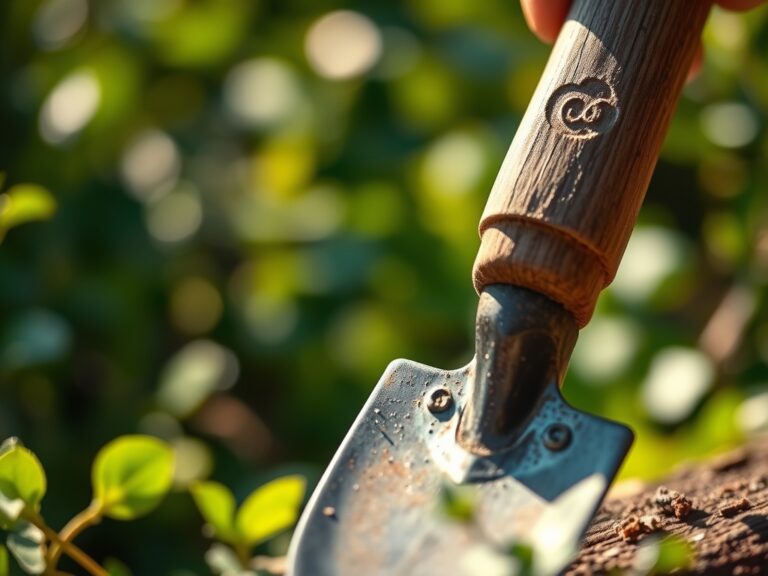
When moving plants to accommodate the build, preserve the root ball at a diameter of at least 12 inches for every inch of trunk caliper. Use a sharp spade to make clean cuts, avoiding jagged tears that invite pathogens.
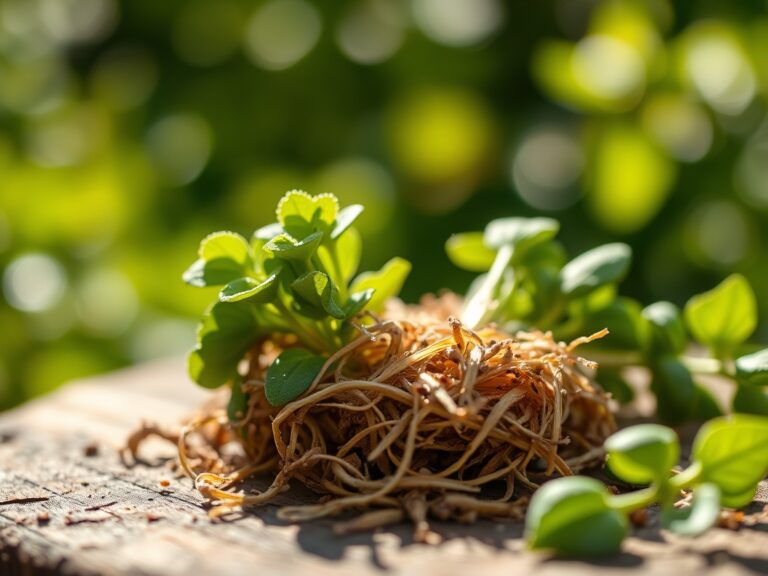
Pro-Tip: Apply a mycorrhizal inoculant to the transplant hole. The biological why is mycorrhizal symbiosis; these fungi extend the root system's reach by up to 100 times, significantly increasing water uptake and reducing transplant shock through enhanced nutrient signaling.
Establishing the Base
Install a 4 to 6 inch layer of compacted 3/4-inch crushed stone. This creates a capillary break, preventing moisture from wicking up into the floor of the tool storage.
Pro-Tip: Ensure the base extends 12 inches beyond the walls of the shed. The biological why involves auxin suppression; by creating a clear, inorganic border, you prevent the shade-seeking growth of weeds (phototropism) from encroaching on the structure and causing rot through trapped humidity.
The Clinic:
Physiological disorders often manifest in the vegetation surrounding a new construction site due to soil compaction and altered drainage.
- Symptom: Interveinal chlorosis (yellowing leaves with green veins).
- Solution: This is often a sign of Manganese or Iron deficiency caused by a pH spike from concrete runoff. Apply elemental sulfur to lower pH to 6.5.
- Symptom: Leaf wilting despite adequate soil moisture.
- Solution: Root asphyxiation from soil compaction. Use a broadfork to aerate the soil to a depth of 8 inches without flipping the soil profile.
- Symptom: Marginal leaf burn (browning edges).
- Solution: Salt accumulation from construction materials or fertilizers. Flush the area with 2 inches of water to leach excess salts below the root zone.
Fix-It for Nitrogen Chlorosis: If the entire leaf turns pale yellow, the plant lacks nitrogen. Apply a quick-release ammonium nitrate solution at a rate of 0.5 pounds of actual N per 1,000 square feet to restore chlorophyll production.
Maintenance:
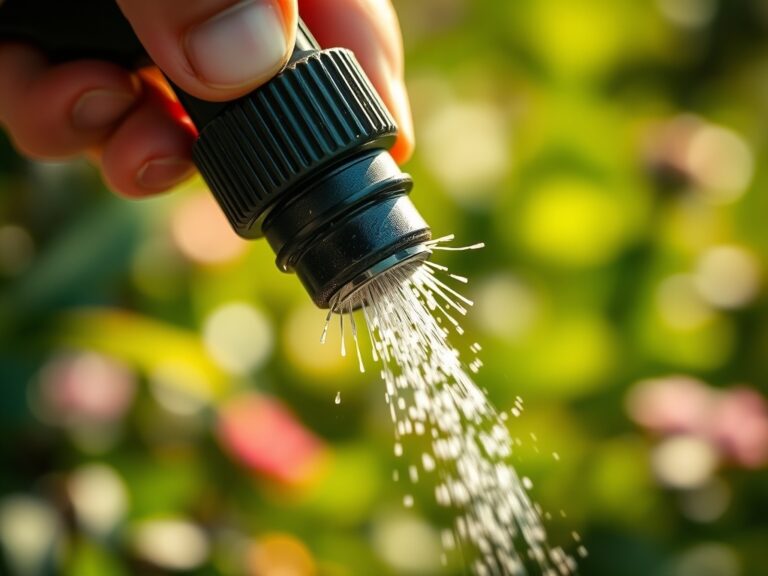
Post-build maintenance focuses on soil hydration and structural monitoring. Vegetation at the drip line requires 1.5 inches of water per week to compensate for the rain shadow created by the new roof. Use a soil moisture meter to check levels at a depth of 6 inches; do not rely on surface appearance.
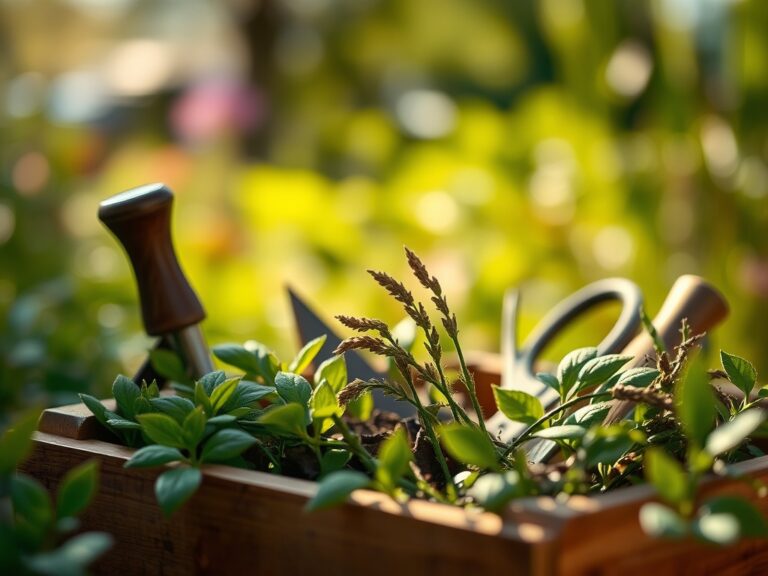
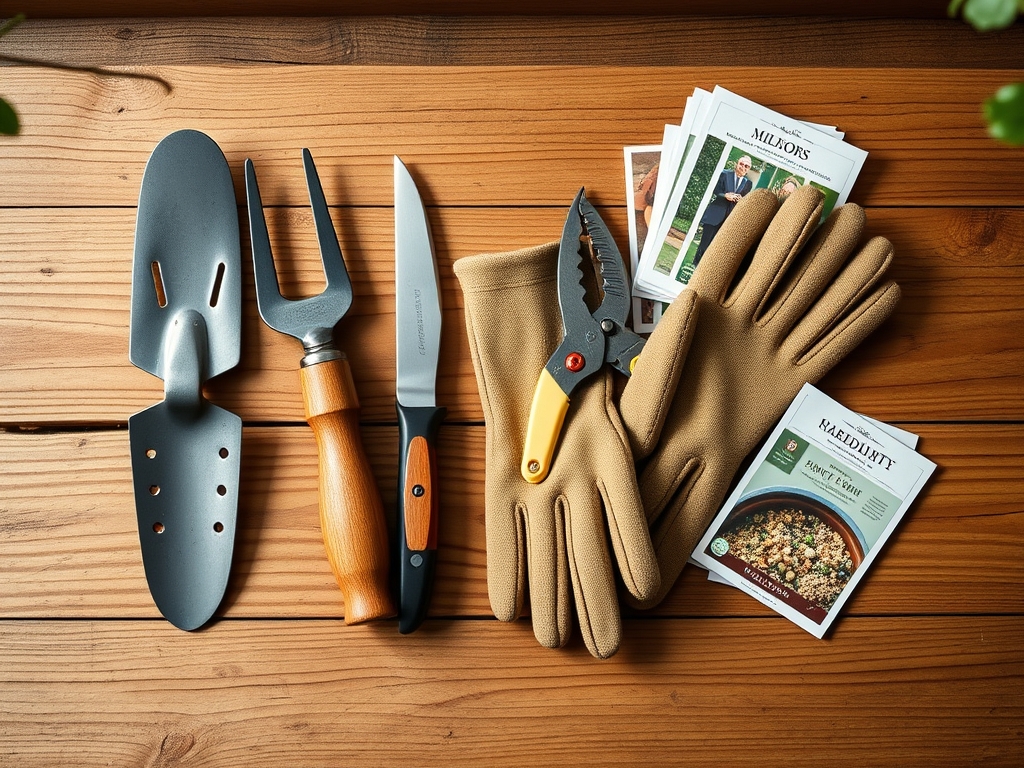
Maintain the perimeter with a hori-hori knife to extract deep-taproot weeds like dandelion without disturbing the leveled gravel base. For any overhanging branches that could damage the roof or trap moisture, use bypass pruners to make clean cuts at the branch collar. This promotes rapid callusing and prevents the onset of senescence in the limb. Check the level of the structure annually; a shift of even 1 degree can cause doors to bind and water to pool.
The Yield:
While a tool storage build is a structural project, the "yield" is the preservation of the surrounding landscape's health. If you have integrated edible landscaping or herbs around the shed, harvest them when essential oil concentration is at its peak, usually in the early morning after the dew has evaporated but before the sun is at its zenith.
For woody herbs like rosemary or lavender, use sharp snips to take 4-inch cuttings. To maintain "day-one" freshness, immediately place the stems in a cool, shaded environment with high humidity. This slows the rate of transpiration and preserves the turgor pressure within the vacuoles, ensuring the harvest remains crisp and chemically potent for use.
FAQ:
How deep should the gravel base be for a tool shed?
A standard tool storage build requires a 4 to 6 inch base of compacted crushed stone. This depth ensures proper drainage and prevents the structure from sinking due to soil compression or frost heave in colder climates.
Can I build a shed over tree roots?
Building over major structural roots (larger than 2 inches in diameter) can lead to tree instability or death. If roots are within the top 12 inches of soil, use a pier foundation to allow for gas exchange in the rhizosphere.
What is the best soil pH for a shed perimeter?
Maintain a soil pH between 6.0 and 7.0. This range is optimal for most stabilizing groundcovers and prevents the accelerated oxidation of metal components or the leaching of wood preservatives into the surrounding garden ecosystem.
How do I stop weeds from growing under the shed?
Lay a heavy-duty geotextile fabric beneath the gravel base. This barrier prevents light penetration, effectively halting the phototropic response of weed seeds while still allowing water to permeate through to the subsoil to prevent pooling.