9 Steps to Prepare Your Yard Site for a New Garden Pond
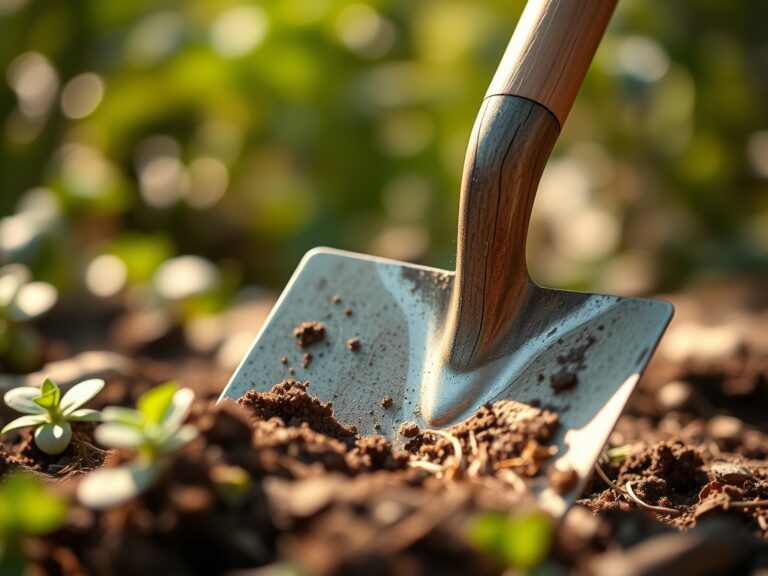
Damp silt clings to the skin as the smell of anaerobic decomposition rises from the subsoil; this is the reality of earthwork. Learning how to prepare a garden for a pond requires more than aesthetic planning. It demands an understanding of soil physics and hydraulic pressure. You must evaluate the bulk density of your soil to ensure the basin maintains structural integrity against the weight of several tons of water. Proper site preparation prevents the catastrophic failure of the rhizosphere in surrounding flora and ensures long term stability for the aquatic ecosystem.
Materials:
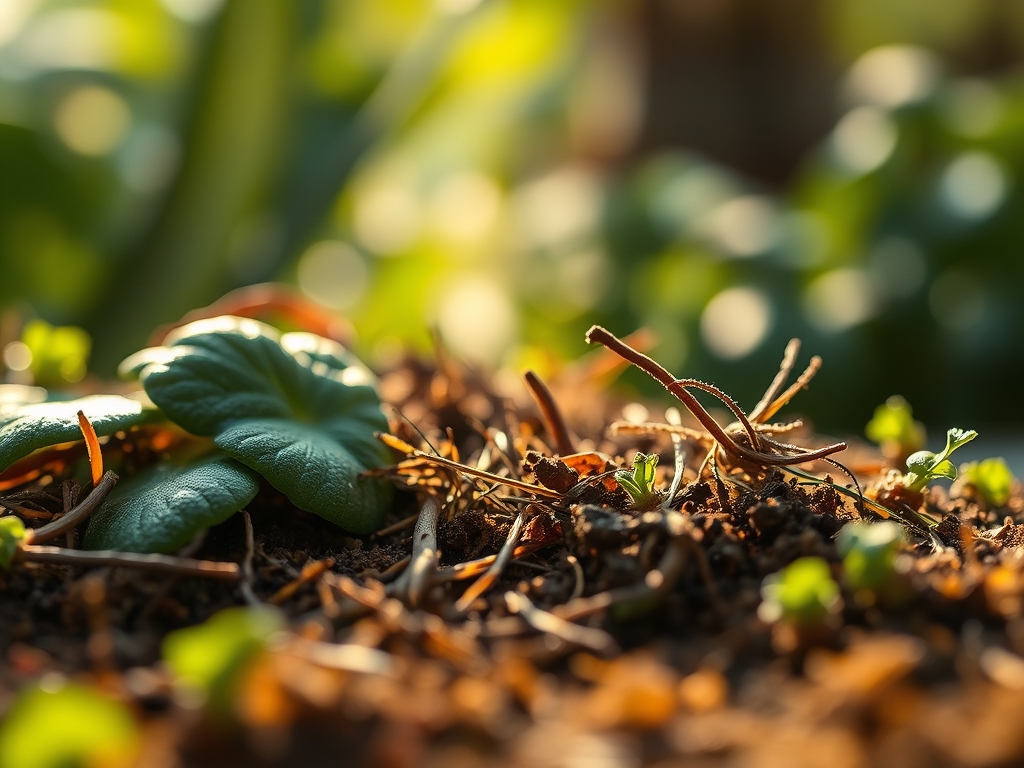
Before breaking ground, analyze the soil profile. The ideal substrate surrounding the pond perimeter is a **friable loam** with a **pH between 6.0 and 7.0**. High clay content increases the **Cation Exchange Capacity (CEC)** but poses drainage risks during overflow events.
For the planting zones immediately adjacent to the water, use a specialized aquatic soil mix. This should have an NPK ratio of 0-10-10 to discourage excessive algae growth while supporting root development. Avoid standard potting soils containing peat or perlite; these materials float and leach nitrogen into the water column. Ensure you have a 45-mil EPDM liner and a non-woven geotextile underlayment to protect against root penetration from nearby woody perennials.
Timing:
The biological clock for pond installation is dictated by the frost line. In Hardiness Zones 5 through 7, excavation should commence once the soil temperature reaches a consistent 50 degrees Fahrenheit. This ensures the soil is workable and not subject to frost heave.
Avoid construction during the peak vegetative stage of surrounding trees; cutting roots during high sap flow can cause significant physiological stress. The optimal window is late dormancy or early spring. This timing allows the microbial community in the rhizosphere to stabilize before the summer heat increases the rate of evapotranspiration.
Phases:
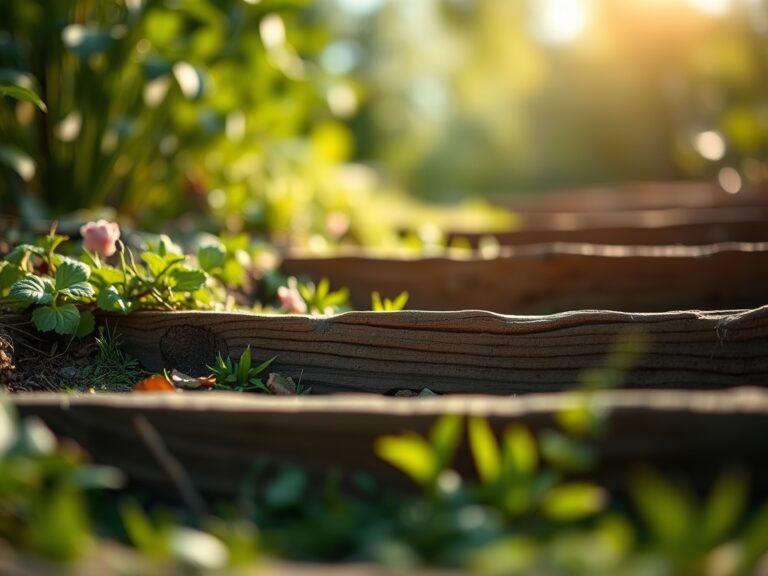
Sowing the Perimeter
Establish a buffer strip of native sedges or grasses. These plants utilize mycorrhizal symbiosis to filter runoff before it enters the pond.
Pro-Tip: Plant at a density of three plants per square foot. This creates immediate root competition, which triggers auxin suppression in weeds; preventing invasive species from colonizing the disturbed soil.
Transplanting Aquatic Flora
When placing marginal plants, ensure the crown is at the specific depth required for the species. Submerge pots slowly to avoid displacing the substrate.
Pro-Tip: Use heavy clay at the top of the pot to seal in nutrients. This prevents nutrient leaching, as the high density of clay particles limits the movement of ions into the open water.
Establishing the Bio-Filter
The biological filter requires a colonization period of four to six weeks. During this time, nitrifying bacteria convert ammonia into nitrites and then nitrates.
Pro-Tip: Introduce a starter bacterial culture when water temperatures hit 55 degrees Fahrenheit. This jumpstarts the nitrogen cycle by providing a concentrated population of Nitrosomonas and Nitrobacter to the filter media.
The Clinic:
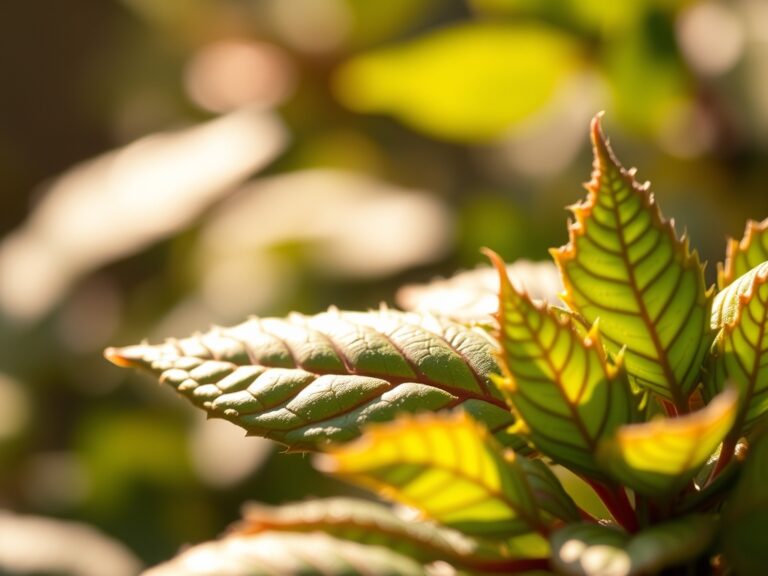
Physiological disorders in a new pond environment often manifest in the foliage of marginal plants.
- Symptom: Yellowing of older leaves while veins remain green.
- Solution: This indicates Magnesium deficiency. Apply a specialized aquatic fertilizer tab with a high magnesium oxide content directly into the root zone.
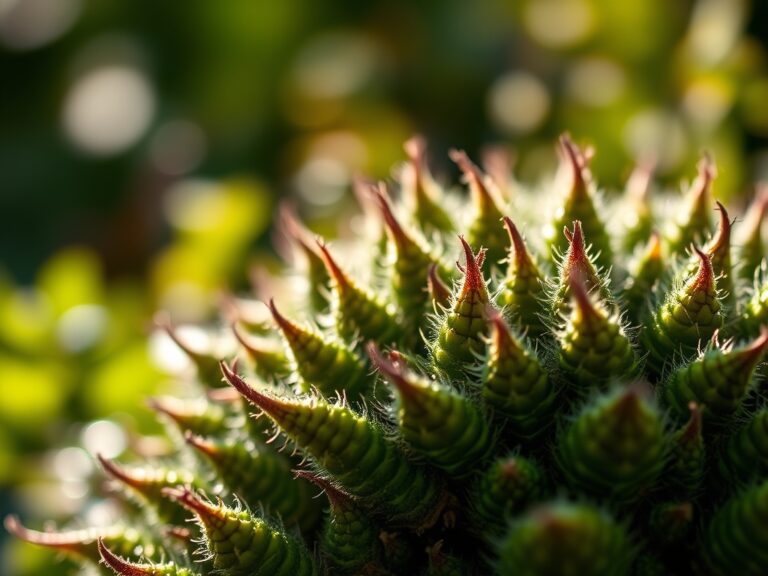
- Symptom: Stunted growth and dark purple tint on foliage.
- Solution: This is a sign of Phosphorus deficiency. Ensure the water temperature is above 60 degrees Fahrenheit, as cold water inhibits phosphorus uptake.
- Symptom: Rapid wilting despite being in water.
- Solution: Check for root rot (Pythium). This occurs in stagnant, anaerobic pockets of soil. Increase water circulation using a submersible pump rated for 1.5 times the pond volume per hour.
Fix-It for Nitrogen Chlorosis: If all leaves turn pale yellow, the plant lacks nitrogen. Add one 10-gram fertilizer tablet per gallon of soil volume to restore turgor pressure and chlorophyll production.
Maintenance:
Precision is required to maintain the balance between the water feature and the surrounding terrestrial landscape. Use a soil moisture meter to monitor the "splash zone" around the pond. Terrestrial plants in this area require 1.5 inches of water per week delivered at the drip line to compensate for increased evaporation near the water surface.
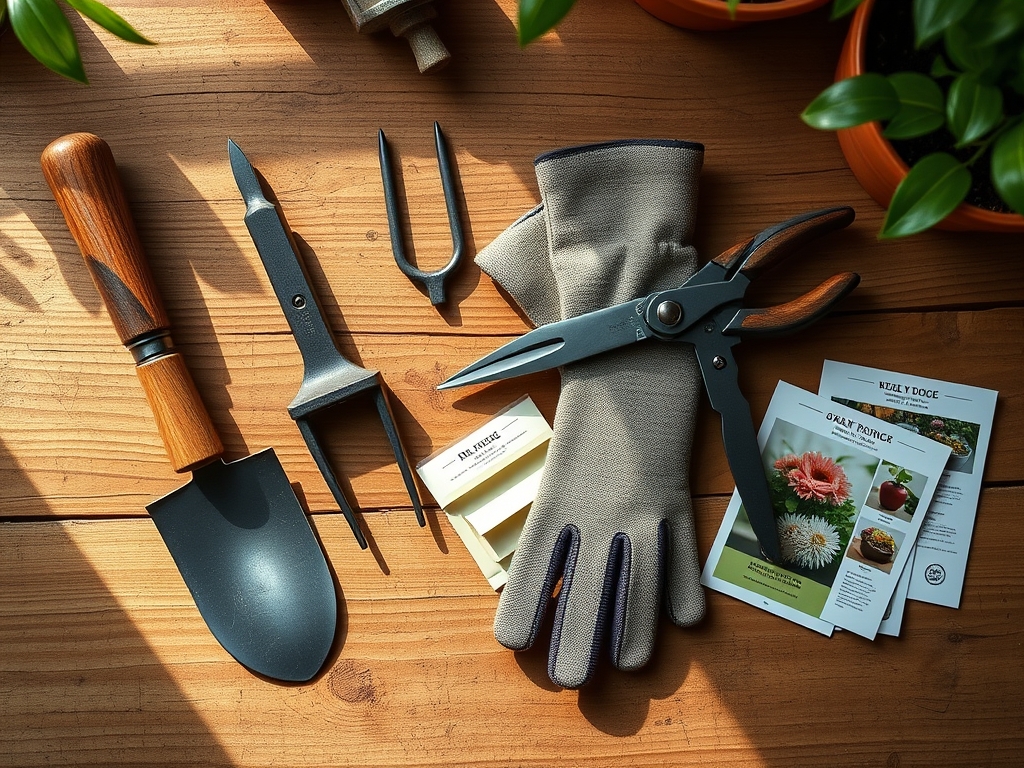
Keep a hori-hori knife sharpened for dividing overgrown aquatic rhizomes every two years. Use bypass pruners to remove senescent (dying) foliage before it falls into the water; this prevents a spike in organic load. Monitor the water level daily; a drop of more than 0.25 inches per day (excluding evaporation) indicates a potential liner breach.
The Yield:
If your pond includes edible aquatic plants like Watercress (Nasturtium officinale), harvest during the cool morning hours. Use sanitized shears to cut the top 4 inches of growth. To maintain "day-one" freshness, immediately submerge the stems in 40-degree Fahrenheit water. This slows the metabolic rate and prevents the loss of turgor in the cellular walls. For flowering lilies, harvest the bloom just as the first petal layer unfurls to ensure a vase life of five to seven days.
FAQ:
How deep should I dig a garden pond?
Dig a minimum of 24 inches deep. In colder climates, a depth of 36 to 48 inches is required to stay below the frost line and protect aquatic life from total freeze-over during winter dormancy.
What is the best soil for pond plants?
Use a heavy silty clay or a commercial aquatic mix. Avoid organic compost or standard potting soils; these leach nutrients that trigger massive algae blooms and deplete dissolved oxygen levels through rapid decomposition.
How do I stop my pond from leaking?
Install a 45-mil EPDM rubber liner over a 6-ounce non-woven geotextile underlayment. Ensure the perimeter is level using a transit level to prevent water from escaping over low points in the edge shelving.
When can I add plants to a new pond?
Wait 48 hours after filling to allow chlorine to dissipate. If using well water, you may plant immediately once the water temperature stabilizes to within 5 degrees of the plants' previous environment to avoid thermal shock.