9 Tips: Using a Garden Rake for Final Yard Design Leveling
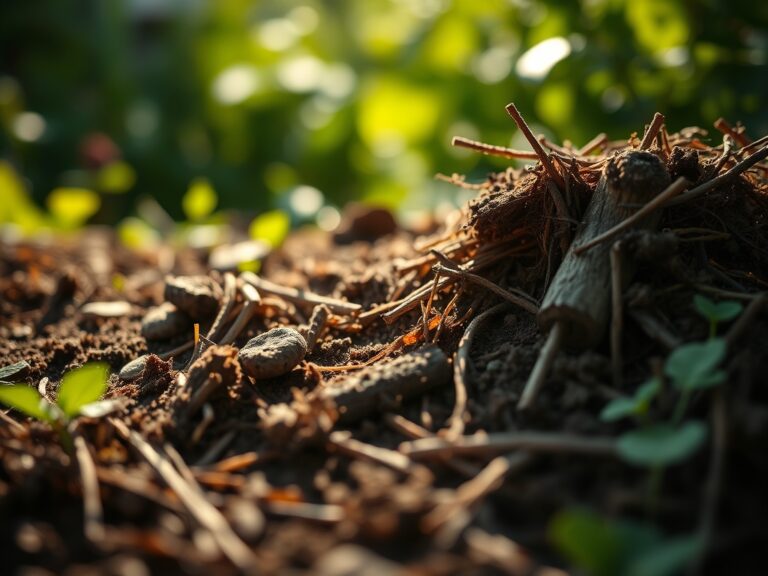
The smell of damp earth after a saturation event signals the beginning of the grading process. When the soil reaches a state of friable consistency, it is time to establish the final topography. Precise grading determines the hydraulic efficiency of the entire landscape. Using a rake for yard design is not merely an aesthetic choice; it is a structural necessity to prevent anaerobic conditions caused by standing water. A well-executed grade ensures that the rhizosphere remains oxygenated and that excess moisture moves away from the foundation at a rate of at least one inch of fall per ten feet of horizontal run. Achieving this requires a firm understanding of soil mechanics and the physical manipulation of the top three inches of the substrate. You must manage the turgor of the soil particles themselves. If the soil is too dry, it loses its structural integrity and turns to dust. If it is too wet, you risk compaction, which destroys the pore space essential for gas exchange. The goal is a uniform surface that facilitates even seed distribution and consistent moisture infiltration.
Materials:

Successful leveling begins with the chemical and physical composition of the amendment. For most residential turf and ornamental applications, the ideal substrate is a **friable loam** consisting of 40 percent sand, 40 percent silt, and 20 percent clay. This balance provides a high **Cation Exchange Capacity (CEC)**, typically ranging between **15 and 25 meq/100g**, allowing the soil to retain essential nutrients like ammonium, potassium, and magnesium.
Before leveling, test the pH levels. Aim for a range of 6.2 to 7.0 to ensure maximum nutrient bioavailability. If the soil is overly acidic, incorporate pelletized lime at a rate determined by your local extension office. For the initial leveling phase, integrate a starter fertilizer with an NPK ratio of 10-20-10. The high phosphorus content (20) is critical for early root development and ATP production during the establishment phase. Avoid high nitrogen levels during the leveling process, as excess nitrogen can lead to salt accumulation which may desiccate emerging root hairs.
Timing:
The window for final grading is dictated by the Biological Clock of the specific species you intend to plant. In Hardiness Zones 4 through 7, the primary window for using a rake for yard design occurs in early autumn, approximately six weeks before the first hard frost. This timing allows cool-season grasses to transition from the vegetative stage to a period of root intensification without the stress of high evapotranspiration rates.
In Zones 8 through 10, the window shifts to late spring when soil temperatures consistently reach 65 degrees Fahrenheit. This ensures that warm-season stolons and rhizomes can rapidly colonize the leveled area. You must observe the transition from dormancy to active growth. Leveling during the reproductive stage (flowering or seeding) is counterproductive as the plant diverts energy away from root establishment. Always monitor the frost-date windows to ensure the soil remains workable and not frozen, which would lead to "heaving" and ruin the precision of your grade.
Phases:

Sowing and Surface Prep
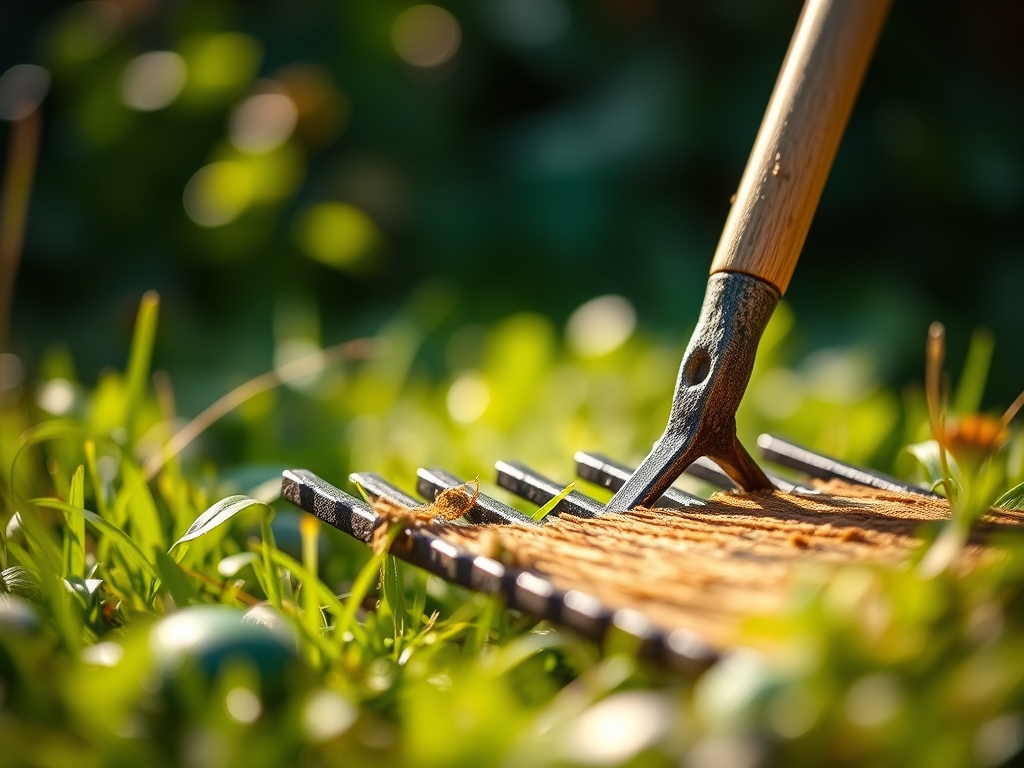
Once the rough grade is established, use a heavy-duty bow rake to break down clods larger than a marble. The surface must be uniform to ensure "seed-to-soil" contact. For small seeds, the depth of the furrow should be no more than two times the diameter of the seed.
Pro-Tip: Proper leveling prevents auxin suppression. When a surface is uneven, light hits the plant at inconsistent angles. By creating a level plane, you ensure uniform light distribution, which regulates the flow of auxins and promotes straight, vertical growth rather than phototropic leaning.
Transplanting and Contouring
When moving established perennials or shrubs into a newly leveled area, use the rake to create a gradual "shoulder" around the planting hole. This prevents water from pooling directly against the crown of the plant, which can lead to fungal pathogens.
Pro-Tip: Maintaining a level grade around transplants supports mycorrhizal symbiosis. A stable, non-eroding surface allows beneficial fungi to colonize the root system more effectively, increasing the plant's ability to absorb phosphorus and water.
Establishing the Grade
The final pass involves flipping the rake over to use the flat backside. This "screeding" action fills in minor depressions and removes high spots. Walk backward during this process to avoid leaving footprints in the finished substrate.
Pro-Tip: This final leveling step minimizes transpiration stress. A level surface ensures that irrigation water infiltrates the soil column at a uniform rate, preventing "dry spots" where plants might experience a loss of turgor pressure and subsequent wilting.
The Clinic:
Physiological disorders often stem from poor leveling and soil management. Observe the following symptoms to diagnose issues in your newly designed yard.
Symptom: Nitrogen Chlorosis. The older leaves of the plant turn a pale yellow while the veins remain slightly darker.
Solution: This often occurs in "low spots" where leaching is prevalent. Apply a quick-release nitrogen source and re-level the area to prevent future pooling.
Symptom: Iron Sequestration. New growth appears yellow or white, but the veins remain dark green. This is common in high pH soils (above 7.5).
Solution: Check the soil pH with a digital meter. If it is too high, incorporate elemental sulfur or chelated iron.
Symptom: Localized Dry Spot (LDS). Patches of turf or groundcover turn bluish-gray and fail to take up water despite irrigation.
Solution: This is caused by hydrophobic soil particles in high spots. Use a hori-hori knife to core the area and apply a wetting agent to break the surface tension.
Fix-It Section: For general nutrient deficiencies, always check the CEC of your soil. If the soil is too sandy, nutrients will wash away. Adding organic matter increases the CEC, allowing the soil to "hold" onto the cations needed for plant health.
Maintenance:
Precision leveling requires ongoing monitoring. After the first heavy rain, inspect the site for "settling." Use a soil moisture meter to verify that water is penetrating to a depth of six inches. Most landscapes require 1.5 inches of water per week delivered at the drip line of the plants.
Maintain your tools to maintain your yard. Clean your bow rake and bypass pruners after every use to prevent the spread of soil-borne pathogens. If you notice a depression forming, top-dress the area with a mix of sand and compost, using the rake to blend it into the existing canopy. This prevents the formation of "thatch" and encourages lateral growth of the root system.
The Yield:
When harvesting flowers or herbs from your newly leveled beds, timing is the critical variable. Harvest in the early morning when turgor pressure is at its highest. This is the moment when the plant cells are fully hydrated. Use sharp bypass pruners to make clean cuts at a 45-degree angle to maximize surface area for water uptake.
To maintain "day-one" freshness, immediately plunge the stems into water cooled to 40 degrees Fahrenheit. This rapid cooling slows down the rate of senescence, the biological aging process of the plant. For woody stems, a vertical slit at the base of the stem can further increase hydraulic conductivity, ensuring the plant remains vibrant for a longer duration.
FAQ:
What is the best rake for final leveling?
A professional landscape rake with a wide, flat head is superior to a standard garden rake. The wide head allows for longer "screeding" strokes, which creates a more uniform plane across large surface areas.
How do I prevent soil compaction while raking?
Work only when the soil is at field capacity. If the soil sticks to your boots, it is too wet. Raking wet soil collapses the macro-pores, leading to anaerobic conditions that kill beneficial soil microbes.
Can I use a rake to remove thatch?
Yes, but a thatch rake with sharpened tines is required. Using a rake for yard design focuses on the substrate, while dethatching focuses on removing the layer of organic debris between the green vegetation and the soil surface.
How deep should I rake before planting?
Focus on the top two to four inches of soil. This is the "active zone" where most seed germination occurs and where the initial root architecture is established for both turf and ornamental species.