6 Steps to Build a Custom Backyard Garden Bridge
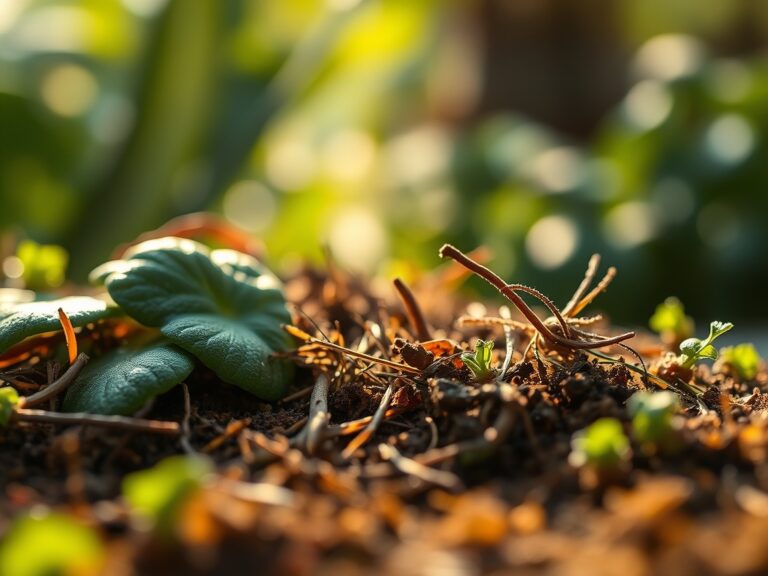
Damp earth releases a sharp, geosmin scent as the spade cuts through the rhizosphere. This tactile resistance indicates high organic matter and proper turgor pressure within the local flora. Integrating a structural element requires more than carpentry; it demands an understanding of the site's topography and drainage. Following specific steps for building a garden bridge ensures the structure survives the constant expansion and contraction of the surrounding soil without disrupting the delicate mycorrhizal networks below the surface.
Materials:

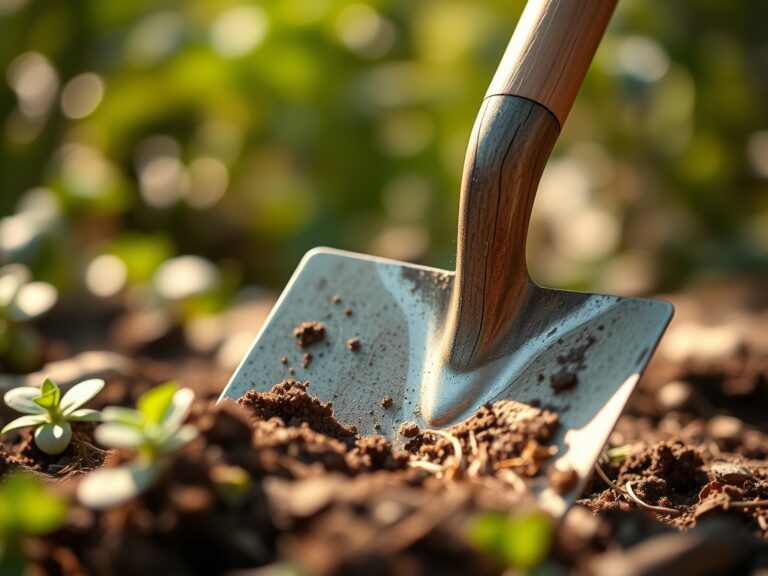
The foundation of any garden structure rests on the physical properties of the substrate. You must assess the soil texture; a **friable loam** with a **pH between 6.0 and 7.0** provides the necessary stability for footings while supporting peripheral plantings. If the bridge spans a bioswale or rain garden, the soil should have a high Cation Exchange Capacity (CEC) to manage nutrient runoff.
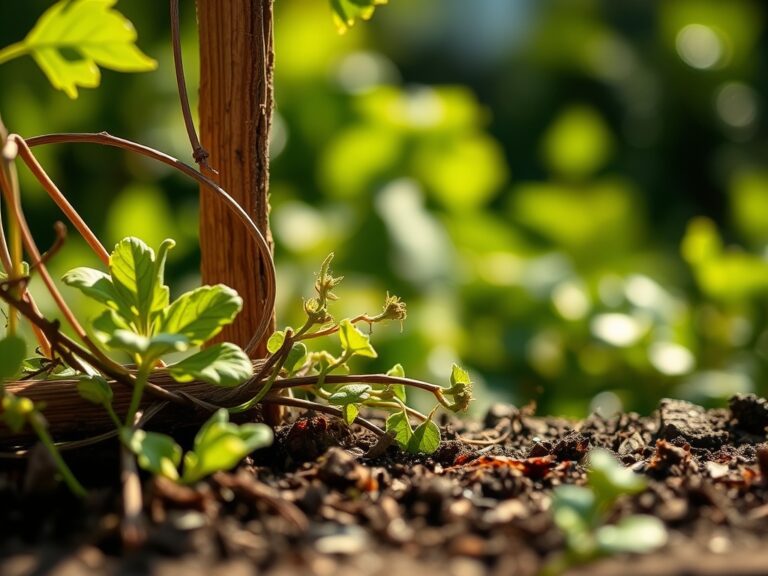
For the surrounding vegetation, maintain a balanced nutrient profile. Use a 10-10-10 NPK ratio for general establishment. If you are planting nitrogen-fixing groundcovers near the bridge abutments, shift to a 5-10-10 ratio to prioritize root development over excessive foliar growth. The structural lumber must be pressure-treated or naturally rot-resistant, such as cedar or redwood, to withstand the 100 percent humidity found at the soil-to-air interface.
Timing:
Construction and planting must align with your specific Hardiness Zone. In Zones 5 through 7, the ideal window for ground disturbance is early spring, immediately after the last frost date when soil temperatures reach a consistent 55 degrees Fahrenheit. This timing respects the biological clock of the landscape.
As plants transition from the vegetative stage to the reproductive stage, their root systems become more sensitive to compaction. Avoid heavy construction during the peak of the growing season when auxin production is at its highest and plants are actively extending their vascular systems. Early autumn is an alternative window, provided the structure is completed at least six weeks before the first hard freeze to allow the soil to settle and any disturbed perennial roots to enter dormancy without desiccation.
Phases:

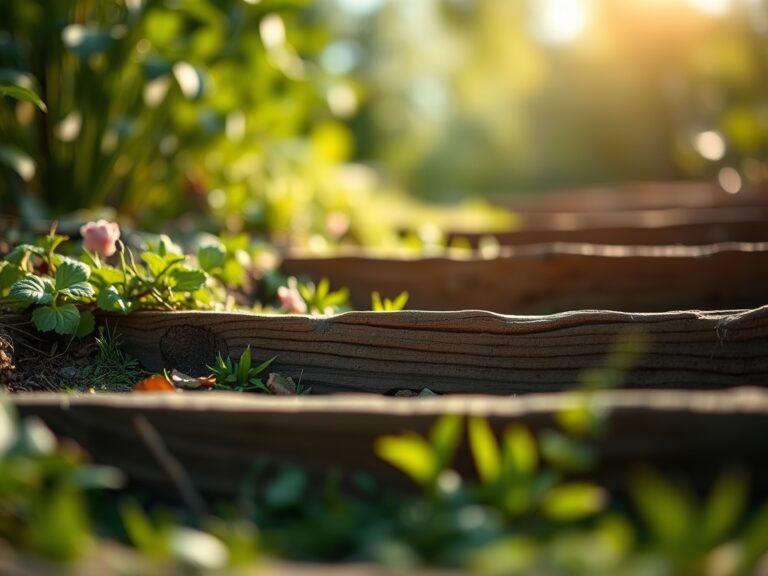
Sowing the Perimeter
Before the bridge is set, sow low-profile graminoids or clover around the planned abutments. This stabilizes the soil and prevents erosion during the build. Ensure seeds are in contact with the soil at a depth of 0.25 inches.
Pro-Tip: Utilize mycorrhizal inoculants during sowing. This symbiotic relationship between fungi and roots increases the surface area for water absorption, which is critical for plants recovering from the soil compaction caused by construction foot traffic.
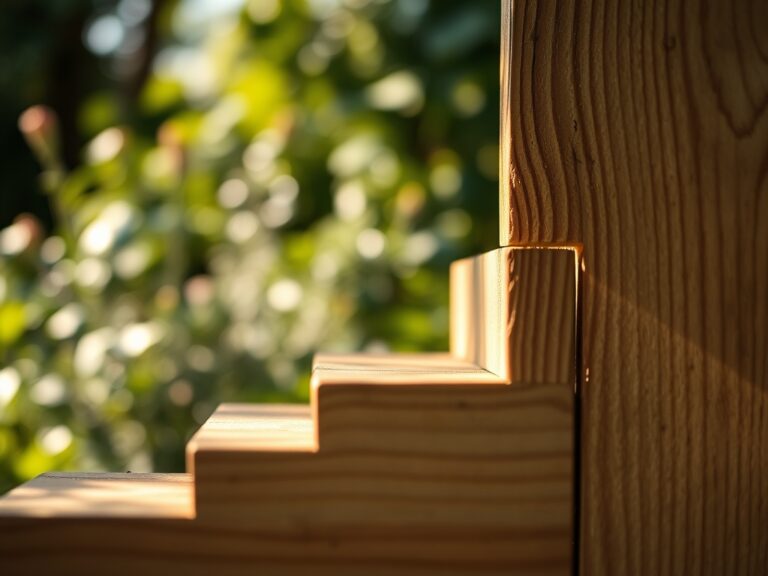
Transplanting and Anchoring
Install the primary support beams on concrete footings or gravel pads. When transplanting larger shrubs near the bridge ends, dig a hole twice as wide as the root ball but no deeper. This prevents the crown from settling below the soil line, which can lead to stem rot.
Pro-Tip: Orient your plants according to their natural phototropism. Align the "fuller" side of the plant toward the primary light source to reduce the energy the plant spends on reorienting its leaves toward the sun, thereby reducing transplant shock.
Establishing the Microclimate
Once the bridge is in place, it creates a localized rain shadow and a cooler, shaded zone underneath. Select shade-tolerant species for this area. Monitor the soil moisture regularly as the bridge deck may intercept up to 40 percent of natural rainfall.
Pro-Tip: Avoid pruning the terminal buds of nearby woody plants immediately after construction. This maintains apical dominance and suppresses lateral bud growth through auxin suppression, allowing the plant to focus its limited energy on root regeneration.
The Clinic:
Physiological disorders often manifest when the soil environment is altered by new structures.
Symptom: Interveinal chlorosis (yellowing leaves with green veins) on new growth.
Solution: This indicates a lack of iron availability, often caused by high pH levels near concrete footings. Apply a chelated iron supplement to the soil.
Symptom: Marginal leaf burn or necrosis.
Solution: This suggests salt accumulation or drought stress. Increase irrigation frequency to flush the root zone.
Symptom: Wilting despite moist soil.
Solution: Likely root rot (Phytophthora) caused by poor drainage under the bridge. Improve the grade to ensure water moves away from the structure.
Fix-It for Nitrogen Chlorosis: If older leaves turn uniformly pale yellow, the plant is scavenging nitrogen for new growth. Apply a quick-release high-nitrogen fertilizer (20-0-0) to restore chlorophyll density.
Maintenance:
Precision is the difference between a thriving landscape and a failing one. Provide 1.5 inches of water per week at the drip line of all plants surrounding the bridge. Do not spray the wooden deck directly; use a soaker hose to deliver water to the rhizosphere.
Use a soil moisture meter every three days during the first growing season to ensure the soil at a 6-inch depth remains consistently moist but not saturated. For pruning encroaching limbs, use bypass pruners for clean cuts that heal quickly. If you need to remove invasive weeds near the bridge footings, a hori-hori knife allows you to extract the entire taproot without disturbing the structural integrity of the soil.
The Yield:
If your bridge spans a kitchen garden or a cut-flower bed, harvest timing is critical for cellular turgidity. Harvest leafy greens and flowers at 0600 hours, before the sun triggers transpiration. This ensures the cells are at maximum turgor pressure.
For post-harvest handling, immediately submerge stems in 40-degree Fahrenheit water. This rapid cooling slows the process of senescence and maintains "day-one" freshness by reducing the metabolic rate of the harvested tissue. For woody stems, a 45-degree angled cut increases the surface area for xylem uptake.
FAQ:
What is the best wood for a garden bridge?
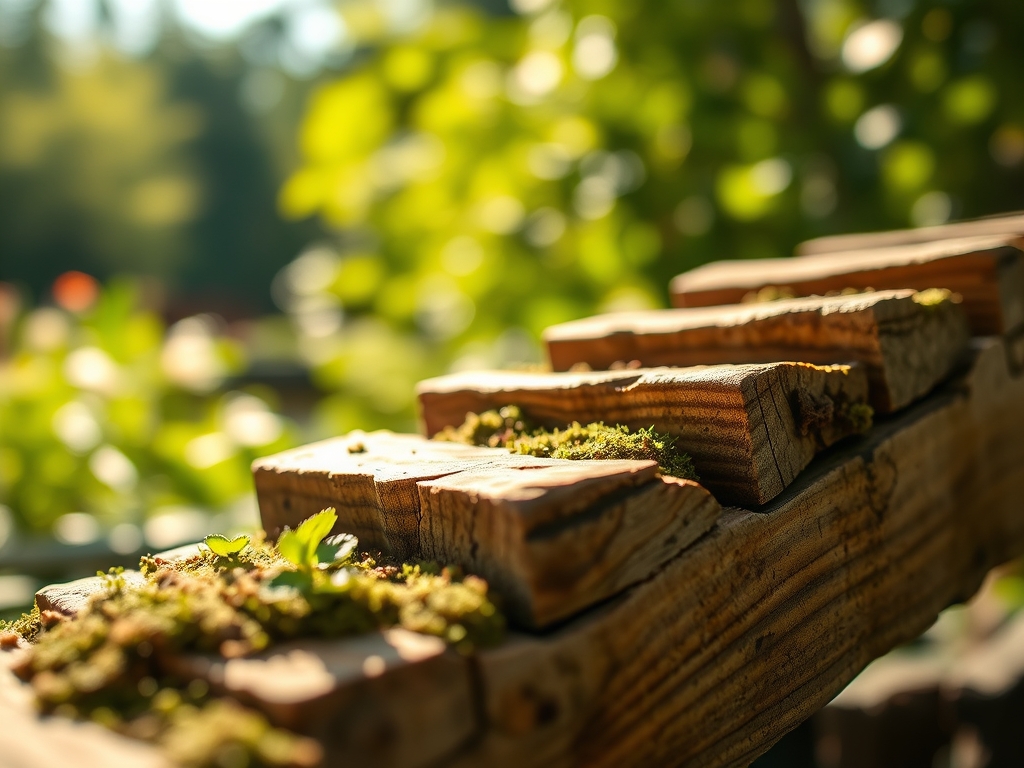
Select heartwood from Western Red Cedar or Redwood. These species contain natural tannins and oils that resist decay and insect predation. Pressure-treated lumber rated for ground contact is a viable, cost-effective alternative for structural joists.
How do I prevent the bridge from sinking?
Excavate to a depth of 8 inches and backfill with compacted crushed stone or pour concrete footings. This distributes the load and prevents the bridge from compressing the soil, which would suffocate the roots of nearby vegetation.
Can I build a bridge over a dry creek bed?
Yes. A dry creek bed manages stormwater runoff. Ensure the bridge clearance is at least 12 inches above the stones to allow for airflow. This prevents moisture from being trapped against the wood, which accelerates fungal decay.
How often should I seal the wood?
Apply a UV-resistant, penetrating oil sealer every 24 months. Check the moisture content of the wood with a meter; it must be below 15 percent before application to ensure the sealer penetrates the cellular structure effectively.