7 Recycling Steps to Prepare a DIY Self-Watering Planter
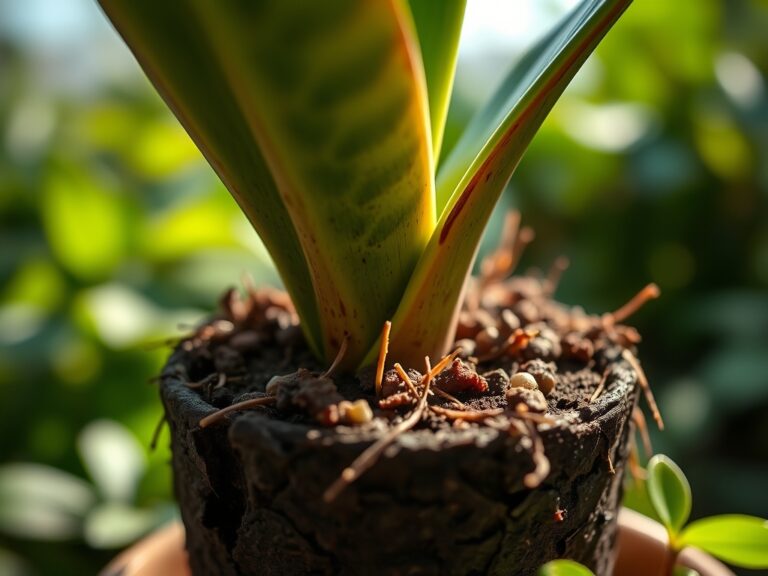
The smell of damp peat moss and the distinct, earthy aroma of geosmin signal a healthy rhizosphere. When you master how to prepare a DIY self-watering planter, you are engineering a closed-loop system that manages turgor pressure with surgical precision. A plant with high turgor pressure stands rigid because its vacuoles are engorged with water; a plant in a substandard pot suffers from wilting and cellular collapse. This guide provides the technical blueprint to build a sub-irrigation system that utilizes capillary action to maintain consistent moisture levels. By isolating the reservoir from the growing medium, you prevent the anaerobic conditions that lead to root rot while ensuring a steady supply of dissolved nutrients. Success in this endeavor requires an understanding of hydrostatic pressure and the physical properties of your substrate. We will transform discarded food-grade buckets or plastic totes into high-performance botanical engines. This process eliminates the feast-or-famine cycle of manual overhead watering and allows the plant to regulate its own hydration through the transpiration stream.
Materials:
The foundation of a self-watering system is the substrate. You cannot use standard garden soil because its high clay content leads to compaction and poor Cation Exchange Capacity (CEC) in a container environment. The ideal substrate is a friable loam consisting of 35% peat moss or coconut coir, 35% vermiculite, and 30% high-quality compost.
For the nutrient profile, aim for a balanced NPK ratio of 5-10-15 for fruiting plants or 10-10-10 for leafy greens. The soil pH must be calibrated between 6.2 and 6.8 to ensure maximum nutrient bioavailability. You will also need:
- Two 5-gallon food-grade buckets (HDPE 2 plastic).
- One 1-inch diameter PVC pipe cut to a length of 18 inches.
- A 32-ounce plastic yogurt container to serve as the wicking chamber.
- Perlite to increase aeration and prevent the medium from becoming waterlogged.
- Dolomitic lime (1 cup per 20 quarts of soil) to buffer pH and provide essential calcium and magnesium.
Timing:
Construction and planting must align with your local USDA Hardiness Zone requirements. In Zones 5 through 7, the ideal window for setting up these planters is 2 to 3 weeks after the last predicted frost date. This typically falls between late April and mid-May.
Understanding the biological clock of your specimen is vital. Most annuals transition from the vegetative stage (foliar growth) to the reproductive stage (flowering and fruiting) based on the photoperiod or thermal heat units (Growing Degree Days). For example, indeterminate tomatoes require a consistent soil temperature of at least 65 degrees Fahrenheit to avoid stunting. If you transplant into a self-watering container too early, the cold water in the reservoir acts as a heat sink; this chills the root zone and induces physiological dormancy or "purple leaf" syndrome due to phosphorus lockout.
Phases:
Sowing and Preparation
Drill a 0.5-inch overflow hole in the outer bucket, exactly 4 inches from the bottom. This establishes the maximum water line. In the inner bucket, drill dozens of 0.125-inch aeration holes in the floor and sides. Cut a hole in the floor of the inner bucket to fit your wicking chamber. Pack the wicking chamber tightly with moist potting mix.
Pro-Tip: Proper packing of the wicking chamber is essential for capillary action. If the medium is too loose, the surface tension of the water will not be enough to pull the liquid upward into the primary root zone; this ensures the rhizosphere remains hydrated without total saturation.
Transplanting
Fill the inner bucket with your prepared substrate. When placing your seedling, dig a hole twice the width of the root ball. If transplanting solanaceous crops like peppers, bury the stem up to the first set of true leaves to encourage adventitious root growth.
Pro-Tip: Apply a handful of mycorrhizal inoculant directly to the roots during this phase. This creates a mycorrhizal symbiosis where fungal hyphae extend the reach of the root system; this increases the plant's ability to uptake phosphorus and micronutrients by up to 200 percent.
Establishing
For the first 10 to 14 days, water the plant from the top. This allows the roots to grow downward toward the moisture gradient. Once the roots reach the lower third of the container, switch to filling the reservoir via the PVC pipe.
Pro-Tip: This initial top-watering period prevents auxin suppression. If the bottom of the pot is wet but the top is dry, the plant may prioritize downward root growth at the expense of terminal bud development; maintaining uniform moisture early on balances hormonal distribution.
The Clinic:
Physiological disorders in self-watering systems often stem from mineral imbalances or gas exchange issues.
-
Symptom: Blossom End Rot (BER). This appears as a necrotic, sunken spot on the bottom of fruit.
-
Solution: This is a calcium transport issue, not necessarily a calcium deficiency. Maintain consistent moisture levels in the reservoir to ensure a steady transpiration stream. Add 2 tablespoons of gypsum to the top layer of soil.
-
Symptom: Interveinal Chlorosis. The leaves turn yellow while the veins remain green.
-
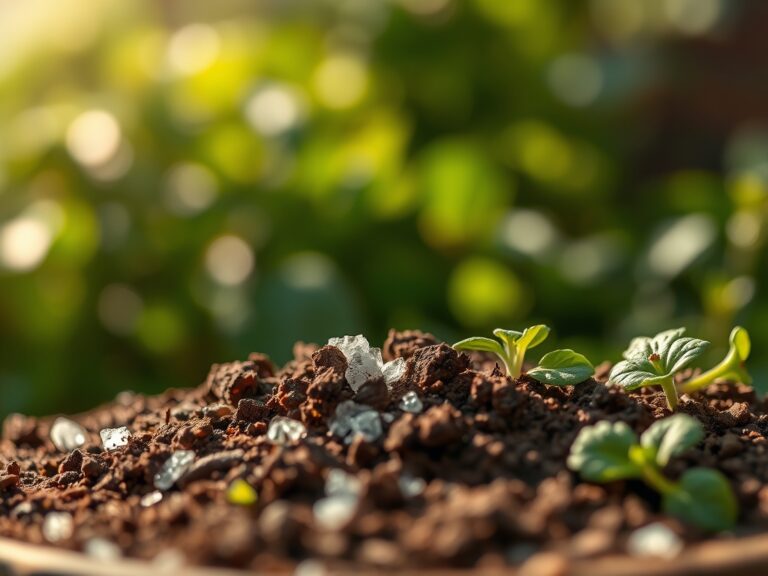
Solution: This indicates a Magnesium deficiency or high pH. Apply a foliar spray of 1 tablespoon Epsom salts per gallon of water to bypass root uptake issues.
-
Symptom: Nitrogen Chlorosis. The entire plant turns a pale lime green, starting with the oldest leaves.
-
Fix-It: The plant is scavenging nitrogen for new growth. Top-dress with blood meal (12-0-0) or a water-soluble high-nitrogen fertilizer to restore protein synthesis.
Maintenance:
Precision is the hallmark of a master gardener. Use a soil moisture meter twice weekly to verify that the middle of the container remains in the "Moist" range (4-7 on a standard scale). While the reservoir automates much of the work, you must monitor the electrical conductivity (EC) of the water. Over time, salts from fertilizers can build up in the substrate.
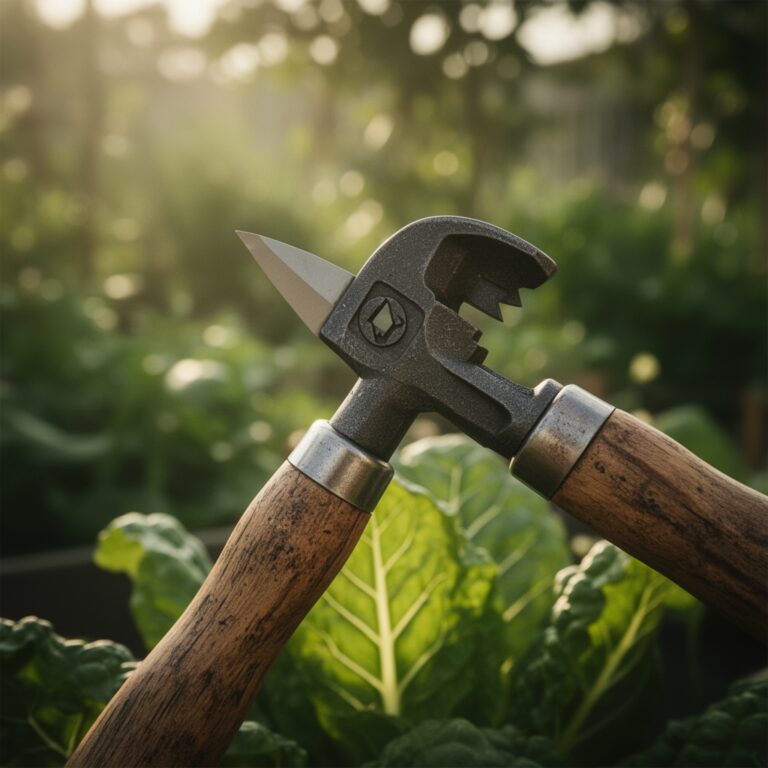
Once a month, flush the system by pouring 3 gallons of distilled water through the top of the soil until it exits the overflow hole. Use a hori-hori knife to remove any invasive weeds that compete for nutrients. Prune suckers on tomatoes using bypass pruners to improve airflow and reduce the risk of fungal pathogens like Alternaria solani. Ensure the reservoir is never empty; for a mature tomato plant in mid-summer, this may require adding 2 liters of water daily.
The Yield:
Harvesting is the culmination of chemical energy storage. For maximum flavor and nutrient density, harvest vegetables in the early morning when turgor pressure is at its peak. This is when the plant cells are most hydrated, resulting in a crisp texture.
Use a sharp blade to sever the pedicel; never pull the fruit, as this causes mechanical stress to the vascular tissue. For leafy greens, use the "cut and come again" method, leaving the basal meristem intact to allow for secondary growth. Post-harvest, immediately submerge the produce in 40-degree Fahrenheit water to remove field heat and slow the rate of senescence. This preservation of cellular integrity ensures "day-one" freshness for up to a week in cold storage.
FAQ:
How often do I fill the reservoir?
Fill the reservoir when the water level drops below the PVC pipe's reach. In peak summer, check daily. Most 5-gallon systems require 1 to 2 gallons every three days depending on the plant's leaf surface area.
Can I use regular garden soil?
No. Garden soil contains silt and clay that compacts in containers. This eliminates air pores and causes root suffocation. Use a soilless peat or coir-based mix to ensure proper aeration and capillary wicking.
Why is my plant wilting if the reservoir is full?
This indicates root rot or a "perched water table." If the wicking chamber is too large, the soil becomes anaerobic. Ensure your overflow hole is clear to prevent the soil from sitting in standing water.
Do I need to fertilize differently?
Yes. Use slow-release granular fertilizer in a concentrated strip at the top of the planter. As the water wicks upward and you occasionally top-water, the nutrients migrate slowly into the rhizosphere without burning the roots.