8 Steps to Prepare Your Yard for a New Garden Wall
The smell of damp, anaerobic mud often signals a failure in drainage before a single stone is laid. Successful masonry begins with the rhizosphere, where the structural integrity of the soil meets the biological needs of the surrounding flora. Learning how to prepare a garden for a wall requires more than a shovel; it demands an understanding of soil compaction, hydrostatic pressure, and the Cation Exchange Capacity (CEC) of the substrate that will support the heavy load of the vertical structure.
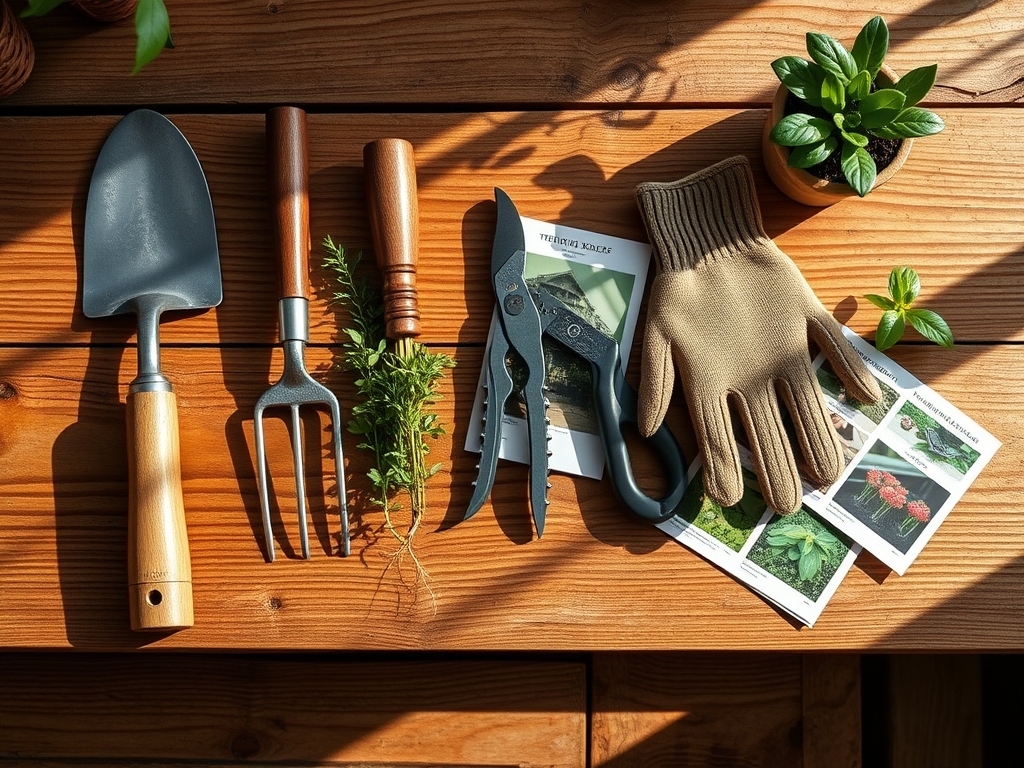
Materials:
The ideal substrate for backfilling a garden wall is a friable loam consisting of 40 percent sand, 40 percent silt, and 20 percent clay. This balance ensures high turgor pressure in nearby plants while allowing excess water to migrate toward drainage pipes. Before construction, test the soil pH; most ornamental shrubs and perennials flanking a wall thrive at a pH of 6.2 to 6.8.
For nutrient management, integrate a slow-release granular fertilizer with an NPK ratio of 5-10-10 into the lower layers of the planting bed. The higher phosphorus and potassium content supports robust root development and cellular strength, which is vital when plants are subjected to the radiant heat of a stone or concrete wall. Avoid high-nitrogen blends (such as 20-10-10) during the preparation phase, as excessive vegetative growth can lead to weak cell walls and increased susceptibility to environmental stress.
Timing:
Construction and planting should align with the Biological Clock of your specific Hardiness Zone. In Zones 5 through 7, the window for site preparation opens when the soil temperature consistently reaches 45 degrees Fahrenheit (7.2 Celsius). This usually occurs 2 to 3 weeks after the final spring frost. At this stage, plants transition from dormancy to the vegetative phase, where auxin production at the shoot tips stimulates new root growth.
In warmer regions like Zones 8 through 10, site preparation is best conducted in late autumn. This timing allows the soil to settle over the winter and permits the establishment of mycorrhizal networks before the high-evapotranspiration demands of summer. Monitor the photoperiod; as days shorten, plants shift energy from foliage production to root sequestration, making it the safest time to disturb the earth near existing root systems.
Phases:

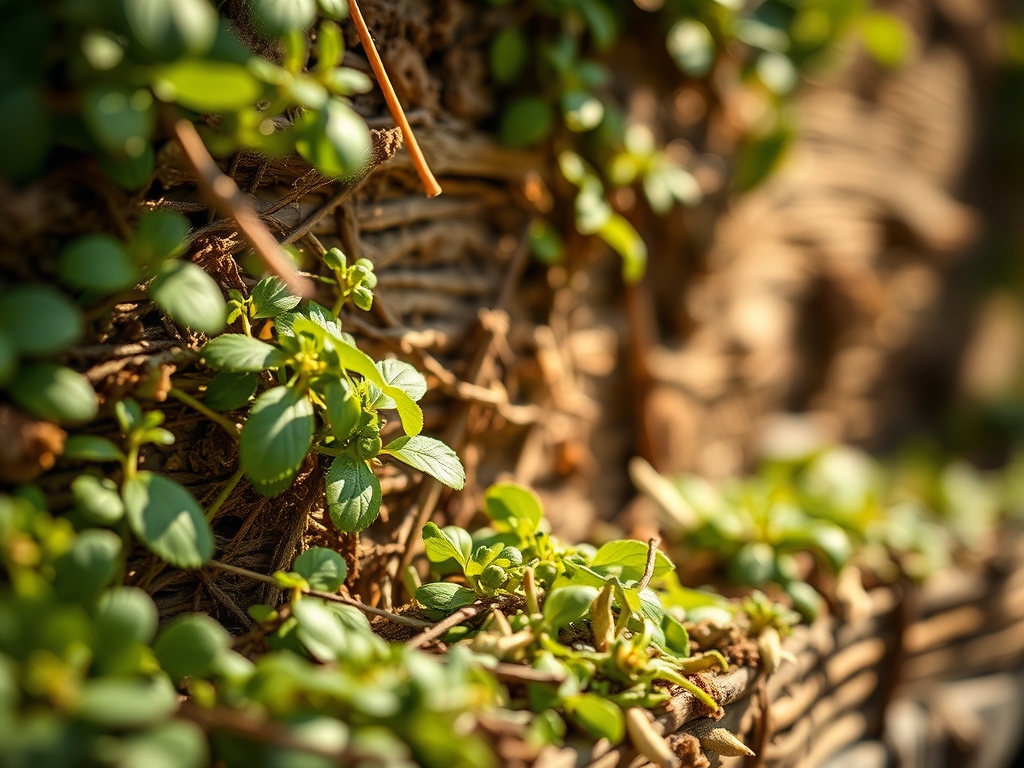
Sowing and Site Clearing
Clear the footprint of the wall by removing all organic matter, including turf and weeds. Dig a trench 6 to 12 inches deep, depending on the wall height, to reach the subsoil. The subsoil has a lower organic content and higher load-bearing capacity than topsoil.
Pro-Tip: When removing sod, use a sharp spade to cut clean edges. This prevents rhizomatous spread of invasive grasses into the new wall base. The biological why: Damaging the crown of the grass halts apical dominance, preventing the plant from redirecting energy to lateral buds that would otherwise colonize the gravel base.
Transplanting and Root Management
If existing specimens must be moved, ensure the root ball is at least 12 inches in diameter for every inch of trunk caliper. Use a hori-hori knife to cleanly sever roots rather than tearing them. Tearing creates jagged wounds that are entry points for pathogens.
Pro-Tip: Dip exposed roots in a mycorrhizal inoculant solution. The biological why: This fungus forms a symbiotic relationship with the plant, effectively increasing the root surface area for water absorption through a network of hyphae, which is critical when the wall alters the local water table.
Establishing the Base and Drainage
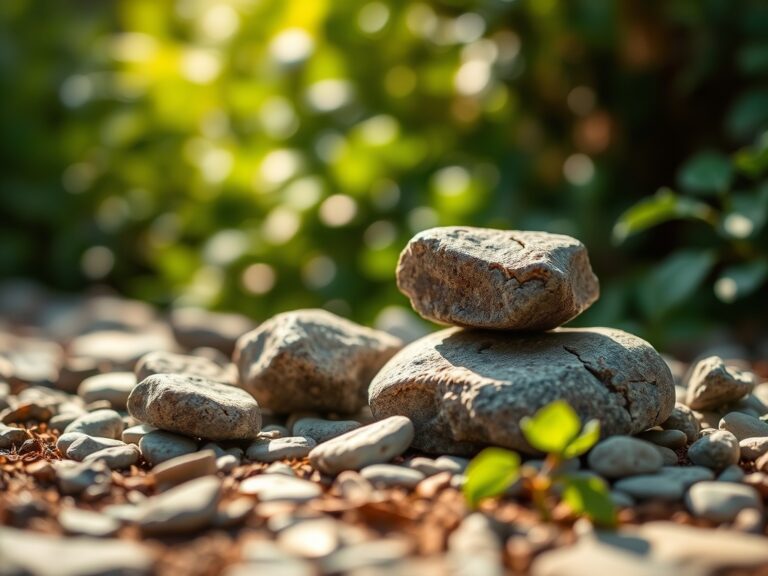
Install a 4-inch perforated drain pipe (weep holes) at the base of the wall, sloped at a 2 percent grade. Cover this with 3/4-inch crushed angular stone. Avoid rounded river rock; angular stone locks together to provide superior structural stability and higher pore space for air and water movement.
Pro-Tip: Backfill the area immediately behind the wall with gravel before adding soil. The biological why: This prevents hydrostatic pressure from building up. Excessive water saturation leads to root senescence due to a lack of oxygen in the soil pores, causing the plant to effectively drown.
The Clinic:
Physiological disorders often manifest shortly after the soil is disturbed or the wall is completed.
-
Symptom: Interveinal chlorosis (yellowing leaves with green veins) on new growth.
-
Solution: This indicates Iron deficiency, often caused by a localized rise in pH from leaching concrete or mortar.
-
Fix-It: Apply chelated iron or elemental sulfur to lower the pH to the 6.5 range.
-
Symptom: Marginal leaf burn or scorching.
-
Solution: This is typically Potassium deficiency or salt accumulation.
-
Fix-It: Flush the soil with 2 inches of water to leach salts and apply a 0-0-50 sulfate of potash supplement.
-
Symptom: Stunted growth and pale green foliage across the entire leaf.
-
Solution: Nitrogen chlorosis resulting from high carbon-to-nitrogen ratios if wood mulch was mixed into the soil.
-
Fix-It: Top-dress with blood meal or a high-nitrogen organic fertilizer to restore the balance.
Maintenance:
Post-construction care requires precision. Use a soil moisture meter to check the hydration levels at a depth of 6 inches. A new garden wall often creates a "rain shadow," preventing natural precipitation from reaching the base. Provide 1.5 inches of water per week delivered at the drip line via a soaker hose to ensure deep infiltration.
Prune any overhanging branches using bypass pruners to maintain a 6-inch gap between foliage and the wall surface. This gap facilitates airflow, reducing the humidity that encourages fungal pathogens. Every spring, inspect the Cation Exchange Capacity by performing a professional soil test; aim for a CEC above 10, which indicates the soil can effectively hold onto essential nutrients like calcium and magnesium.
The Yield:
For those planting trailing herbs or edible flowers along the wall, harvest timing is critical for chemical potency. Harvest leafy herbs like rosemary or thyme in the early morning after the dew has evaporated but before the sun reaches its zenith. This is when the essential oil concentration is at its peak.
Use sharp shears to cut just above a node to encourage lateral branching. For "day-one" freshness, immediately place the stems in a bucket of cool water to maintain turgor pressure. If harvesting stone-crop or succulents for the wall face, allow the cuttings to "callous" for 48 hours in a shaded area before replanting to prevent stem rot.
FAQ:
How deep should the foundation trench be?
For most garden walls under 3 feet, dig a trench 12 inches deep. Fill the first 6 inches with compacted crushed stone. This depth ensures the wall sits below the frost line in many regions, preventing structural heaving.
Can I use regular garden soil behind the wall?
No. Standard soil retains too much moisture, increasing hydrostatic pressure. Use a mix of 60 percent crushed stone and 40 percent coarse sand for the first 12 inches behind the wall to ensure rapid drainage and structural longevity.
Why are my plants wilting next to a new stone wall?
Stone and concrete have high thermal mass, absorbing heat during the day and radiating it at night. This increases the transpiration rate. Increase irrigation frequency and use organic mulch to insulate the root zone from temperature spikes.
How do I prevent weeds from growing through the wall?
Install a heavy-duty geotextile fabric between the soil and the stone backfill. This barrier prevents fine soil particles from clogging the drainage gravel while blocking weed seeds from reaching the nutrient-rich substrate behind the masonry.