6 Steps to Prepare a Secure Yard Garden Statue Foundation
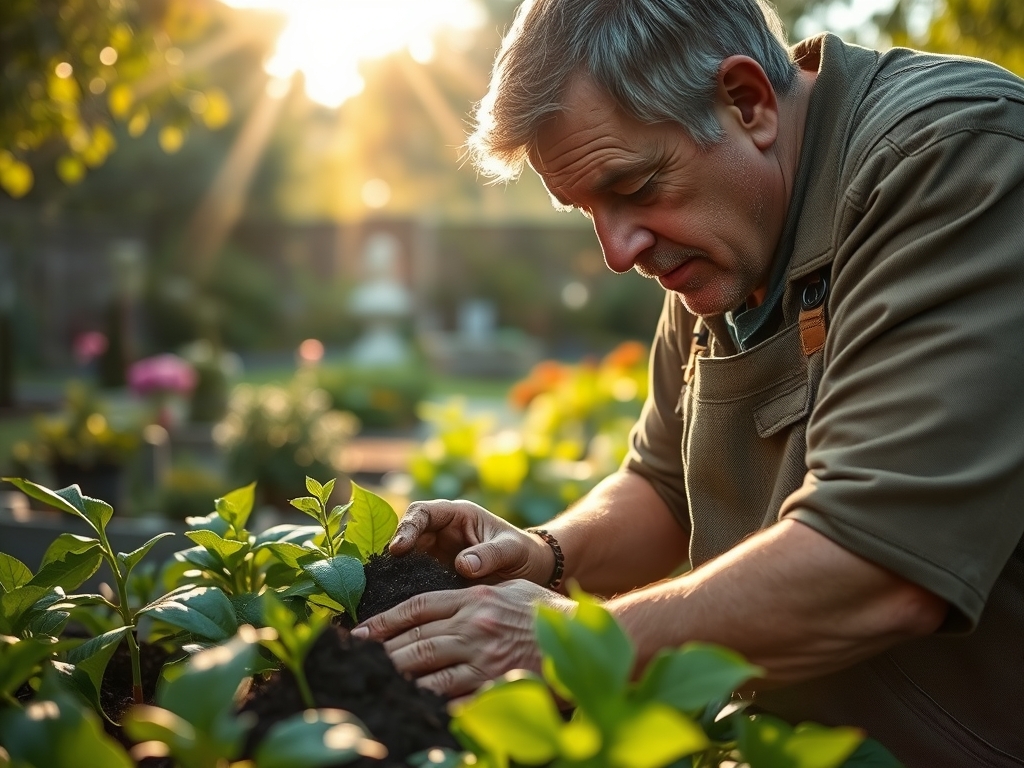
The scent of anaerobic decomposition and damp silt signals a soil profile ready for structural intervention. Successful horticulture requires more than plant health; it demands an understanding of the mechanical load-bearing capacity of the earth. When learning how to prepare a site for a garden statue, one must treat the ground as a structural engineering substrate. A heavy stone or cast iron figure exerts significant downward pressure that can compress the rhizosphere, crushing the delicate fungal networks necessary for nutrient transport. Proper site preparation ensures the statue remains level while preventing soil compaction that leads to localized root senescence in surrounding flora.
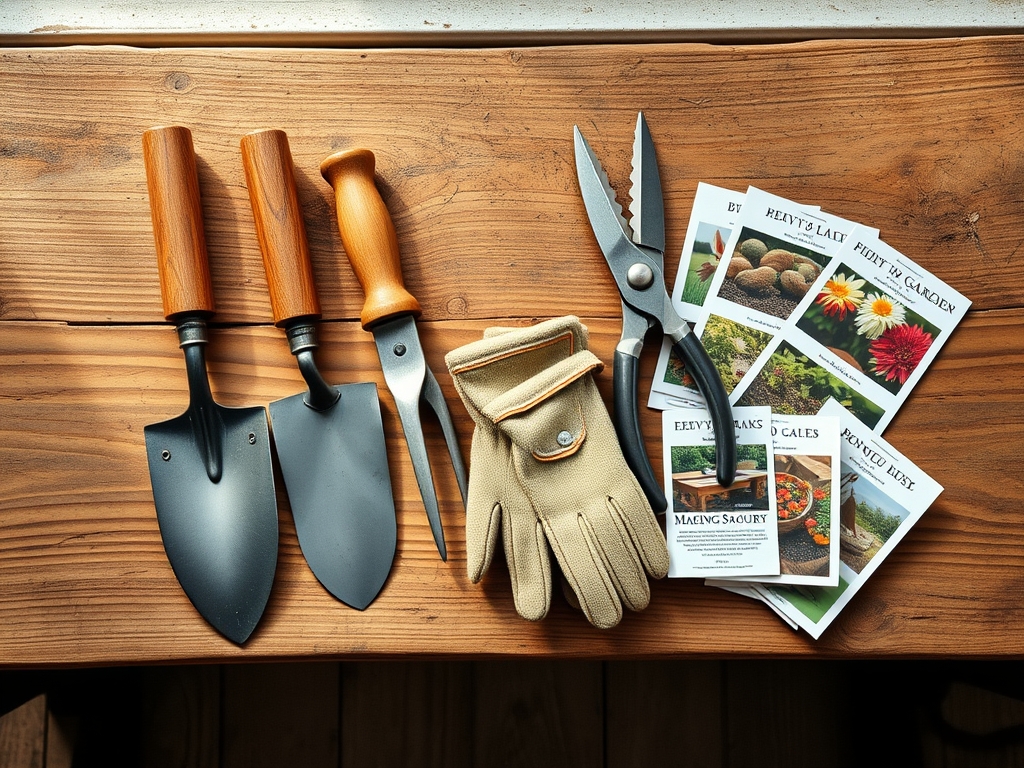
Materials:
The foundation requires a substrate that facilitates drainage while maintaining structural integrity. Aim for a **friable loam** with a **Cation Exchange Capacity (CEC) between 15 and 25**. This range ensures that the surrounding soil can hold essential cations like calcium and magnesium without becoming a waterlogged clay trap.
For the immediate perimeter, maintain a soil pH of 6.2 to 6.8. This acidity level is optimal for the microbial activity that stabilizes soil structure. If the site is near heavy feeders, incorporate a slow-release fertilizer with an NPK ratio of 5-10-10. The lower nitrogen content prevents excessive vegetative surge, which could obscure the statue, while the higher phosphorus and potassium levels support root tensile strength and cellular turgor pressure in the nearby landscape. You will need crushed limestone (grade 2B), a leveling tool, and a hand tamper capable of applying 50 pounds of pressure per square inch.
Timing:
Installation must coincide with specific environmental windows to avoid soil "heaving." In Hardiness Zones 4 through 7, the ideal window is late spring, at least 21 days after the final frost. This ensures the soil has transitioned out of the freeze-thaw cycle which disrupts the Biological Clock of the soil microbiome.
Wait for the soil to reach a consistent temperature of 55 degrees Fahrenheit at a depth of four inches. Attempting to prepare a site in waterlogged, early-spring soil leads to permanent compaction and "plating" of the soil structure. This destroys the macropores required for oxygen exchange. Monitor the photoperiod; as days lengthen, the increase in solar radiation helps dry the surface layer, allowing for a more stable compaction of the base materials.
Phases:
Sowing the Foundation
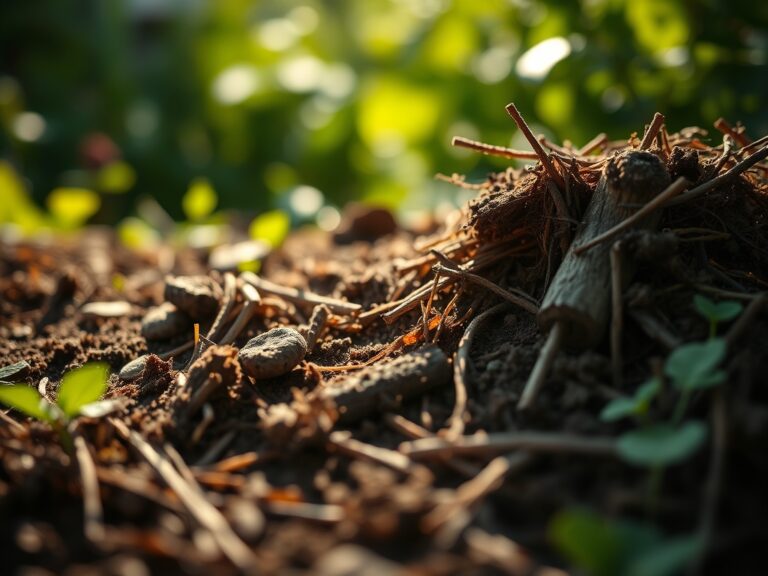
Excavate the site to a depth of 8 inches, removing all organic debris and "soft" topsoil. The goal is to reach the subsoil layer where organic matter is lower and mineral density is higher. Line the cavity with a permeable geotextile fabric to prevent the migration of fines into your drainage layer.
Pro-Tip: Utilize a thin layer of sharp sand to bridge the gap between the fabric and the stone. This facilitates capillary action, ensuring that excess moisture is drawn away from the statue base to prevent moss colonization and frost cracking.
Transplanting the Support
Fill the excavation with 6 inches of compacted aggregate. Level the surface using a spirit level, ensuring a 1 percent slope away from the center to prevent water pooling. If you are placing the statue within a planted bed, ensure the foundation does not sever major lateral roots of nearby woody perennials.
Pro-Tip: When working near existing plants, avoid cutting roots larger than 1 inch in diameter. This prevents the suppression of auxins, the hormones responsible for root elongation. Severing these leads to a hormonal imbalance that can cause dieback in the upper canopy.
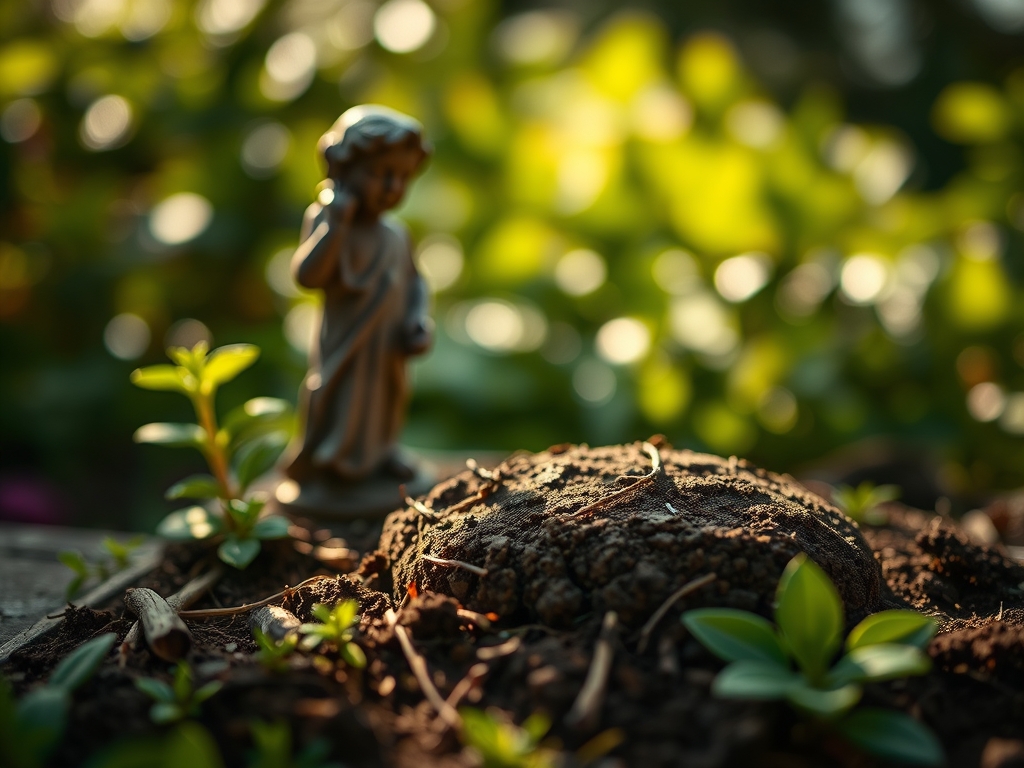
Establishing the Perimeter
Once the statue is set, backfill the edges with a mixture of 70 percent mineral soil and 30 percent organic compost. This creates a transition zone that encourages mycorrhizal symbiosis. The fungi will bridge the gap between the disturbed site and the undisturbed garden soil, restoring the nutrient transport network.
Pro-Tip: Apply a 2-inch layer of hardwood mulch around the base. This regulates soil temperature and prevents "splash back" of soil microbes onto the statue surface, which can lead to biological staining and structural degradation over time.
The Clinic:
Statue placement often causes physiological shifts in the surrounding micro-environment. Monitor for these specific disorders:
- Symptom: Yellowing of leaves with green veins (Interveinal Chlorosis).
Solution: This indicates a micronutrient deficiency, often iron or manganese, caused by high alkalinity from concrete statue bases. Test pH; if it exceeds 7.5, apply sulfur pellets to lower the alkalinity. - Symptom: Rapid wilting despite moist soil.
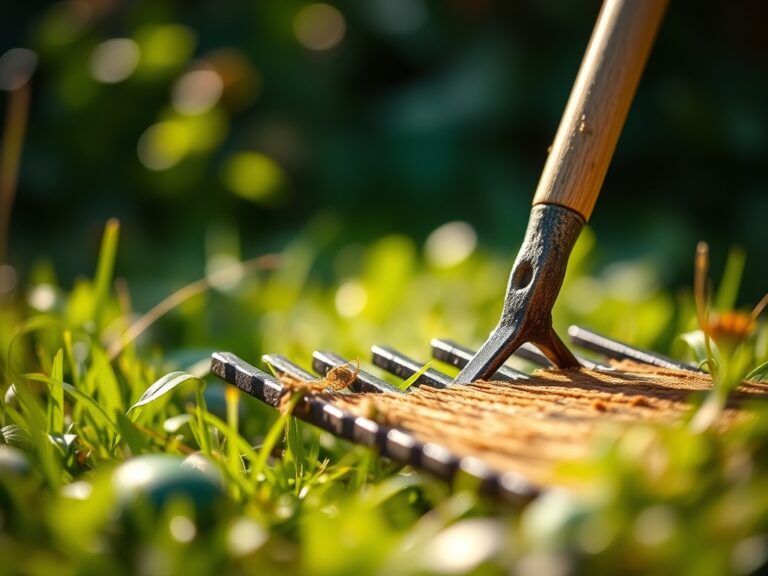
Solution: Likely root suffocation due to over-compaction during the installation process. Use a broadfork to aerate the soil 12 inches away from the statue base to restore gas exchange. - Symptom: Stunted growth and "purpling" of foliage.
Solution: Phosphorus deficiency. The cold soil under a heavy statue base can limit phosphorus mobility. Apply a liquid seaweed extract to provide immediate bioavailable nutrients.
Fix-It for Nitrogen Chlorosis: If surrounding plants show uniform pale green or yellow leaves, the high carbon content of mulch may be "locking up" nitrogen. Supplement with a blood meal or a high-nitrogen liquid feed at a rate of 1 pound of actual nitrogen per 1,000 square feet.
Maintenance:
A secure statue site requires ongoing hydrological management. Ensure the surrounding plants receive 1.5 inches of water per week, delivered directly to the drip line rather than the statue itself. Use a soil moisture meter to verify that the area under the statue remains dry while the surrounding root zones maintain a moisture level of 40 to 60 percent.
Twice a year, use a hori-hori knife to check for "root circling" around the foundation. If roots are beginning to girdle the base, prune them cleanly with bypass pruners to prevent the statue from tilting as the roots thicken. Check the level of the statue every autumn; if the ground has settled, shim the base with lead spacers rather than organic material which will rot and cause further instability.
The Yield:
While a statue does not produce a caloric yield, it influences the "yield" of the surrounding ecosystem by acting as a heat sink. During the day, stone and concrete absorb thermal energy; at night, they release it. This creates a micro-climate that can extend the blooming period of nearby flowers by 7 to 10 days.
For flowers harvested near the statue, cut them in the early morning when turgor pressure is at its peak. Submerge the stems immediately in 110 degree Fahrenheit water to remove air bubbles from the xylem. This technique ensures "day-one" freshness and prevents premature wilting caused by the localized heat radiation from the statue base.
FAQ:
How deep should I dig the foundation?
Excavate at least 8 to 12 inches. This depth allows for a 6-inch compacted aggregate base and a 2-inch leveling layer, ensuring the foundation sits below the organic layer to prevent shifting during soil decomposition.
Can I put a statue directly on the grass?
No. Direct placement causes soil compaction and traps moisture, leading to fungal growth and statue instability. Always remove sod and create a draining base of crushed stone or gravel to protect the statue and the soil.
What is the best stone for a statue base?
Use compactible gravel or crushed limestone. These materials provide high friction and excellent drainage. Avoid smooth river stones, as they shift under weight and do not provide the necessary load-bearing stability for heavy garden ornaments.
How do I prevent the statue from sinking in clay soil?
Increase the surface area of the foundation. Use a reinforced concrete paver wider than the statue base itself. This distributes the weight across more soil peds, reducing the pressure exerted on the heavy clay substrate.