7 Steps to Prepare a Level Yard Garden Shed Site
The smell of damp, anaerobic clay indicates a site with poor drainage that will inevitably lead to structural rot. To ensure the longevity of your outbuilding, you must understand the soil mechanics beneath the turf. Learning how to prepare a site for a garden shed requires more than a shovel; it demands an assessment of soil compaction and hydrostatic pressure. A level site prevents the racking of the frame, ensuring doors remain plumb and the roof shedding water correctly. Proper preparation begins with clearing the rhizosphere and establishing a stable, inorganic base that resists frost heave.
Materials:
Before disturbing the earth, analyze your soil composition. An ideal substrate for a shed perimeter is a **friable loam** with a pH between **6.0 and 7.0**. While you are not growing crops directly under the shed, the surrounding vegetation requires specific nutrients to prevent erosion around the pad. Maintain an NPK ratio of **10-10-10** for perimeter grass to ensure strong root anchorage.
You will need 3/4-inch crushed angular stone for the base. Unlike rounded river rock, angular stone locks together to increase the Cation Exchange Capacity (CEC) of the drainage layer, preventing shifting. For the sub-base, use a geotextile fabric with a flow rate of 100 gallons per minute per square foot to separate the native soil from your structural gravel.
Timing:
The window for site preparation is dictated by the Hardiness Zone and the frost line. In Zones 4 through 6, ground excavation must occur after the spring thaw but before the summer solstice to allow the soil to settle. Attempting to level a site when the ground is frozen leads to "frost heave," where ice lenses expand and displace the foundation.
Monitor the Biological Clock of the local flora. If you are clearing brush, do so during the senescence phase in late autumn or the dormant winter period. This prevents the stimulation of aggressive regrowth triggered by auxin redistribution when plants are in their active vegetative stage. Aim for a soil temperature of at least 55 degrees Fahrenheit to ensure any restorative seeding around the site can achieve rapid germination.
Phases:

Sowing the Perimeter
Once the site is excavated to a depth of 6 inches, the surrounding disturbed soil is vulnerable. Sow a high-fescue mix at a rate of 5 pounds per 1,000 square feet. This provides immediate ground cover to prevent siltation of your new gravel pad.
Pro-Tip: Utilize mycorrhizal fungi inoculants when seeding. This symbiotic relationship extends the root reach, allowing the grass to stabilize the shed's "splash zone" by increasing the soil's structural integrity.
Transplanting and Clearing
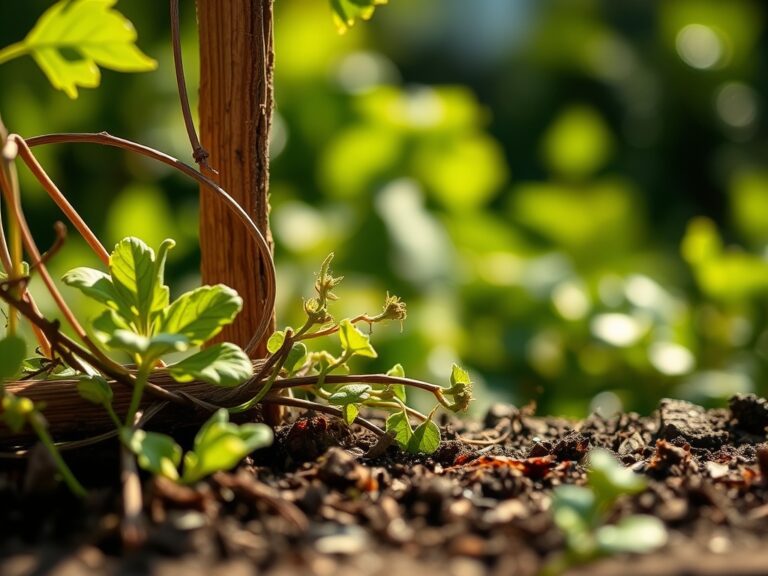
Remove all woody perennials within a 3-foot radius of the shed footprint. Use a hori-hori knife to ensure you remove the entire taproot. If you are relocating prized specimens, keep the root ball intact to maintain turgor pressure and prevent transplant shock.
Pro-Tip: When pruning back overhanging limbs to clear the site, always cut just outside the branch collar. This respects the plant's natural compartmentalization of decay, preventing pathogens from entering the main trunk.
Establishing the Base
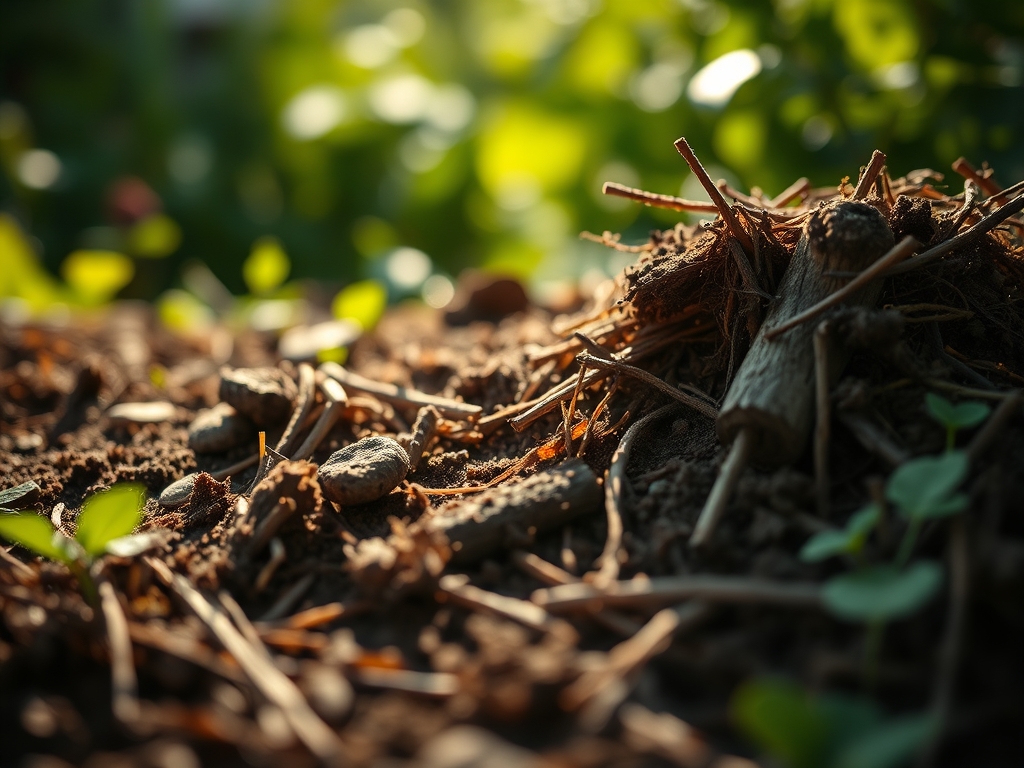
Fill the excavated area with 4 inches of compacted crushed stone. Use a plate compactor to ensure the site is level within 1/8 inch across a 10-foot span. This inorganic layer breaks the capillary action of groundwater, keeping the shed floor dry.
Pro-Tip: Ensure the site has a 1 percent slope away from the center. This utilizes gravity to prevent water accumulation, which would otherwise lead to fungal colonization and wood rot in the shed's floor joists.
The Clinic:
Physiological disorders in the surrounding landscape often signal site issues.
- Symptom: Leaf wilting despite wet soil. Solution: This indicates root rot from poor drainage. Increase the depth of your gravel "curtain drain" around the shed.
- Symptom: Yellowing between leaf veins (Interveinal Chlorosis). Solution: This is a Magnesium deficiency. Apply Epsom salts (Magnesium Sulfate) to the soil at a rate of 1 tablespoon per foot of plant height.
- Symptom: Stunted growth and purple-tinted leaves. Solution: This indicates Phosphorus deficiency, common in compacted soils. Aerate the soil with a garden fork and top-dress with bone meal.
Fix-It for Nitrogen Chlorosis: If perimeter grass turns pale green or yellow, apply a high-nitrogen fertilizer (NPK 20-0-0). This restores chlorophyll production and ensures the "green armor" protecting your shed site remains thick.
Maintenance:
Post-installation maintenance requires precision. Use a soil moisture meter to ensure the perimeter plants receive exactly 1.5 inches of water per week. Water should be applied at the drip line of the plants, not against the shed walls, to prevent moisture wicking into the lumber.
Keep a pair of bypass pruners sharp to maintain a 12-inch air gap between any foliage and the shed siding. This prevents "micro-climates" of high humidity that encourage mold. Inspect the gravel base annually; if you see "fines" (silt) clogging the stones, raking the top 2 inches will restore the drainage capacity.
The Yield:
While a shed site does not produce a caloric yield, the "yield" here is the structural lifespan of the building. A properly prepared site can extend the life of a wooden shed by 15 to 20 years. By managing the hydrology and soil biology of the site, you create a stable platform that resists the natural cycles of expansion and contraction.
FAQ:
How deep should I dig for a shed base?
Excavate to a depth of 4 to 6 inches. This allows for a geotextile fabric barrier and enough crushed stone to provide structural stability and adequate drainage away from the wooden floor joists.
What is the best material for a shed level?
Use 3/4-inch angular crushed stone. Unlike pea gravel, angular stone fragments lock together under pressure to create a stable, non-shifting surface that facilitates rapid water percolation and prevents frost heave.
Can I build a shed on top of grass?
No. Grass will decay, creating an unstable, organic layer that traps moisture. This leads to anaerobic decomposition, which produces gases and acids that accelerate the rotting of the shed's wooden foundation.
How do I stop weeds from growing under my shed?
Install a heavy-duty non-woven geotextile fabric before adding your gravel. This creates a physical barrier that prevents weed seeds in the soil from reaching sunlight while still allowing water to drain through the substrate.