9 Vertical Steps to Prepare a DIY Plant Ladder for Greenery
Turgor pressure dictates the structural integrity of a plant; it is the force of water against the cell wall that keeps a stem upright. When you understand the physics of cellular hydration, you realize that vertical gardening is not just about aesthetics but about optimizing the gravitational pull on water transport. Learning how to prepare a DIY plant ladder allows you to manipulate light exposure and air circulation in ways a flat garden cannot. Success begins with the scent of damp, well-aerated humus and the tactile resistance of a healthy root ball. This guide provides the technical framework to construct a vertical system that maximizes photosynthesis while maintaining the delicate balance of the rhizosphere.
Materials:
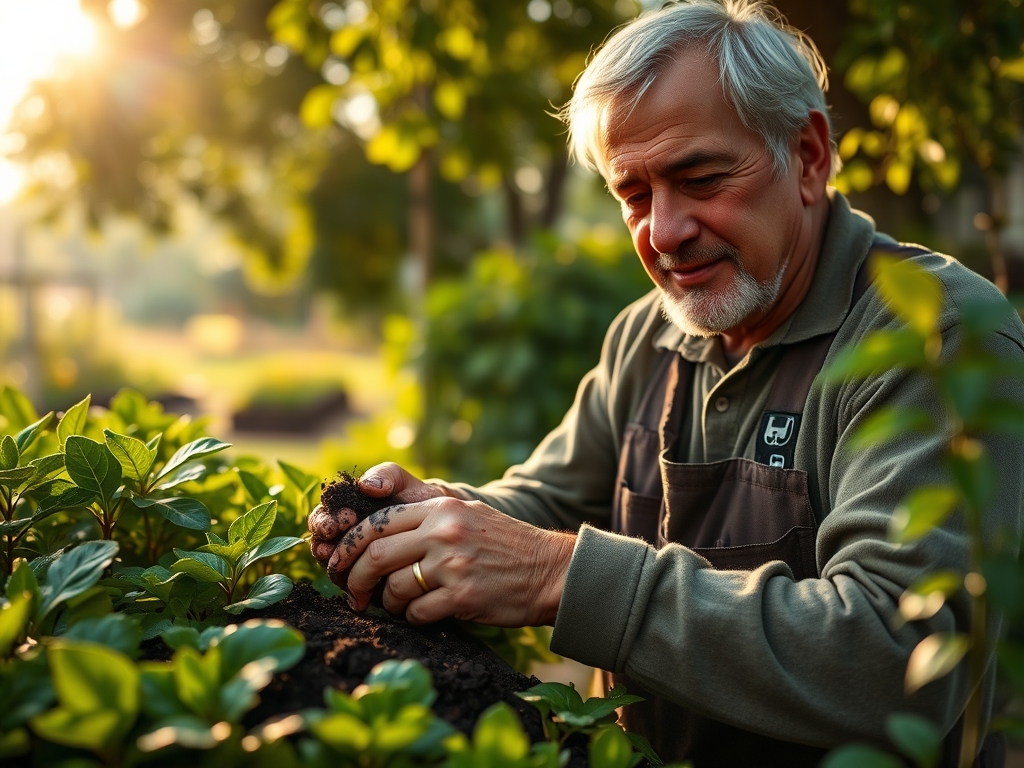
The substrate is the foundation of your ladder. You require a **friable loam** with a high Cation Exchange Capacity (CEC) to ensure nutrients remain available to the roots. Avoid heavy field soil which compacts in containers. Instead, use a mix of 40 percent peat or coco coir, 40 percent perlite for aeration, and 20 percent composted organic matter.
Target a soil pH between 6.2 and 6.8 for most leafy greens and ornamentals. For the initial setup, incorporate a slow-release fertilizer with an NPK ratio of 10-10-10 to support balanced development. If you are growing heavy feeders like tomatoes on the lower rungs, transition to a 5-10-15 ratio to prioritize fruit development over excessive foliage. Ensure your ladder frame is constructed from rot-resistant cedar or pressure-treated lumber rated for ground contact.
Timing:
Hardiness Zones 4 through 9 dictate your planting windows. In Zone 5, do not move your ladder outdoors until the final frost date, typically in mid-May. The biological clock of the plant is governed by the photoperiod; the number of hours of light received daily. Most vertical crops require a minimum of six to eight hours of direct solar radiation.
Monitor the transition from the vegetative stage to the reproductive stage. As temperatures rise above 85 degrees Fahrenheit, many plants enter a state of heat stress where transpiration exceeds water uptake. Time your installation so that the root systems are established before the summer solstice. This ensures the plant has sufficient biomass to shade its own root zone, maintaining a cooler temperature within the pots.
Phases:
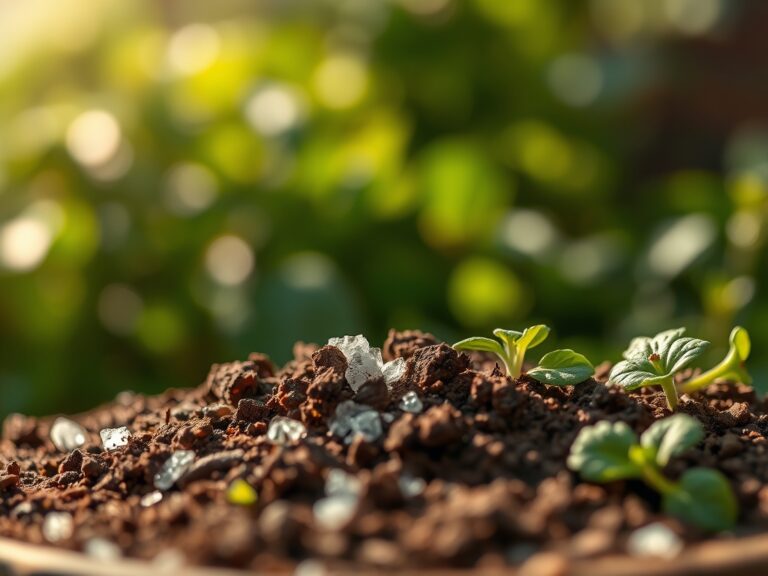
Sowing and Germination
Start seeds in sterile trays at a constant temperature of 70 to 75 degrees Fahrenheit. Use a heat mat to provide bottom heat, which accelerates metabolic enzymes. Ensure the medium stays moist but not saturated to avoid Pythium (damping off).
Pro-Tip: Focus on auxin suppression by pinching off the terminal bud once the plant has three sets of true leaves. This redirects growth hormones to lateral buds, creating a bushier plant that fits the ladder's vertical constraints.
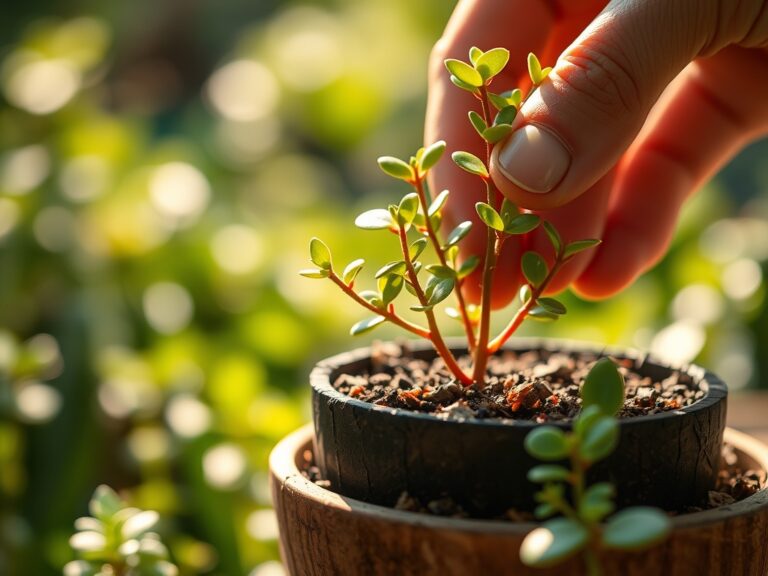
Transplanting to the Ladder
When seedlings reach four inches in height, transplant them into the ladder containers. Handle the root ball carefully to protect the delicate root hairs responsible for water absorption. Set the plant at the same depth it sat in the starter tray to avoid stem rot.
Pro-Tip: Inoculate the soil with mycorrhizal fungi during transplanting. This symbiotic relationship extends the root system's reach, significantly increasing the uptake of phosphorus and micronutrients through the fungal hyphae.
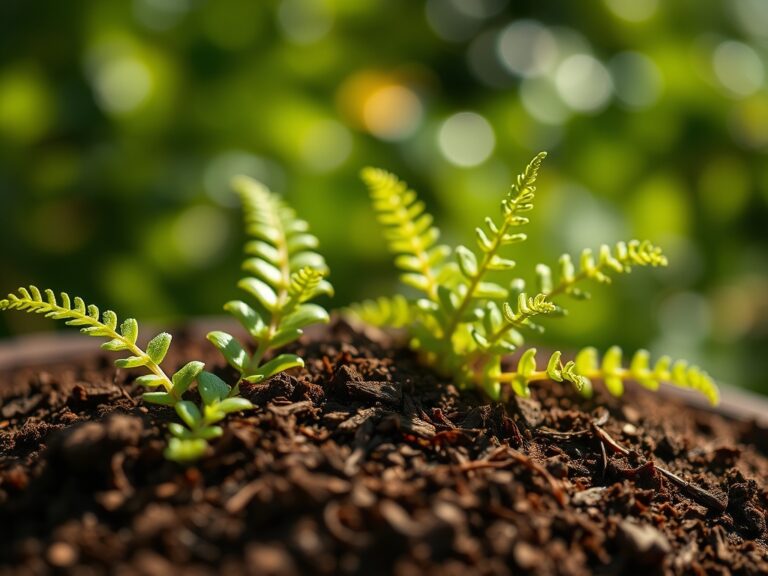
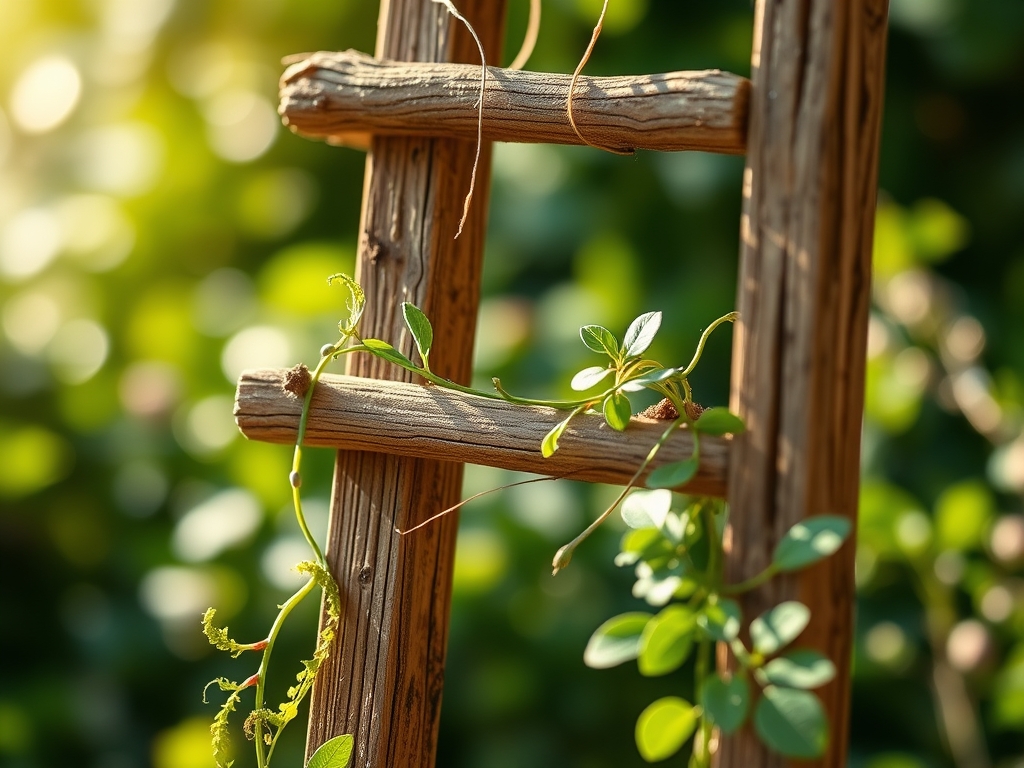
Establishing the Vertical Canopy
As the plants grow, guide the stems toward the ladder rungs using soft ties. Ensure there is adequate spacing to allow for laminar airflow, which prevents the stagnation of humid air around the foliage. This reduces the risk of fungal pathogens like powdery mildew.
Pro-Tip: Utilize phototropism by rotating the ladder or the individual pots 180 degrees every week. This ensures even hormone distribution and prevents the plant from leaning excessively toward the light source, which compromises structural stability.
The Clinic:
Physiological disorders often manifest as visual cues in the foliage. Use this diagnostic guide to troubleshoot your DIY plant ladder.
- Nitrogen Chlorosis: Lower leaves turn a uniform pale yellow while the rest of the plant remains green. Fix-It: Apply a water-soluble fertilizer with a high first digit (Nitrogen) to restore chlorophyll production.
- Blossom End Rot: Dark, leathery spots appear on the bottom of the fruit. This is a calcium deficiency often caused by erratic watering. Fix-It: Maintain consistent soil moisture and ensure the pH is above 6.0 to facilitate calcium uptake.
- Interveinal Chlorosis: Yellowing between the leaf veins while the veins remain green. This indicates a Magnesium or Iron deficiency. Fix-It: Apply Epsom salts (magnesium sulfate) or chelated iron foliar spray.
- Leaf Curl: Leaves twist or roll upward. This is often a response to high transpiration rates or wind stress. Fix-It: Increase watering frequency and provide temporary shade during peak UV hours.
Maintenance:
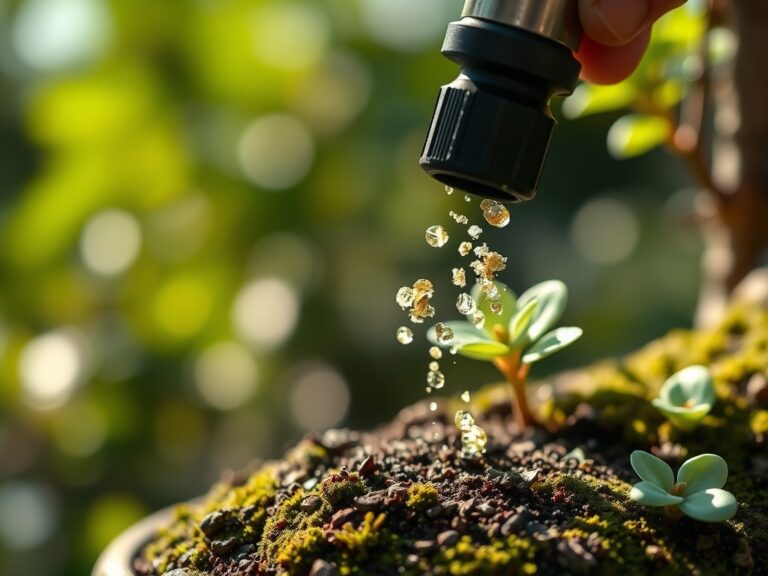
Precision is the difference between survival and thriving. Provide 1.5 inches of water per week at the drip line; do not wet the foliage, as this invites pathogens. Use a soil moisture meter to verify that the substrate is dry to a depth of two inches before re-watering.
Keep your bypass pruners sharp and sanitized with 70 percent isopropyl alcohol to prevent the spread of disease. Use a hori-hori knife for weeding the narrow containers on the ladder rungs; its serrated edge easily cuts through compacted roots without disturbing the main plant. Regularly inspect the underside of leaves for signs of stress or nutrient lockout.
The Yield:
Harvesting is a surgical process. For leafy greens, harvest the outer leaves first to allow the central meristem to continue producing growth. For fruiting plants, harvest when the fruit reaches its "mature green" or fully colored stage. Use sharp snips to make a clean cut; never pull the fruit, as this can cause vascular damage to the main stem.
To maintain "day-one" freshness, harvest in the early morning when turgor pressure is at its peak. Immediately submerge the base of the stems in cool water or place the produce in a high-humidity environment to slow down the rate of senescence (biological aging).
FAQ:
How often should I water a plant ladder?
Check moisture daily. Containers on a ladder dry out faster than ground soil due to increased airflow. Aim for 1.5 inches of water weekly, delivered in two or three sessions to maintain consistent saturation without waterlogging the roots.
What is the best material for a DIY ladder?
Use cedar or redwood for natural rot resistance. If using metal, ensure it is galvanized to prevent oxidation. Avoid plastic that is not UV-rated, as it will become brittle and fail under the weight of wet soil.
Can I grow root vegetables on a ladder?
Yes, if the containers are at least 12 inches deep. Radishes and carrots thrive in vertical systems provided the substrate is loose and free of stones. Ensure the ladder is anchored to support the weight of deep soil.
How do I prevent the ladder from tipping?
Secure the top of the ladder to a permanent structure using heavy-duty brackets. Ensure the base sits on a level, compacted surface. The weight of wet soil is significant; calculate for 100 pounds per square foot.
What NPK ratio is best for vertical flowers?
Start with a 10-10-10 for establishment. Switch to a 10-30-20 (high phosphorus) once buds appear. This stimulates bloom production rather than leaf growth, ensuring the ladder remains covered in flowers throughout the growing season.