6 Steps to Install a Privacy Screen for Your Backyard
The scent of damp, anaerobic clay mixed with the sharp, resinous aroma of crushed cedar indicates a site ready for transformation. Establishing a functional perimeter requires more than aesthetic placement; it demands an understanding of cellular turgor and root architecture. Following the correct steps for installing a garden screen ensures that your botanical barrier survives the transition from nursery container to local soil. Success hinges on the immediate establishment of capillary action between the root ball and the surrounding rhizosphere. A failure to manage water potential during the first forty eight hours often leads to irreversible vascular collapse. This guide provides the technical framework to build a living wall that functions as a biological windbreak and thermal buffer.
Materials:
Select a substrate characterized as a **friable loam** with a sand, silt, and clay distribution of 40-40-20. This texture allows for optimal gas exchange and pore space for root elongation. The soil pH must be calibrated to **6.2 to 6.8** to maximize the bioavailability of micronutrients like iron and manganese.
Before planting, incorporate a slow release fertilizer with an NPK ratio of 10-10-10 for general woody shrubs or a 5-10-10 ratio if you are prioritizing root development over immediate foliar surges. High Nitrogen levels (the first number) can lead to succulent growth that is susceptible to frost damage and aphid colonization. Ensure the Cation Exchange Capacity (CEC) of your soil is above 15 meq/100g by adding organic compost; this ensures the soil can hold onto positively charged ions like Calcium and Magnesium.
Timing:
Installation windows are dictated by the Hardiness Zone and the specific biological clock of the species. In Zones 5 through 7, the primary planting window opens in early spring once the soil temperature reaches a consistent 50 degrees Fahrenheit. This allows the plant to utilize the spring moisture surge before the high transpiration demands of summer.
In Zones 8 through 10, autumn installation is preferred. This timing allows the plant to focus energy on root system expansion during the winter dormancy of the canopy. You are seeking the window between the end of summer heat and the first hard frost. This period coincides with the plant's transition from vegetative growth to a state of reduced metabolic activity, minimizing transplant shock.
Phases:

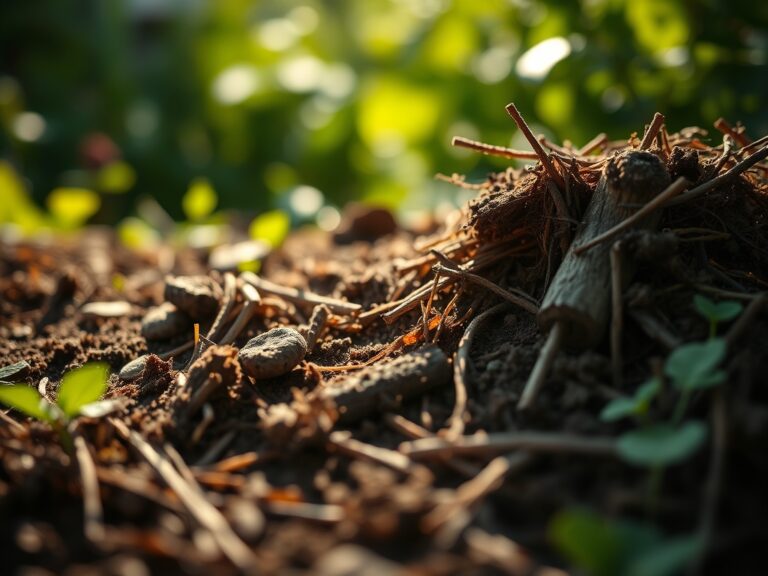
Sowing and Site Preparation
Excavate a trench or individual holes that are twice the width of the root ball but no deeper than the existing soil line in the container. Compacted soil at the bottom of the hole should be loosened to prevent "pot-bound" circling of roots.
Pro-Tip: Use a hori-hori knife to score the sides of the planting hole. This breaks the "glazing" effect caused by shovels in clay heavy soils, facilitating easier lateral root penetration and preventing the hole from acting like a water-tight bowl.
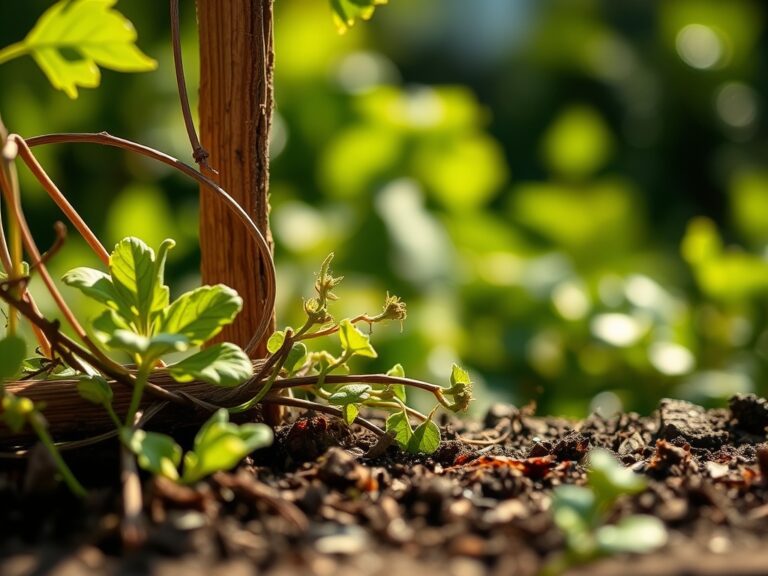
Transplanting
Remove the plant from its container and inspect the root architecture. If roots are circling, make three to four vertical cuts to stimulate new meristematic growth. Position the plant so the root flare is slightly above the grade to allow for settling. Backfill with native soil, tamping lightly to remove large air pockets without crushing the soil structure.
Pro-Tip: Water the plant immediately after backfilling to eliminate air pockets and establish a hydraulic link between the root hairs and the soil particles. This prevents the roots from desiccating due to localized dry zones.
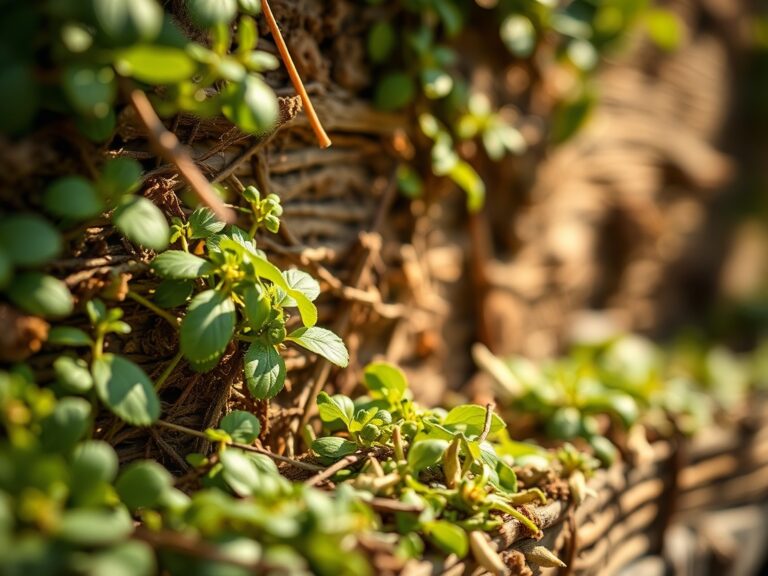
Establishing
Apply a 3-inch layer of organic mulch (such as arborist wood chips) around the base, keeping it 2 inches away from the trunk. This regulates soil temperature and reduces evaporation. During the first growing season, the plant will prioritize the establishment of a robust root system over vertical height.
Pro-Tip: Avoid heavy pruning in the first year to preserve the plant's auxin production in the terminal buds. Auxins are hormones that signal the roots to grow; removing too much canopy early on can stunt the underground development necessary for long term stability.
The Clinic:
Physiological disorders often manifest through foliage discoloration. Use this diagnostic criteria to identify and resolve issues during the establishment phase.
Symptom: Interveinal chlorosis (yellowing between green veins) on new leaves.
Solution: This indicates an Iron deficiency, often caused by a pH above 7.0. Lower the pH using elemental sulfur or apply chelated iron foliar spray.
Symptom: Marginal leaf burn or browning of leaf edges.
Solution: This is a sign of "Scorch" or salt accumulation. Increase deep watering frequency to flush excess salts from the root zone and check for high wind exposure.
Symptom: Stunted growth with purple or reddish tints on older leaves.
Solution: Phosphorus deficiency. Apply a 0-20-0 superphosphate amendment to the drip line to support ATP production and energy transfer within the plant.
Fix-It for Nitrogen Chlorosis: If the entire leaf turns a uniform pale yellow, the plant is scavenging Nitrogen from old growth to support new leaves. Apply a quick release blood meal or a high Nitrogen liquid feed to restore chlorophyll density.
Maintenance:
Precision is required for the long term health of a privacy screen. Provide 1.5 inches of water per week delivered at the drip line. Use a soil moisture meter to verify that the moisture has penetrated to a depth of 8 inches. Overhead watering should be avoided to prevent fungal pathogens from colonizing the leaf surface.
Pruning should be performed with bypass pruners to ensure clean cuts that heal quickly. For formal screens, prune in late winter before the sap begins to flow. For informal or flowering screens, prune immediately after the bloom cycle to avoid removing next year's buds. Monitor for signs of senescence (natural aging) and remove dead wood to maintain airflow through the center of the screen.
The Yield:
While the primary "yield" of a privacy screen is biomass and shade, many screens utilize fruiting species like Amelanchier or Laurus nobilis. Harvest berries when they reach full color saturation and a slight softening of the skin. For herbal screens, harvest leaves in the morning after the dew has evaporated but before the sun reaches its zenith. This ensures the highest concentration of essential oils. Use sharp snips to avoid tearing the vascular tissue, which can lead to localized dieback.
FAQ:
How far apart should I space the plants?
Space plants based on their mature spread. For a dense screen, space them at 75 percent of their expected width. This allows the canopies to overlap without causing excessive competition for light and soil nutrients in the rhizosphere.
Can I install a screen in heavy clay?
Yes, but you must plant "high." Set the root ball 2 to 3 inches above the grade and mound the soil up to the flare. This prevents "wet feet" and root rot by ensuring the crown remains oxygenated.
How fast will my privacy screen grow?
Most woody perennials follow the "Sleep, Creep, Leap" rule. Year one is for root establishment; year two shows moderate lateral growth; year three typically produces a significant surge in vertical height once the root-to-shoot ratio is balanced.
Is it better to use a drip line or a hose?
A drip irrigation system is superior. It delivers water directly to the soil at a slow rate, which maximizes infiltration and minimizes runoff. This ensures the entire root zone reaches field capacity without wasting water.