8 Variety Steps to Prepare a Plant Shelf for Low-Light Varieties
The smell of damp peat and the crisp snap of a leaf with high turgor pressure define a successful indoor grow space. Mastering how to prepare a plant shelf for low light requires more than placing a pot on a ledge; it demands a calculated manipulation of the microclimate. You are compensating for a lack of solar energy by optimizing the rhizosphere and atmospheric variables. Low light does not mean no light. It means managing a foot-candle range of 50 to 250 while ensuring the plant does not succumb to the physiological stress of slow metabolic rates. Every variable, from the Cation Exchange Capacity (CEC) of the soil to the specific wavelength of supplemental LEDs, must be calibrated to prevent etiolation and root rot. By focusing on the structural integrity of the plant and the chemical balance of the substrate, you can maintain a dense, healthy collection in the dimmest corners of a structure.
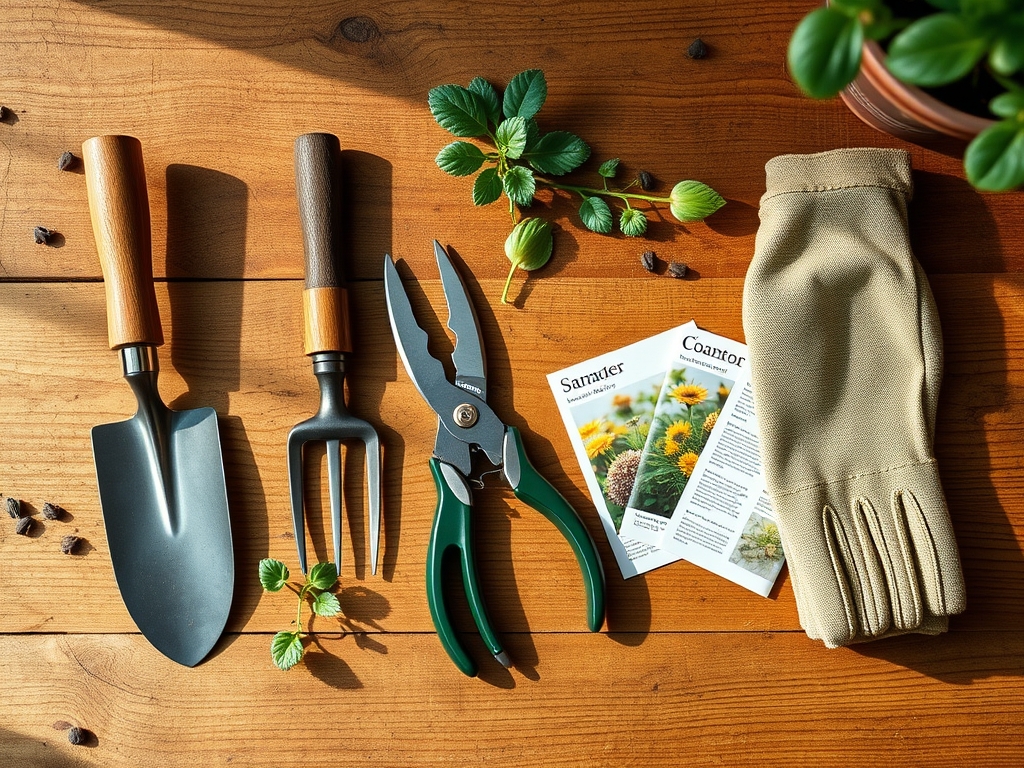
Materials:
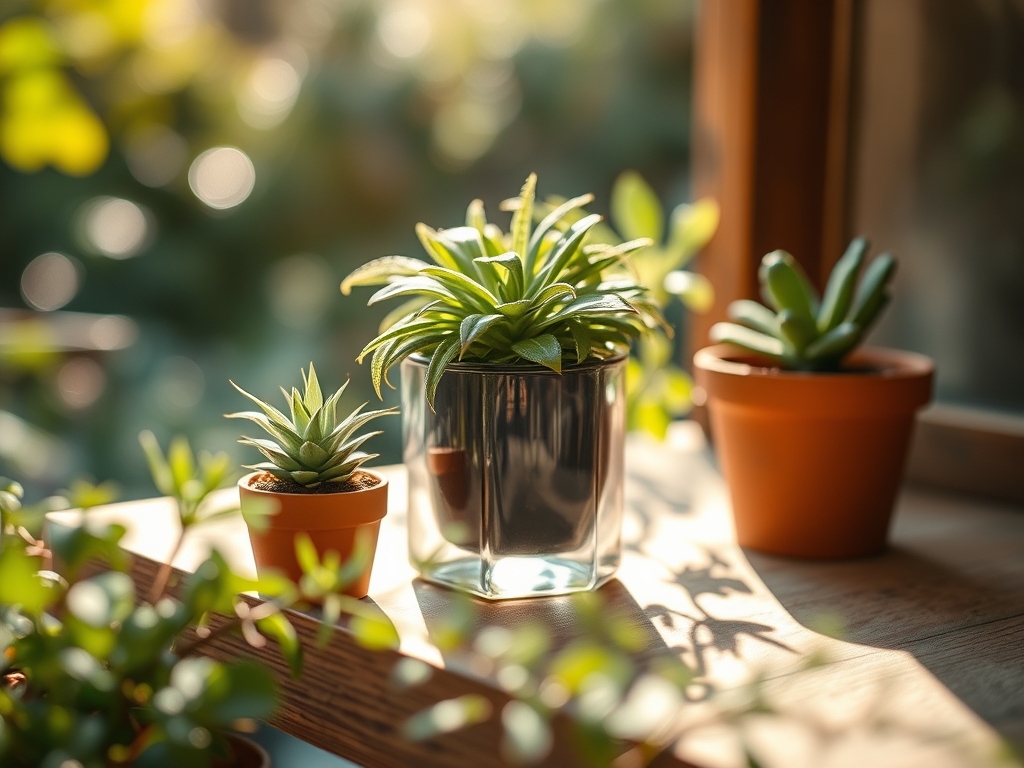
Substrate selection is the foundation of low-light success. For species like *Aglaonema* or *Zamioculcas zamiifolia*, use a **friable loam** consisting of 40 percent coco coir, 30 percent perlite, and 30 percent orchid bark. This ensures a high macroporosity, allowing oxygen to reach the roots even when transpiration is slow.
The target soil pH should remain between 5.8 and 6.5. In low light, plants process nutrients slowly. Use a low-index fertilizer with an NPK ratio of 3-1-2. High nitrogen (N) levels in low light lead to weak, leggy growth; a controlled release of 0.5 pounds of actual nitrogen per 1,000 square feet equivalent is sufficient. Ensure the mix has a high CEC to retain essential cations like Calcium (Ca2+) and Magnesium (Mg2+), which are vital for cell wall strength when photosynthesis is limited.
Timing:
Indoor environments are shielded from Hardiness Zone fluctuations, yet the biological clock remains tethered to external photoperiods. In Zones 5 through 7, the reduction in ambient light during winter months triggers a state of semi-dormancy. You must synchronize your shelf preparation with the transition from the vegetative stage to the maintenance stage.
Prepare your shelving units at least three weeks before the first frost date in your region. This allows the plants to acclimate to the lower intensity of indoor light before the drastic shift in atmospheric humidity caused by indoor heating. Avoid heavy pruning or repotting during the winter solstice; the plant lacks the metabolic energy to recover from tissue damage when day length drops below 10 hours.
Phases:
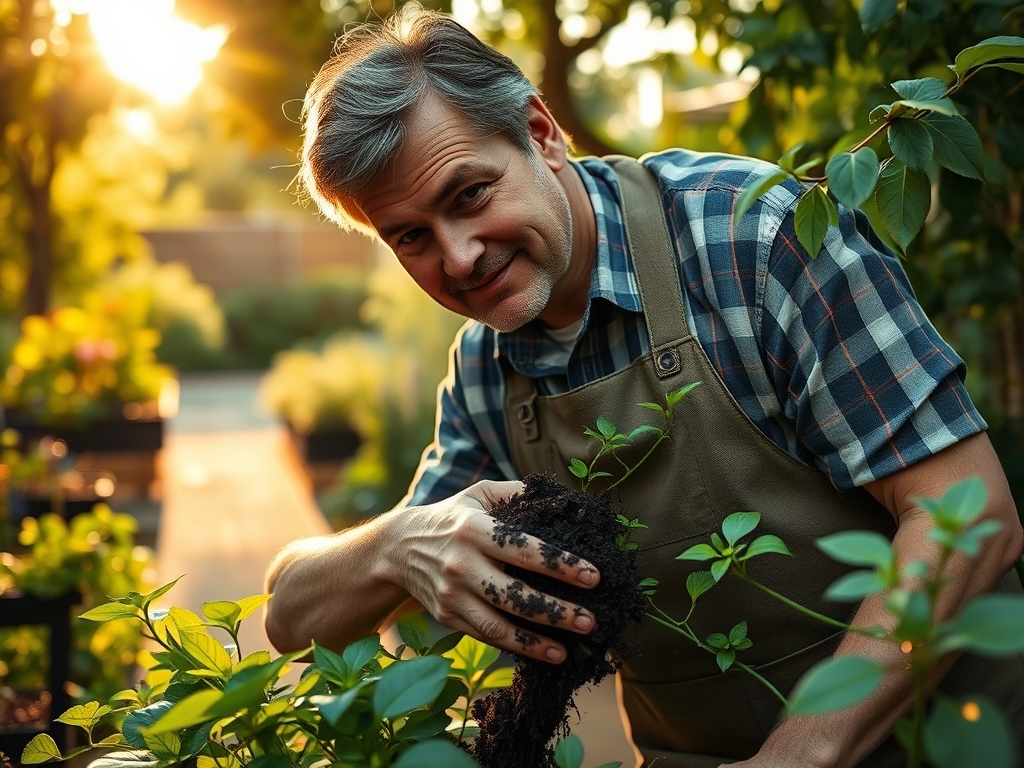
Sowing and Propagation
When starting low-light varieties from seed or cuttings, maintain a consistent substrate temperature of 70 to 75 degrees Fahrenheit. Use a heat mat to stimulate cellular division in the meristematic tissue.
Pro-Tip: Focus on auxin suppression. In low light, auxins migrate to the shaded side of the stem, causing the plant to lean toward the light source (phototropism). Rotate your pots 90 degrees every week to redistribute these hormones and ensure vertical structural integrity.
Transplanting
Move your specimens into containers that are no more than 2 inches wider than the current root ball. Excessive soil volume in low-light conditions leads to "perched water tables," where the bottom of the pot remains anaerobic because the plant cannot transpire the water quickly enough.
Pro-Tip: Inoculate the root zone with mycorrhizal fungi. This symbiotic relationship increases the surface area of the root system, allowing the plant to scavenge for phosphorus and micronutrients more efficiently when metabolic rates are depressed.
Establishing
Once positioned on the shelf, monitor the leaf angle. A healthy low-light plant will maintain its leaves at a horizontal or slightly upright pitch. Drooping indicates a loss of turgor pressure or the onset of root senescence due to overwatering.
Pro-Tip: Utilize the Inverse Square Law. Doubling the distance between the light source and the plant reduces the light intensity to one-fourth. Position your "low-light" plants within 12 to 24 inches of a supplemental full-spectrum light to ensure they meet their light compensation point.
The Clinic:
Physiological disorders in low-light environments are often mistaken for fungal infections.
- Symptom: Interveinal chlorosis (yellowing between leaf veins) on new growth.
Solution: This indicates an Iron (Fe) or Manganese (Mn) deficiency. Check the pH; if it is above 7.0, these micronutrients become "locked" and unavailable to the plant. Lower the pH using a sulfur-based acidifier.
- Symptom: Edema (small, corky bumps on the underside of leaves).
Solution: This is caused by the plant taking up more water than it can transpire. Increase airflow using a small circulation fan and reduce watering frequency.
- Symptom: Tip burn on older foliage.
Solution: Likely a buildup of soluble salts from tap water or over-fertilization. Flush the substrate with three volumes of distilled water to one volume of soil to leach the salts.
- Fix-It for Nitrogen Chlorosis: If the entire leaf turns pale green or yellow, apply a foliar spray of urea-based fertilizer at half strength. Foliar feeding bypasses the roots and provides an immediate metabolic boost.
Maintenance:
Precision is the difference between a surviving plant and a thriving one. Use a soil moisture meter to ensure the substrate is dry to a depth of 2 inches before adding water. For most low-light varieties on a shelf, aim for the equivalent of 0.75 inches of water every 10 to 14 days.
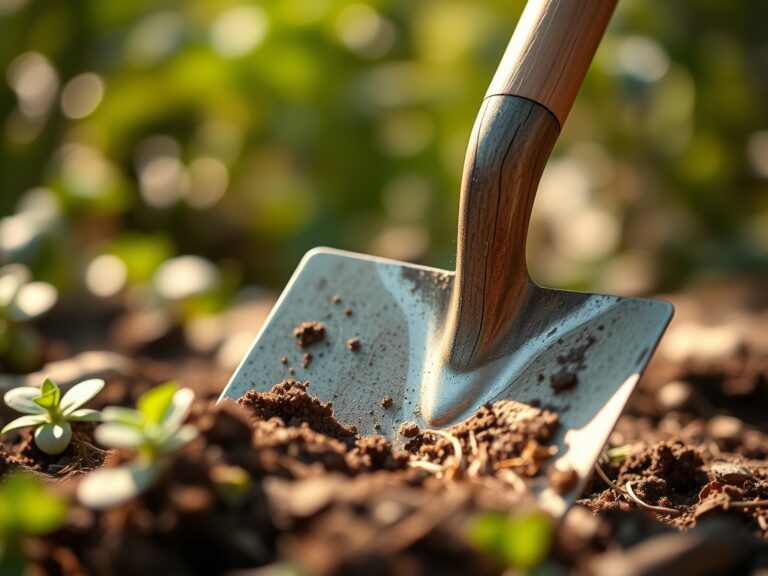
Keep a hori-hori knife for dividing overgrown rhizomes and a pair of bypass pruners for removing necrotic tissue. Sanitize your tools with 70 percent isopropyl alcohol between every plant to prevent the spread of pathogens. Dust the leaf surfaces every 30 days; a thin layer of dust can block up to 30 percent of available photons, further starving the plant of energy.
The Yield:
While most low-light shelf plants are ornamental, some, like Plectranthus scutellarioid, provide aesthetic "yields" through foliage color. To harvest cuttings for propagation, use a sterile blade to cut just below a node where auxin concentration is highest.
For medicinal or culinary herbs kept in low light, harvest no more than 20 percent of the total biomass at one time. To maintain "day-one" freshness, immediately submerge the cut ends in 40-degree Fahrenheit water to slow the rate of respiration and preserve the essential oils within the vacuoles.
FAQ:
How do I know if my shelf has enough light?
Use a light meter to measure Photosynthetic Photon Flux Density (PPFD). Low-light plants require a minimum PPFD of 30 to 50 micromoles per square meter per second for at least 8 hours to maintain basic metabolic functions.
Can I use regular incandescent bulbs for my shelf?
No. Incandescent bulbs produce excessive infrared radiation (heat), which can scorch leaves and cause rapid transpiration. Use LED or fluorescent fixtures with a color temperature between 5000K and 6500K for vegetative growth.
Why is my plant dropping green leaves?
This is often a "shock" response to a sudden drop in temperature or a significant change in the light compensation point. Ensure the shelf is away from cold drafts and maintain a consistent temperature above 60 degrees Fahrenheit.
How often should I fertilize low-light plants?
Reduce fertilization to once every 8 to 12 weeks during the winter. Over-applying nutrients when the plant is not actively growing leads to salt accumulation in the rhizosphere, which can dehydrate the roots through osmotic pressure.